• About / Contact
  • Work With Me
  • Food & Drink
    • asian —>
      • chinese
      • indian
      • japanese
      • korean
      • malaysian
      • taiwanese
      • thai
      • vietnamese
    • brunch
    • coffee and tea
    • dessert
    • fusion
    • happy hour
    • italian
    • greek
    • mexican
    • pub
    • seafood
    • steakhouse
    • vegetarian/vegan
    • western
  • Travel
    • Canada ->
      • Kelowna
      • Sunshine Coast
      • Victoria
    • Japan ->
      • Himeji
      • Kamakura
      • Kobe
      • Kyoto
      • Osaka
      • Tokyo
    • Mexico ->
      • Cancun
      • Isla Mujeres
      • Playa Del Carmen
    • USA ->
      • Las Vegas
      • Los Angeles
      • New York City
      • Seattle
    • Europe ->
      • London
  • Beauty
    • beauty events
    • body
    • eyes
    • face
    • costumes
    • hair
    • lips
    • nails
    • skincare

Curiously Carmen

Beauty: Being by Sanctuary Launch

November 14, 2017

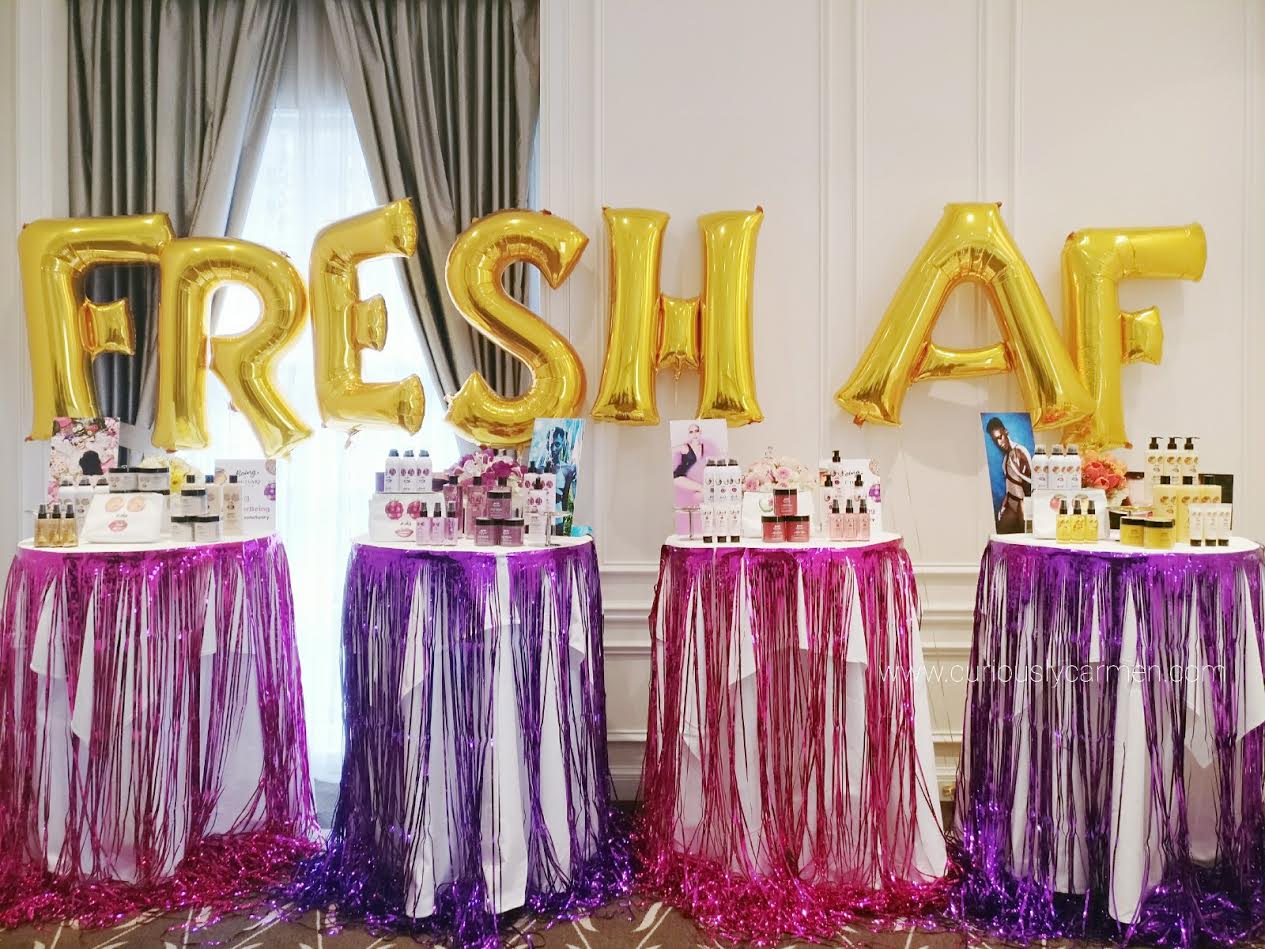
I am excited to share a new and affordable brand with you! Being by Sanctuary is a new brand that launched last summer in the UK, and now is in Canada exclusively at Shoppers Drug Mart. I attended the press event, where we got to learn about their products and smell their four unique fragrances.

Being by Sanctuary is also sister companies with St. Tropez, the company known for their tanning products!

I would describe Beauty by Sanctuary as an edgy, fun and young brand with its target consumers being Generation Z. After interviewing many Generation Z-ers (I just made that word up LOL), they came up with a line that would match their needs and desires. These desires are to have a low and affordable price, but also to be well aware of 1) all the ingredients inside the products and 2) morally conscious – no animal testing.

They also found out that Generation Z would prefer to have a variety of different fun scents, rather than to splurge on a single expensive fragrance like some past generations.

I will now introduce the four scents! There are a variety of different products with each scent.
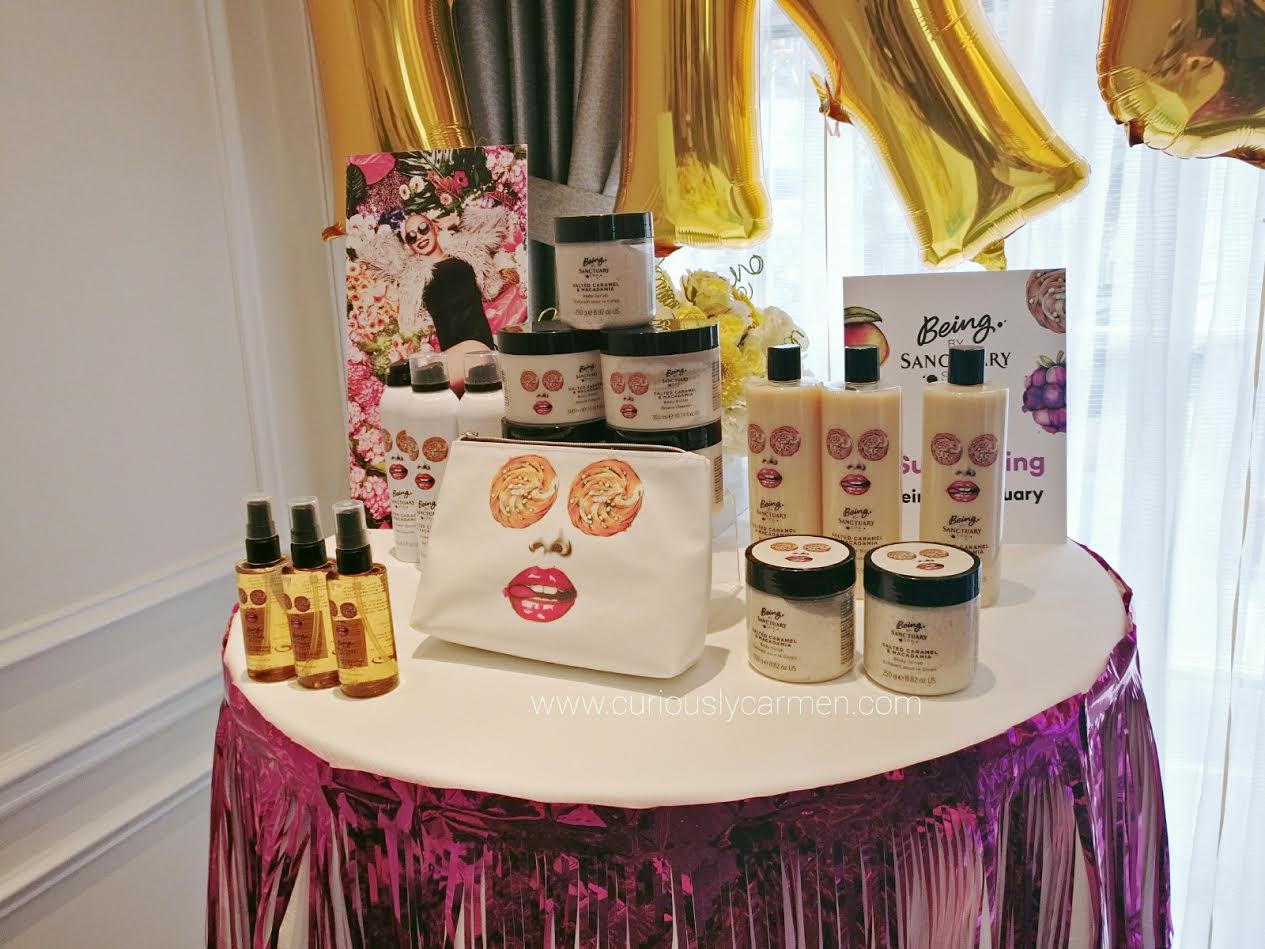
Salted caramel and macadamia burst: This one smelled very rich and desserty. It reminded me of the delicious salted caramel ice cream from Earnest.
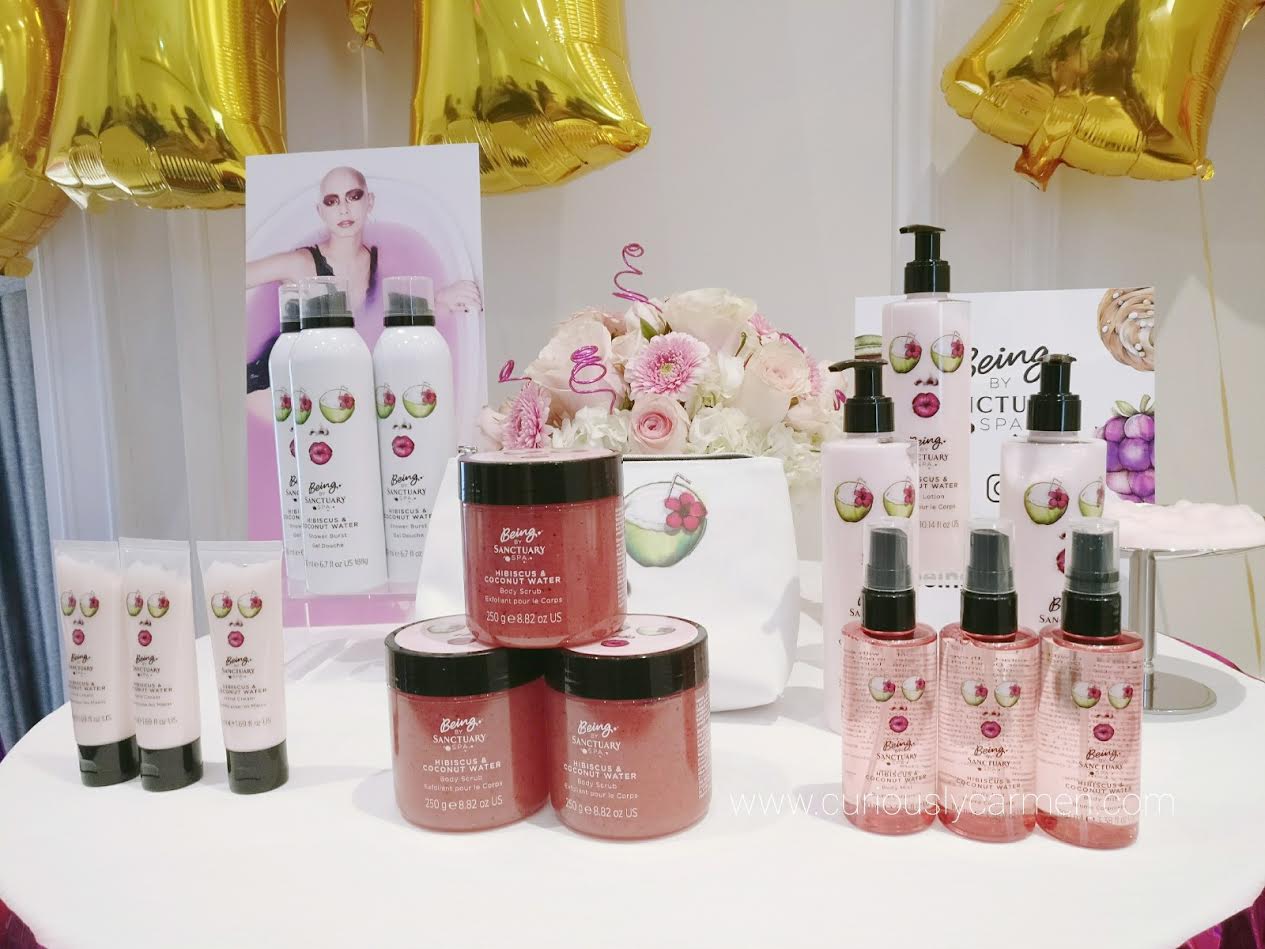
Hibiscus and coconut water: This one was very fruity and berry-like, with a hint of coconut. It smelled very happy and upbeat. Yes, scents can induce feelings and actions.
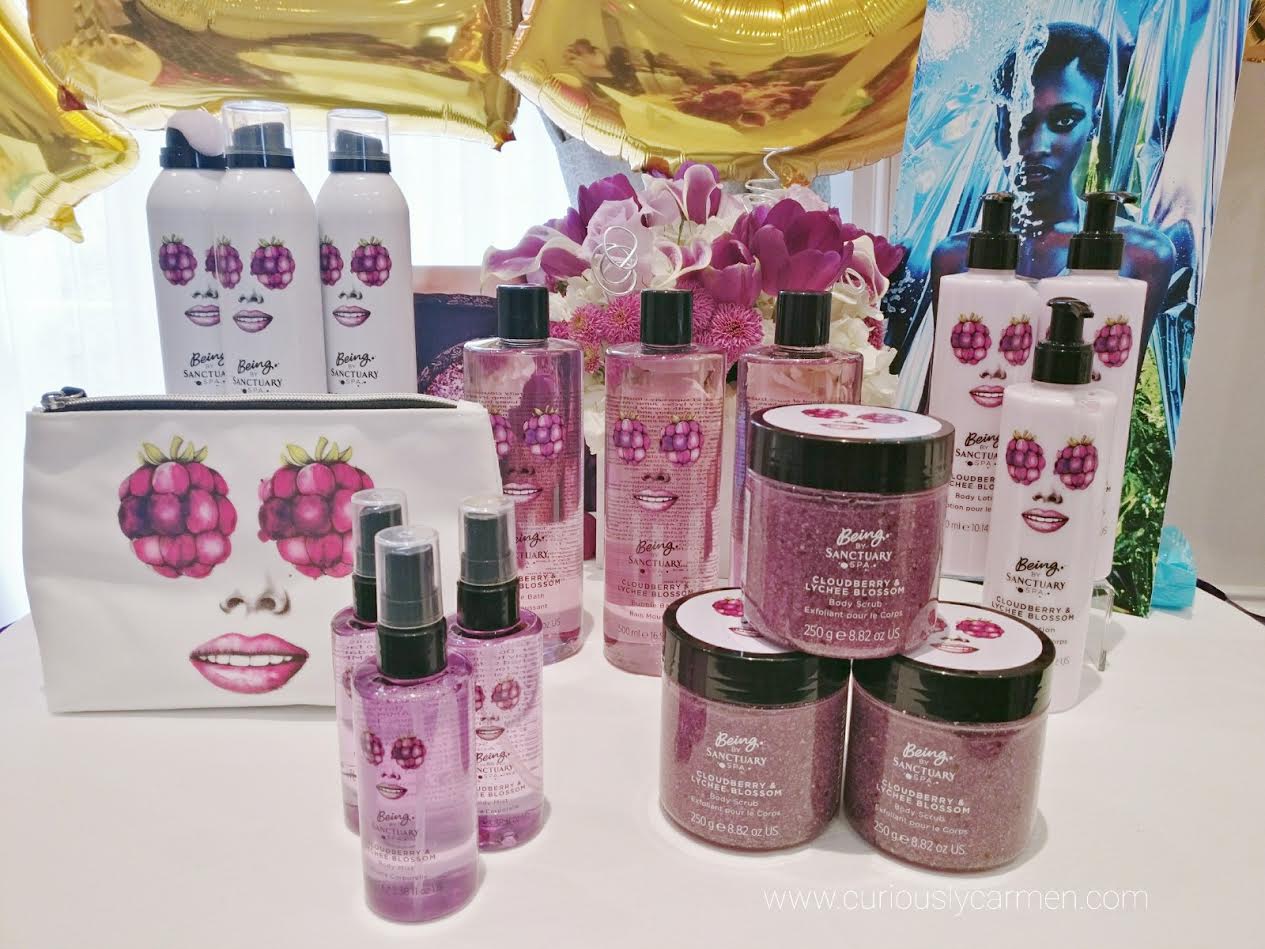
Cloudberry and lychee: This scent reminded me of an Asian chewy candy that I would eat. Not hi-chew, but it comes in tubes similar to the Gummy Choco tues. If you know, please tell me because it’s bothering me a bit that I can’t remember it LOL!
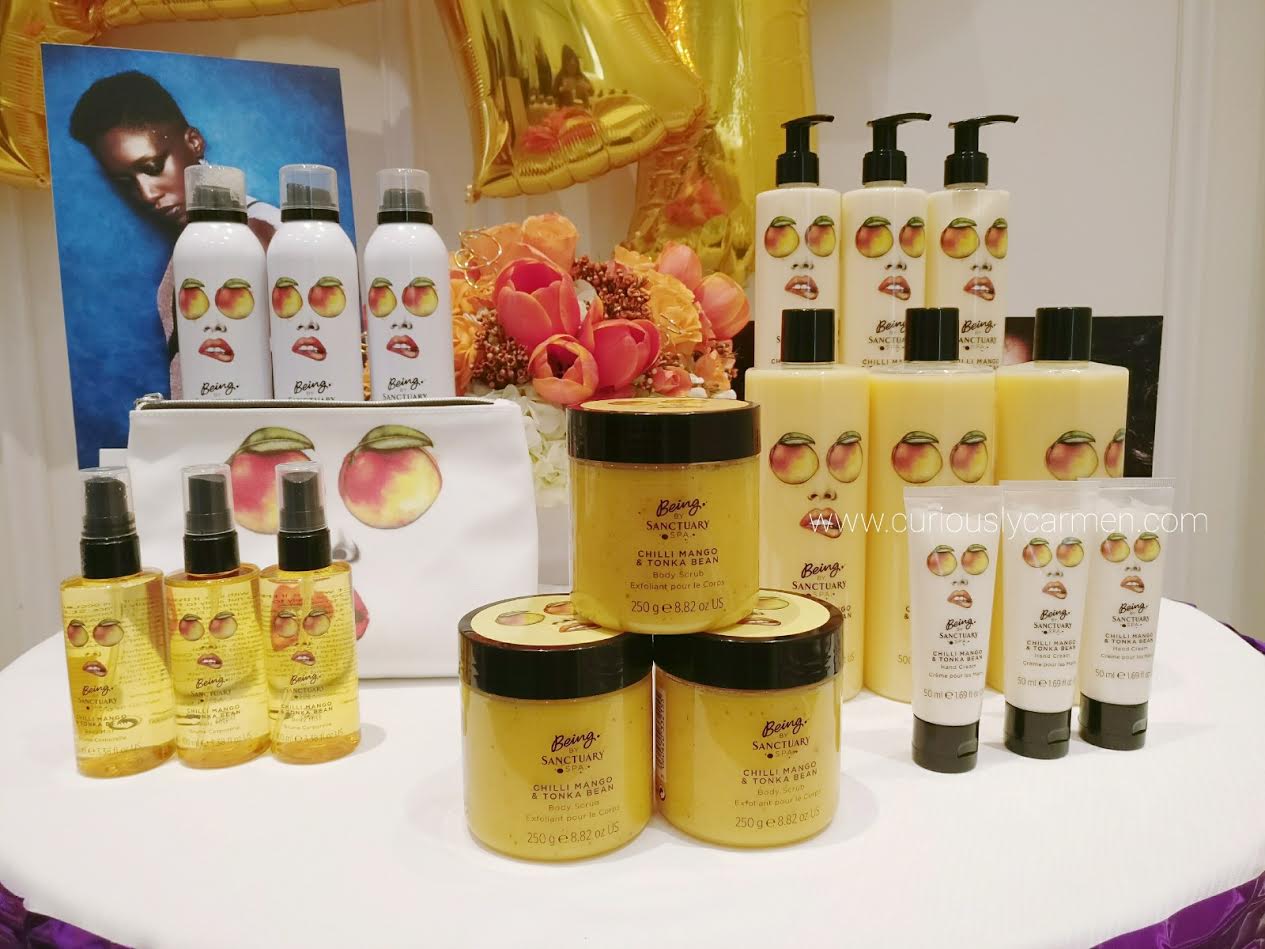
Chili mango and tonka bean:  The last scent we were introduced to! It had a bit of a fruity scent with a spicy kick to it.
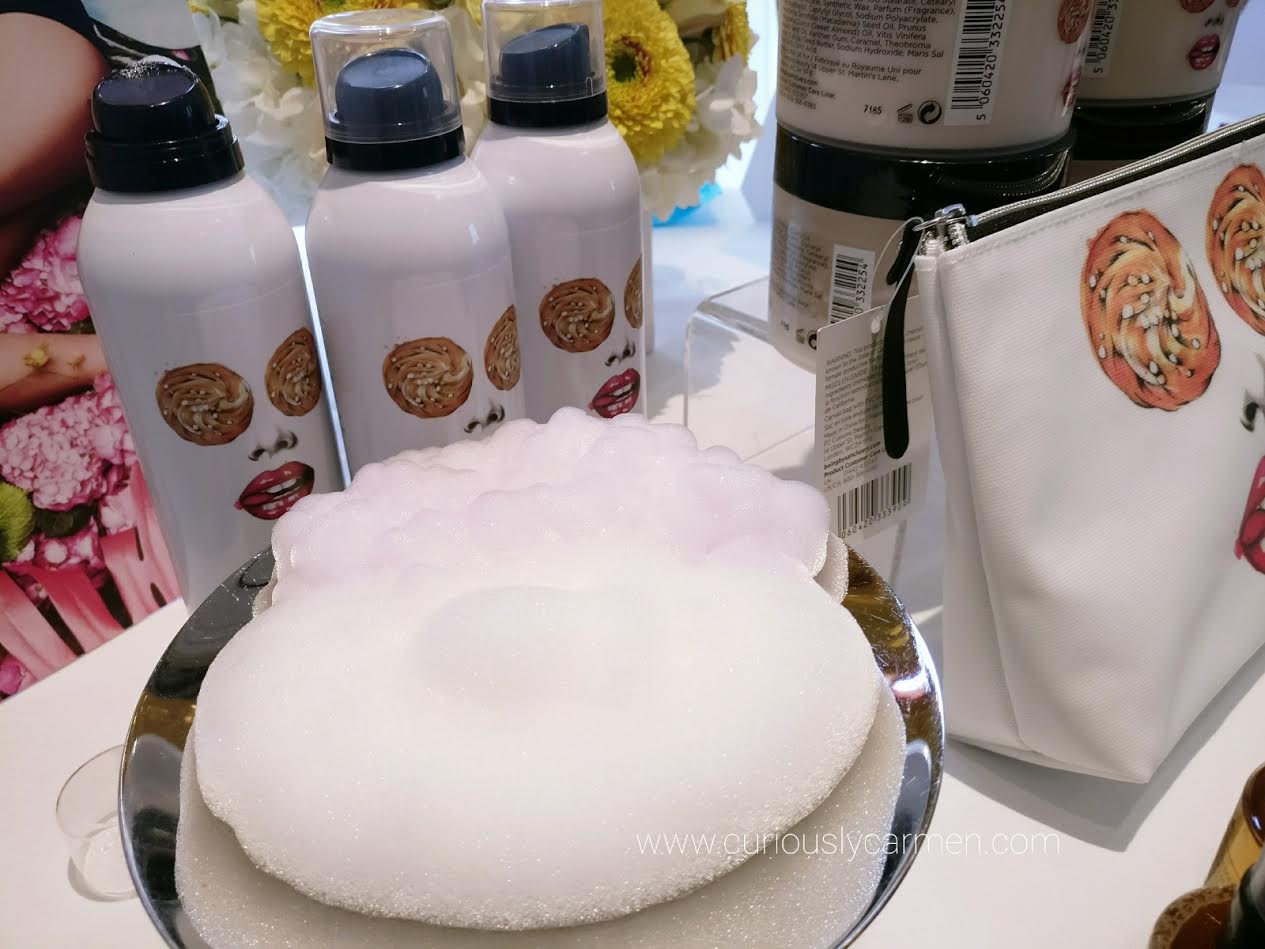
Shower burst: This product was pretty cool and I haven’t seen it before! So you spray it onto your skin and then it quickly foams up while cleaning your skin.

Each of the scents mentioned above have all of these products: shower burst, bubble bath, body scrub, and body mist. For now, these are the only scents and products they have but I can definitely see more products being rolled out in the future (this is a new brand after all!)

Stay tuned for more detailed product reviews! This post is just an intro to the brand 🙂


Filed Under: Beauty, body, events

Beauty: Stila One Step Illuminating Primer

November 5, 2017

New this fall is the Stila One Step Illuminating Primer! Well actually, this product had been discontinued for awhile and Stila decided to bring it back. So, it is somewhat new!

I quite enjoy Stila’s products, and find that their face products work well with my skin tone (combination/slightly oily skin).

The thing that stood out to me most was the packaging, notably the triple swirled helix that you can see throughout the plastic bottle. It is in varying shades of beige and light pink with a subtle hint of glimmer.
What it says (Taken from website)

Swirl your way to a luminous, glowing complexion in one step! This innovative triple-swirled helix serum instantly illuminates, primes and nourishes skin while also working to improve skintone, even the complexion and smooth the look fine lines and wrinkles.

One Step Illuminate’s oil-free formula creates a gorgeous, illuminating glow with three shades of bronzers. 

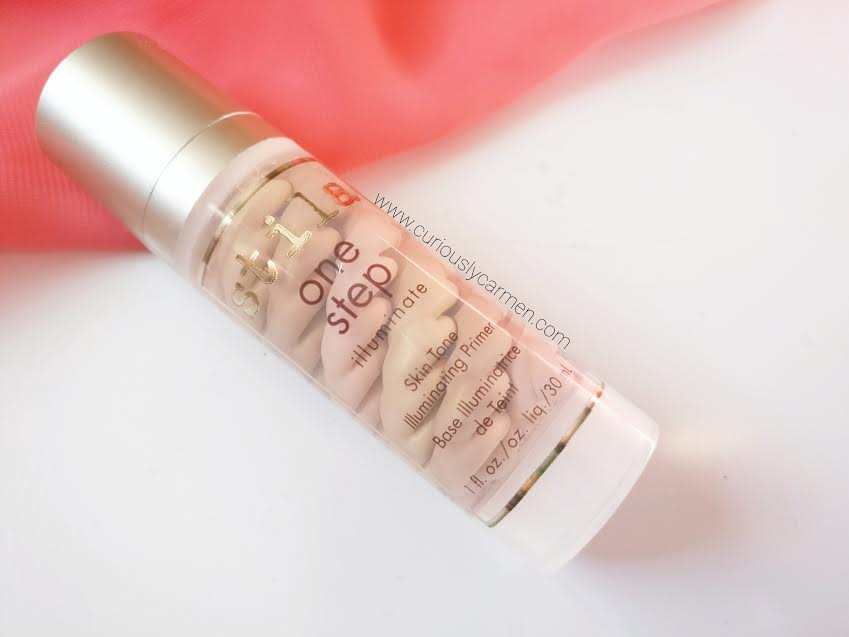
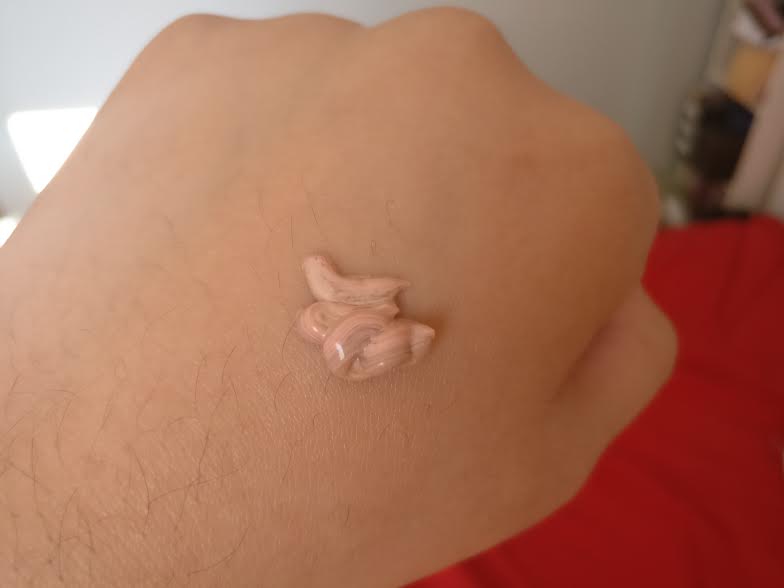
Application: Originally, I thought that the primer would apply like a foundation (meaning that it would be pigmented). You can see the mix of pink in the picture above. I was surprised when it applied clear! I decided to test this with my Estee Lauder Double Wear foundation.

No photoshop or filters, just good lighting and foundation! =P

Wear: On first glance, I noticed that my foundation definitely looked more dewy and sheen. In certain lighting, I could see the hint of glimmer, most notably on my forehead. I think that when using this product, you would need to use more of your foundation for the same amount of coverage.
– Gives skin a nice dewy effect with a hint of glimmer
-Need to apply more foundation for the same amount of coverage

Yay!


Filed Under: Beauty, face

Hard Candy Metal Eyes Chrome Eyeshadow Kit

October 30, 2017

It seems as if metal and chrome looks are trending right now, with the amount of chrome products on the shelves. I am definitely on board with this trend and love me some chrome! Perhaps I should try out chrome nails soon?

Anyways, Hard Candy has released its Metal Eyes Chrome Eyeshadow Kit, which I will be reviewing today!
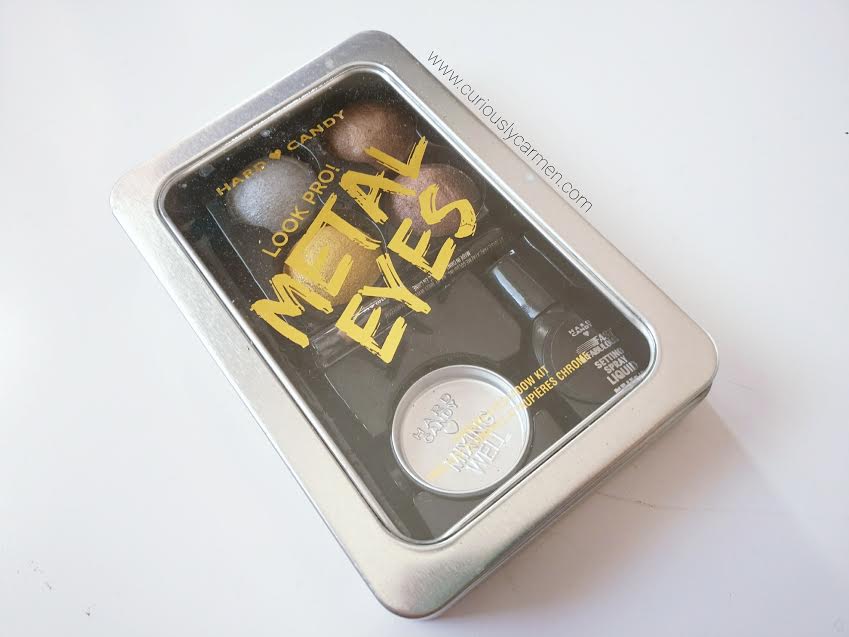
What it says (Taken from website):
The Hard Candy Metal Eyes Chrome Eyeshadow Kit is an innovative shadow kit that allows you to achieve the hot runway trend of metallic eyes.

This kit includes 4 highly pigmented metallic pearl eyeshadows, mixing liquid, a mixing well, a professional dual-ended eyeshadow brush, and a mini black eyeliner.

Choose your own intensity by mixing the eyeshadow and mixing liquid together for your desired look. These shadows can also be used dry for a less intense metallic effect.
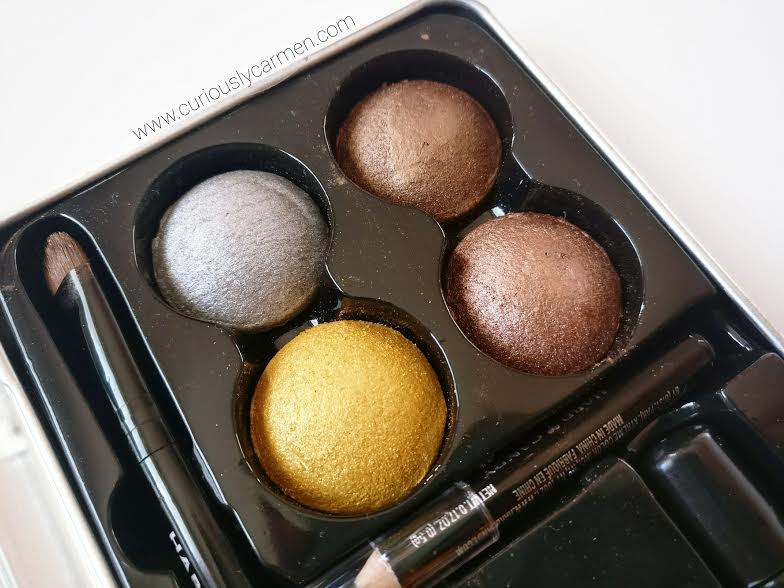
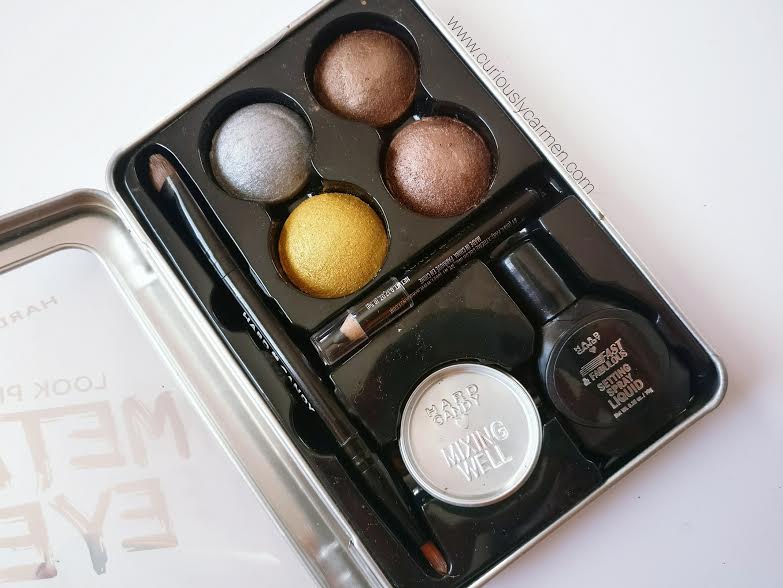
The kit comes with four shades: gold, silver, brown, and champagne. It also comes with a small eyeliner, mixing liquid, and a small lid to mix.

Application: The application is a bit different if you are wanting to use the mixing liquid. After some trial and error, I found that the best method for the most intense metallic effect is if you dab your brush into the mixing liquid and then press into the eyeshadow. Then, gently dab/press the shadow onto your eyelid rather than one sweeping motion.

Wear: I was really impressed with the colour for the first three hours. The mixing liquid gave it a very metallic and pigmented look. In fact, I would argue that it was even more pigmented than the Naked palettes. The colour was very bright and vivid and I was in love!

However, around the four hour mark, it started to crease and fade. By the six hour mark, most of the eyeshadow was gone. It decided to leave the party early after shining for so long, and go home for some Netflix. After seven hours, the only thing remaining was oily eyelids and eyeliner that had smudged to my lower lash line. Not cute!
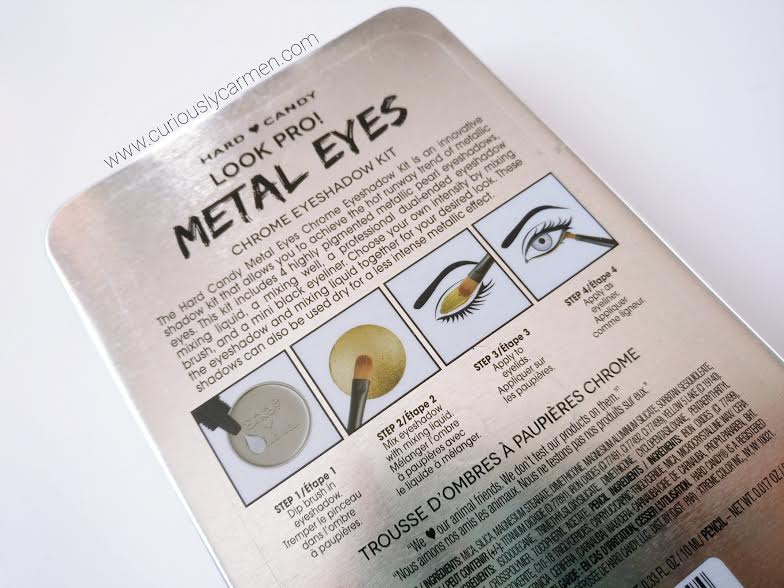
Although you can use this without the mixing liquid, I would recommend using it because there is a huge difference. Without the mixing liquid, it is not as pigmented.

With that said, I have mixed feelings about this. In the first three hours, the color payoff is AMAZING and so beautiful. These pictures don’t do it justice at all. I’m just disappointed that it only lasts half a day!

I really love the pigment and for under $10, you just can’t beat it. Perhaps using a primer and setting spray would allow these colours to last longer. This product has a lot of potential!

  • Amazing, beautiful, intense metallic pigment
  • Very affordable at $9.35 – even comes with a brush!

  • Eyeshadow only lasts for 4 hours before it starts to crease, fade and disappear

Yay!

Press product featured. Opinions are own.


Filed Under: Beauty, eyes

Loofah & Soap DIY Halloween Costume

October 27, 2017

Woohoo! It’s costume season again, one of my favourite times of the year. If it were up to me, I would love to dress up in silly costumes more than once a year.

This year for Halloween, I will be going as a loofah and the boyfriend will be going as a bar of soap!

Out of all the DIY costumes we have made over the years, the loofah was certainly the most challenging. I used a combination of videos/posts, and it was a lot of trial and error.

Although I love DIY costumes, I am absolutely abysmal at making them and can’t sew. Which is why I like to share these on my blog – if I can make these, anyone can. Trust me. Let’s get started!

LOOFAH COSTUME MATERIALS/INSTRUCTIONS:

  • 25 yards/74 feet of tulle fabric (You can easily purchase this at Michael’s or at a fabric store)
  • Twelve safety pins
  • Scissors
  • String
  • Shirt (preferably same colour as the tulle)
  • Measuring tape
Step #1
  1. Cut out 12 even strips of tulle using a measuring tape for accuracy, approximately 6 feet each. This part was frustrating for me because one layer of lavender tulle is practically clear, so I couldn’t really see where I was cutting… multiply this by 12 and you can understand why I was getting frustrated!
  2. With each strip, fold it in half length-wise
  3. Then, fold it in half width-wise again (should be approximately 3 feet by this step)
  4.  In the middle, wrap a piece of string tightly
  5. Repeat #2-#4 for the other strips

    Step #4
  6. Take a safety pin and hook it in the middle of the strip, where the string is.
  7. Pin the first piece of tulle by your collar bone

    Step #8
  8. Repeat #6-7 for the other strips until they are evenly pinned on the shirt. I have attached a photo of where I pinned each tulle section on the tshirt. Repeat for the back as well. It may seem a bit high but once you fluff it out, you can’t tell!
  9. Now comes to fun part – fluffing it out! Go crazy and (gently) pull the tulle out to give it the desired puffy effect
  10. Repeat #10 until you are satisfied with the level of puff!

BAR OF SOAP MATERIALS/INSTRUCTIONS:

For this costume, we were originally planning on just painting a cardboard box. However, we didn’t find one large enough and also, my friend brought up a good point where the boyfriend wouldn’t be able to sit down LOL. So, I did some brainstorming and came up with this super cheap and easy alternative!

  • Two sheets of white poster board
  • Blue, gold, black acrylic paint (other colours are okay but we decided to go with the Dove bars haha)
  • Paint brush
  • Sharpie
  • Pencil
  • String
  • Tape
  1. Using a pencil, outline the design you’d like. We looked up an image of Dove’s bar soaps and replicated that, but you can do whichever brand you’d wish, or simply just write “SOAP”.
  2. Outline what you are planning on painting with a sharpie
  3. Write down the ingredients, or any other text you’d like included to make it look more realistic
  4. Paint!
  5. Cut two pieces of string and use tape to connect the two poster boards


I will be updating this post after Halloween with our final costume result! Just wanted to get this post up before Halloween to give you some ideas.

As a bonus, get some rubber duckies at the dollar store (I found this pack for $1.25) and hot glue gun it onto a headband! 🙂 You could also blow up some white balloons to act as bubbles, heh.

Happy costuming!


Filed Under: Beauty, costumes

If I had a million dollars….. (Fall 2017 Beauty Wishlist)

October 24, 2017

I started this mini series three years ago, and I would like to bring it back! This is a bit different than my usual beauty reviews, but it’s fun to mix things up sometimes!

If I’m being completely honest, I haven’t been as motivated the past month due to personal issues, and some unhappiness while I figure things out in my life. In fact, I don’t remember the last time I browsed makeup products for fun on a website (I usually keep myself updated with a quick scroll through Instagram), which is why I decided to start this series up again.

But of course, I shouldn’t let my personal issues/unhappiness hinder me from doing my hobby (writing). So let this be a reminder that it’s okay to let the sadness in because that is what makes you stronger, better person. Sadness teaches you how to improve your life. But you also can’t let it rule your life. Give yourself time to learn from it, but not so much time that you forget to do the things that make you happy.

Anyways, I hope that you readers can appreciate the personal tidbits. Often people who put themselves out there publicly are seen to have less problems, but it’s not the truth at all. We choose to only share the positives, but trust me, every single person has their own battles no matter how happy their IG profile or blog is.

Don’t get me wrong, I will always push through for my blog and prioritize time for it. I still have been publishing consistently, sticking to my schedule of 2-3 posts a week. I ain’t leavin’ the blogging world anytime soon 😉 I also am in NO way complaining because I know I have lots to be grateful for. 

Before this turns into a personal post (because I could go on and on LOL)… let’s start this beauty wishlist!!! 😀 To make this list more concise, I have decided to narrow it down to products only found at Sephora.

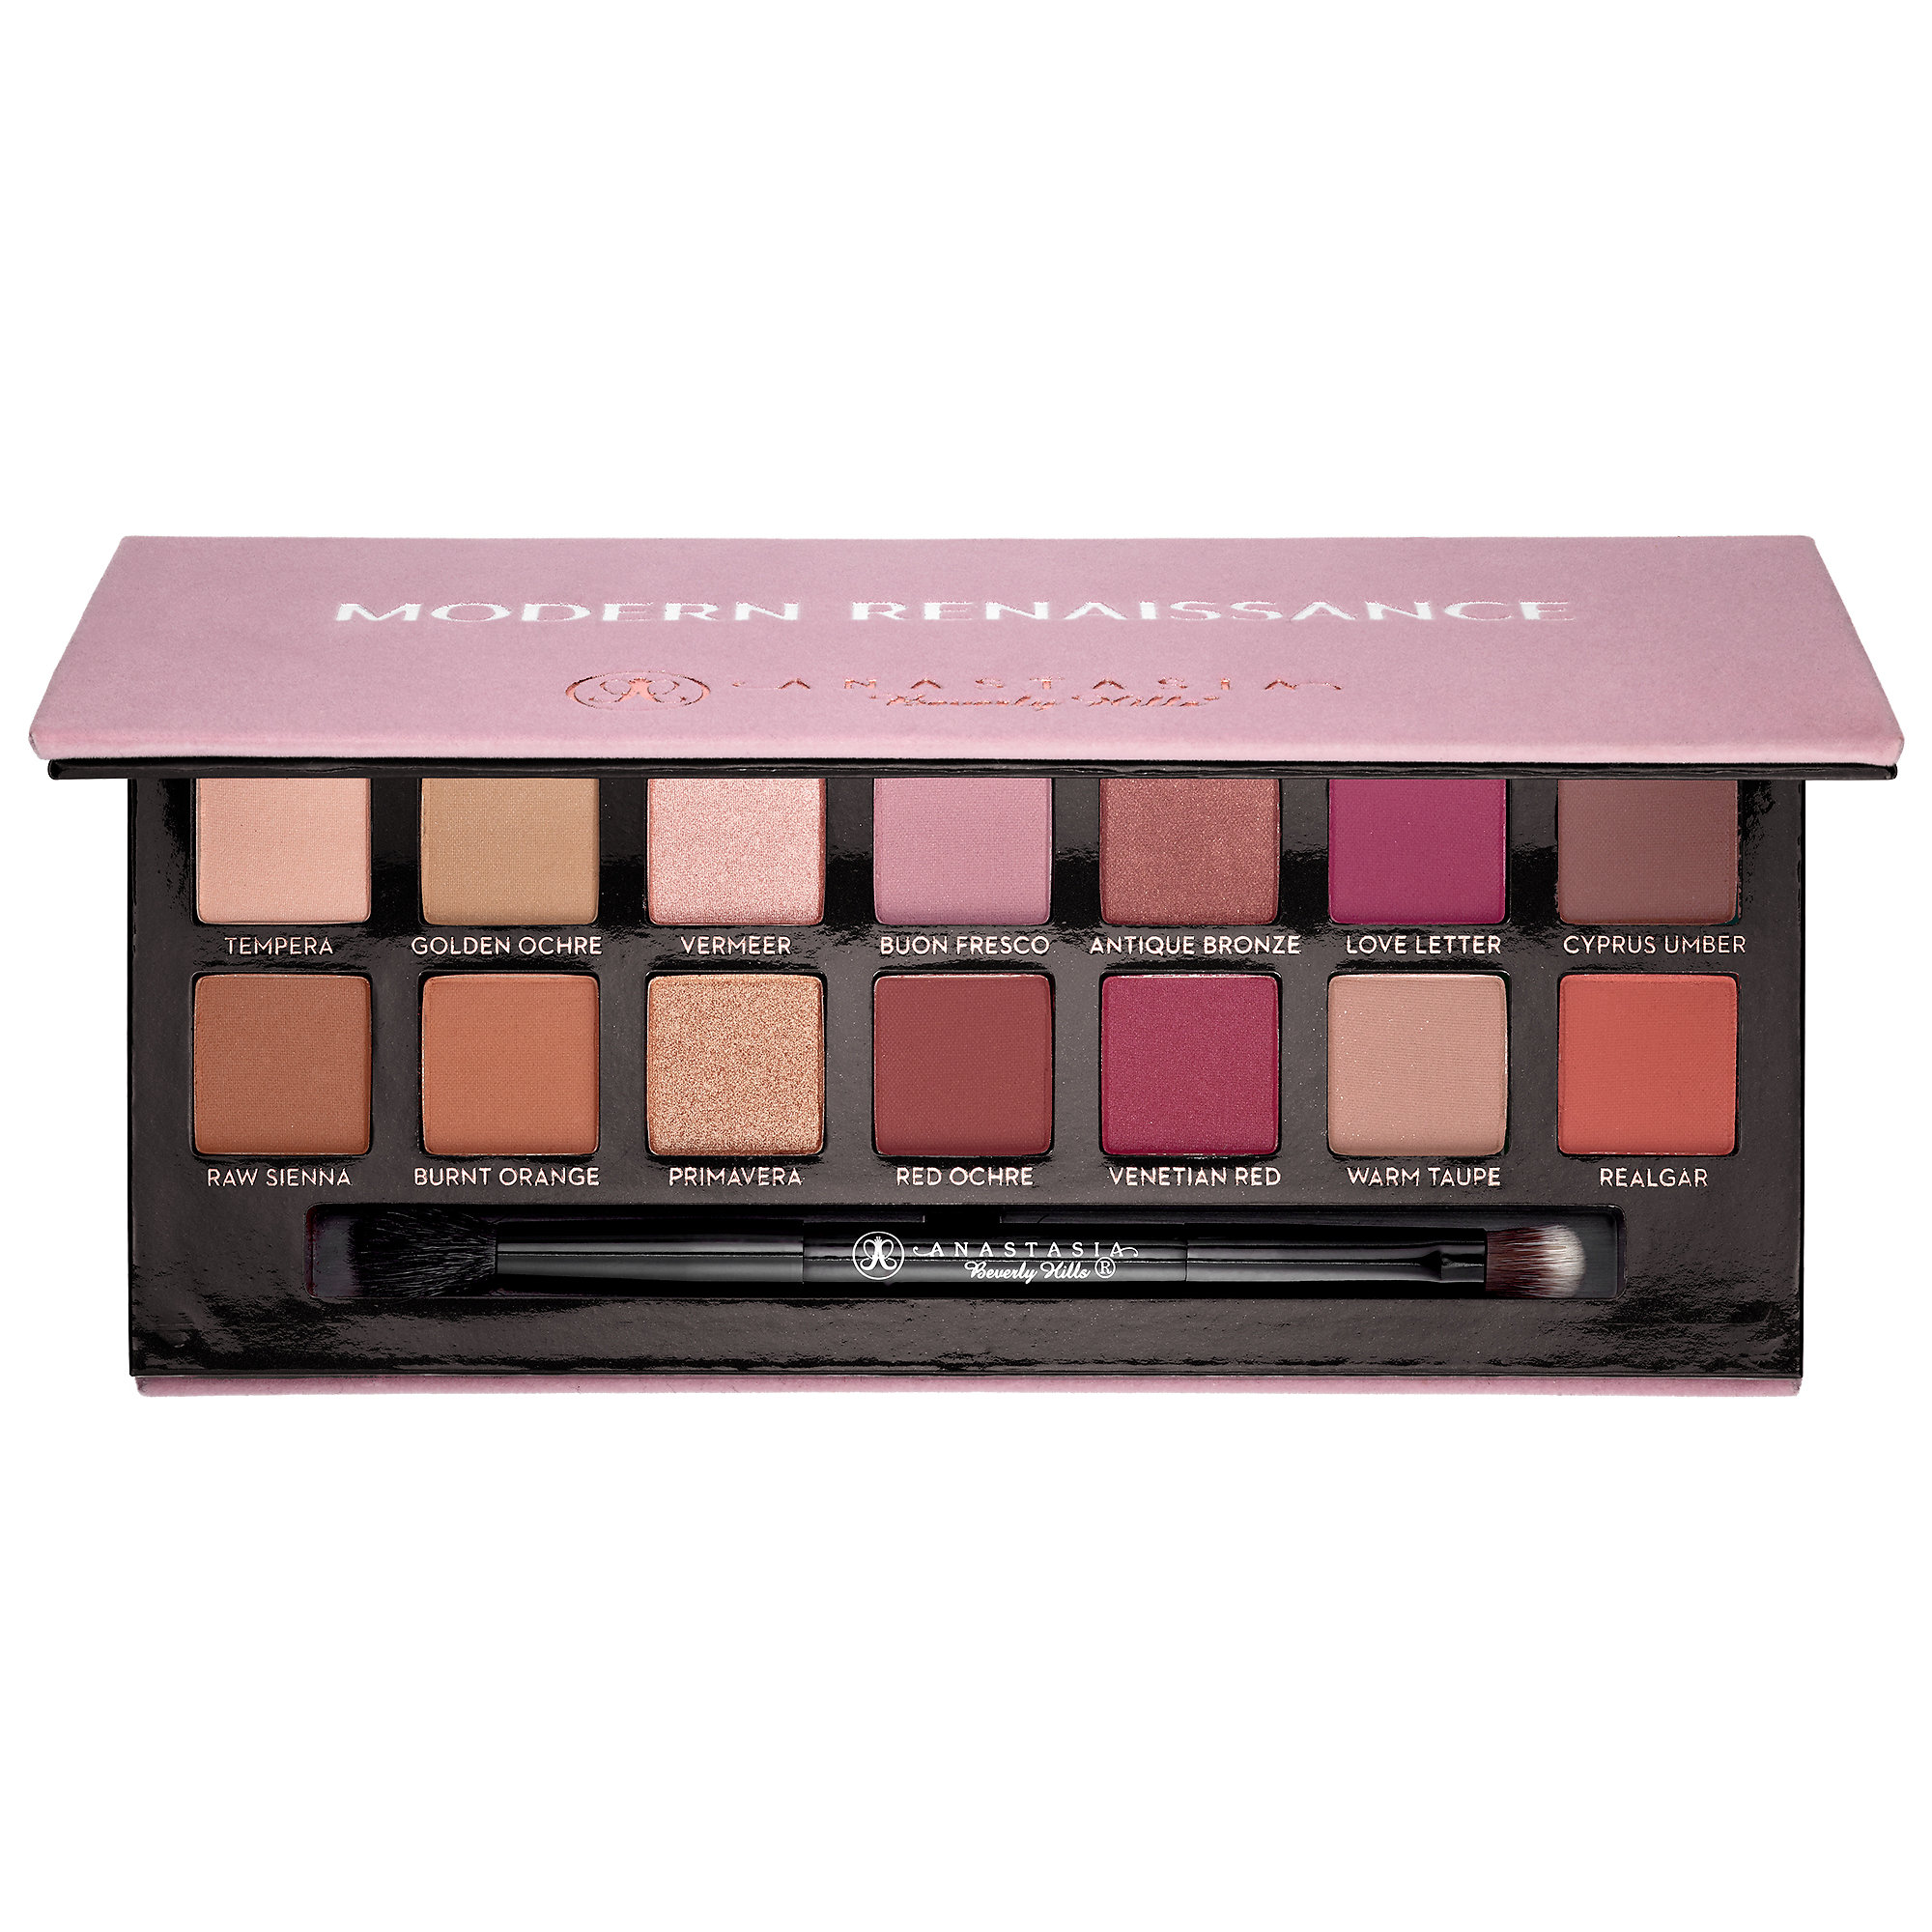
Anastasia Beverly Hills Modern Renaissance palette: I know that this palette has been around for at least a year now so I am late to the game. I didn’t care much for it when it was released because I have a few palettes already.

However, A) it looked good on my friend and B) also, I noticed that my palettes so far are all brown/gold/champagne shades. My favourite in this is the Vietnam Red shade, which I currently do not have a similar shade in my collection.

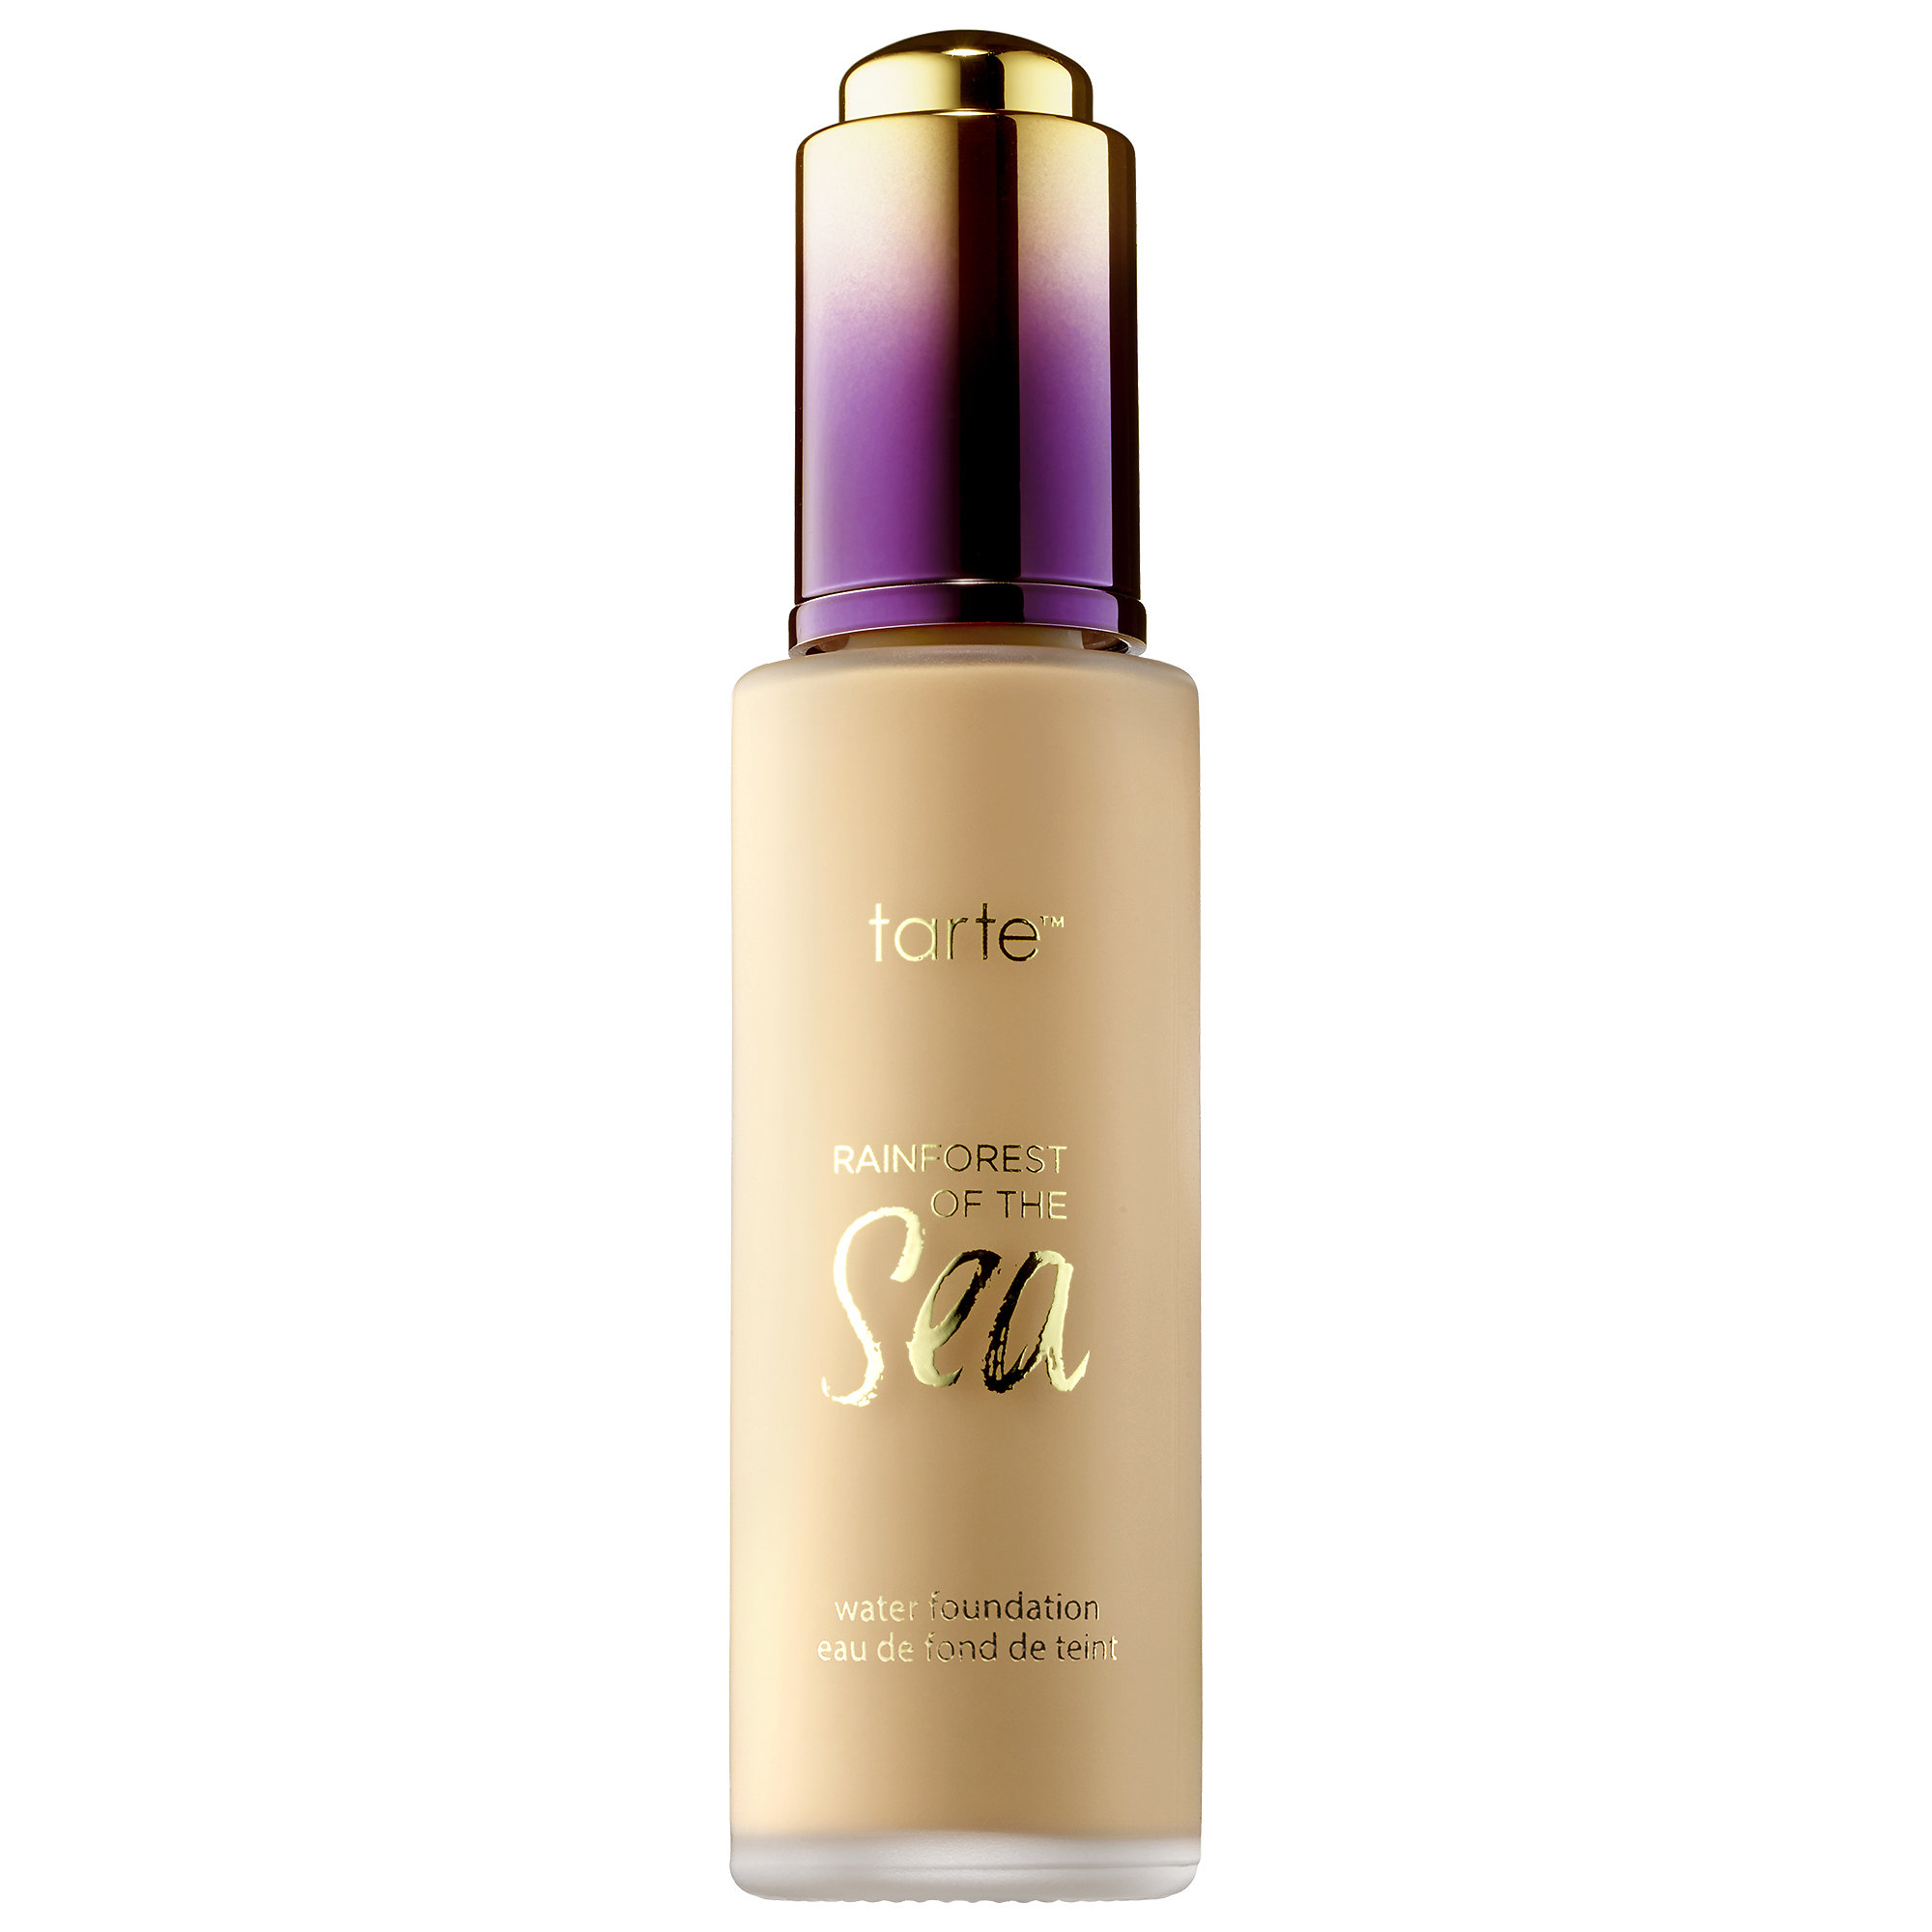
Tarte Rainforest of the Sea: This is also not a new release, but I’ve seen this foundation mentioned everywhere on Instagram and beauty blogs! Also, the packaging for the Rainforst of the Sea line is so pretty and enticing…

I probably won’t be getting this anytime soon as it takes me awhile to finish a bottle of foundation and I have a few in my collection to use up still. Or maybe I will say screw it and buy it for the sake of this blog 😉

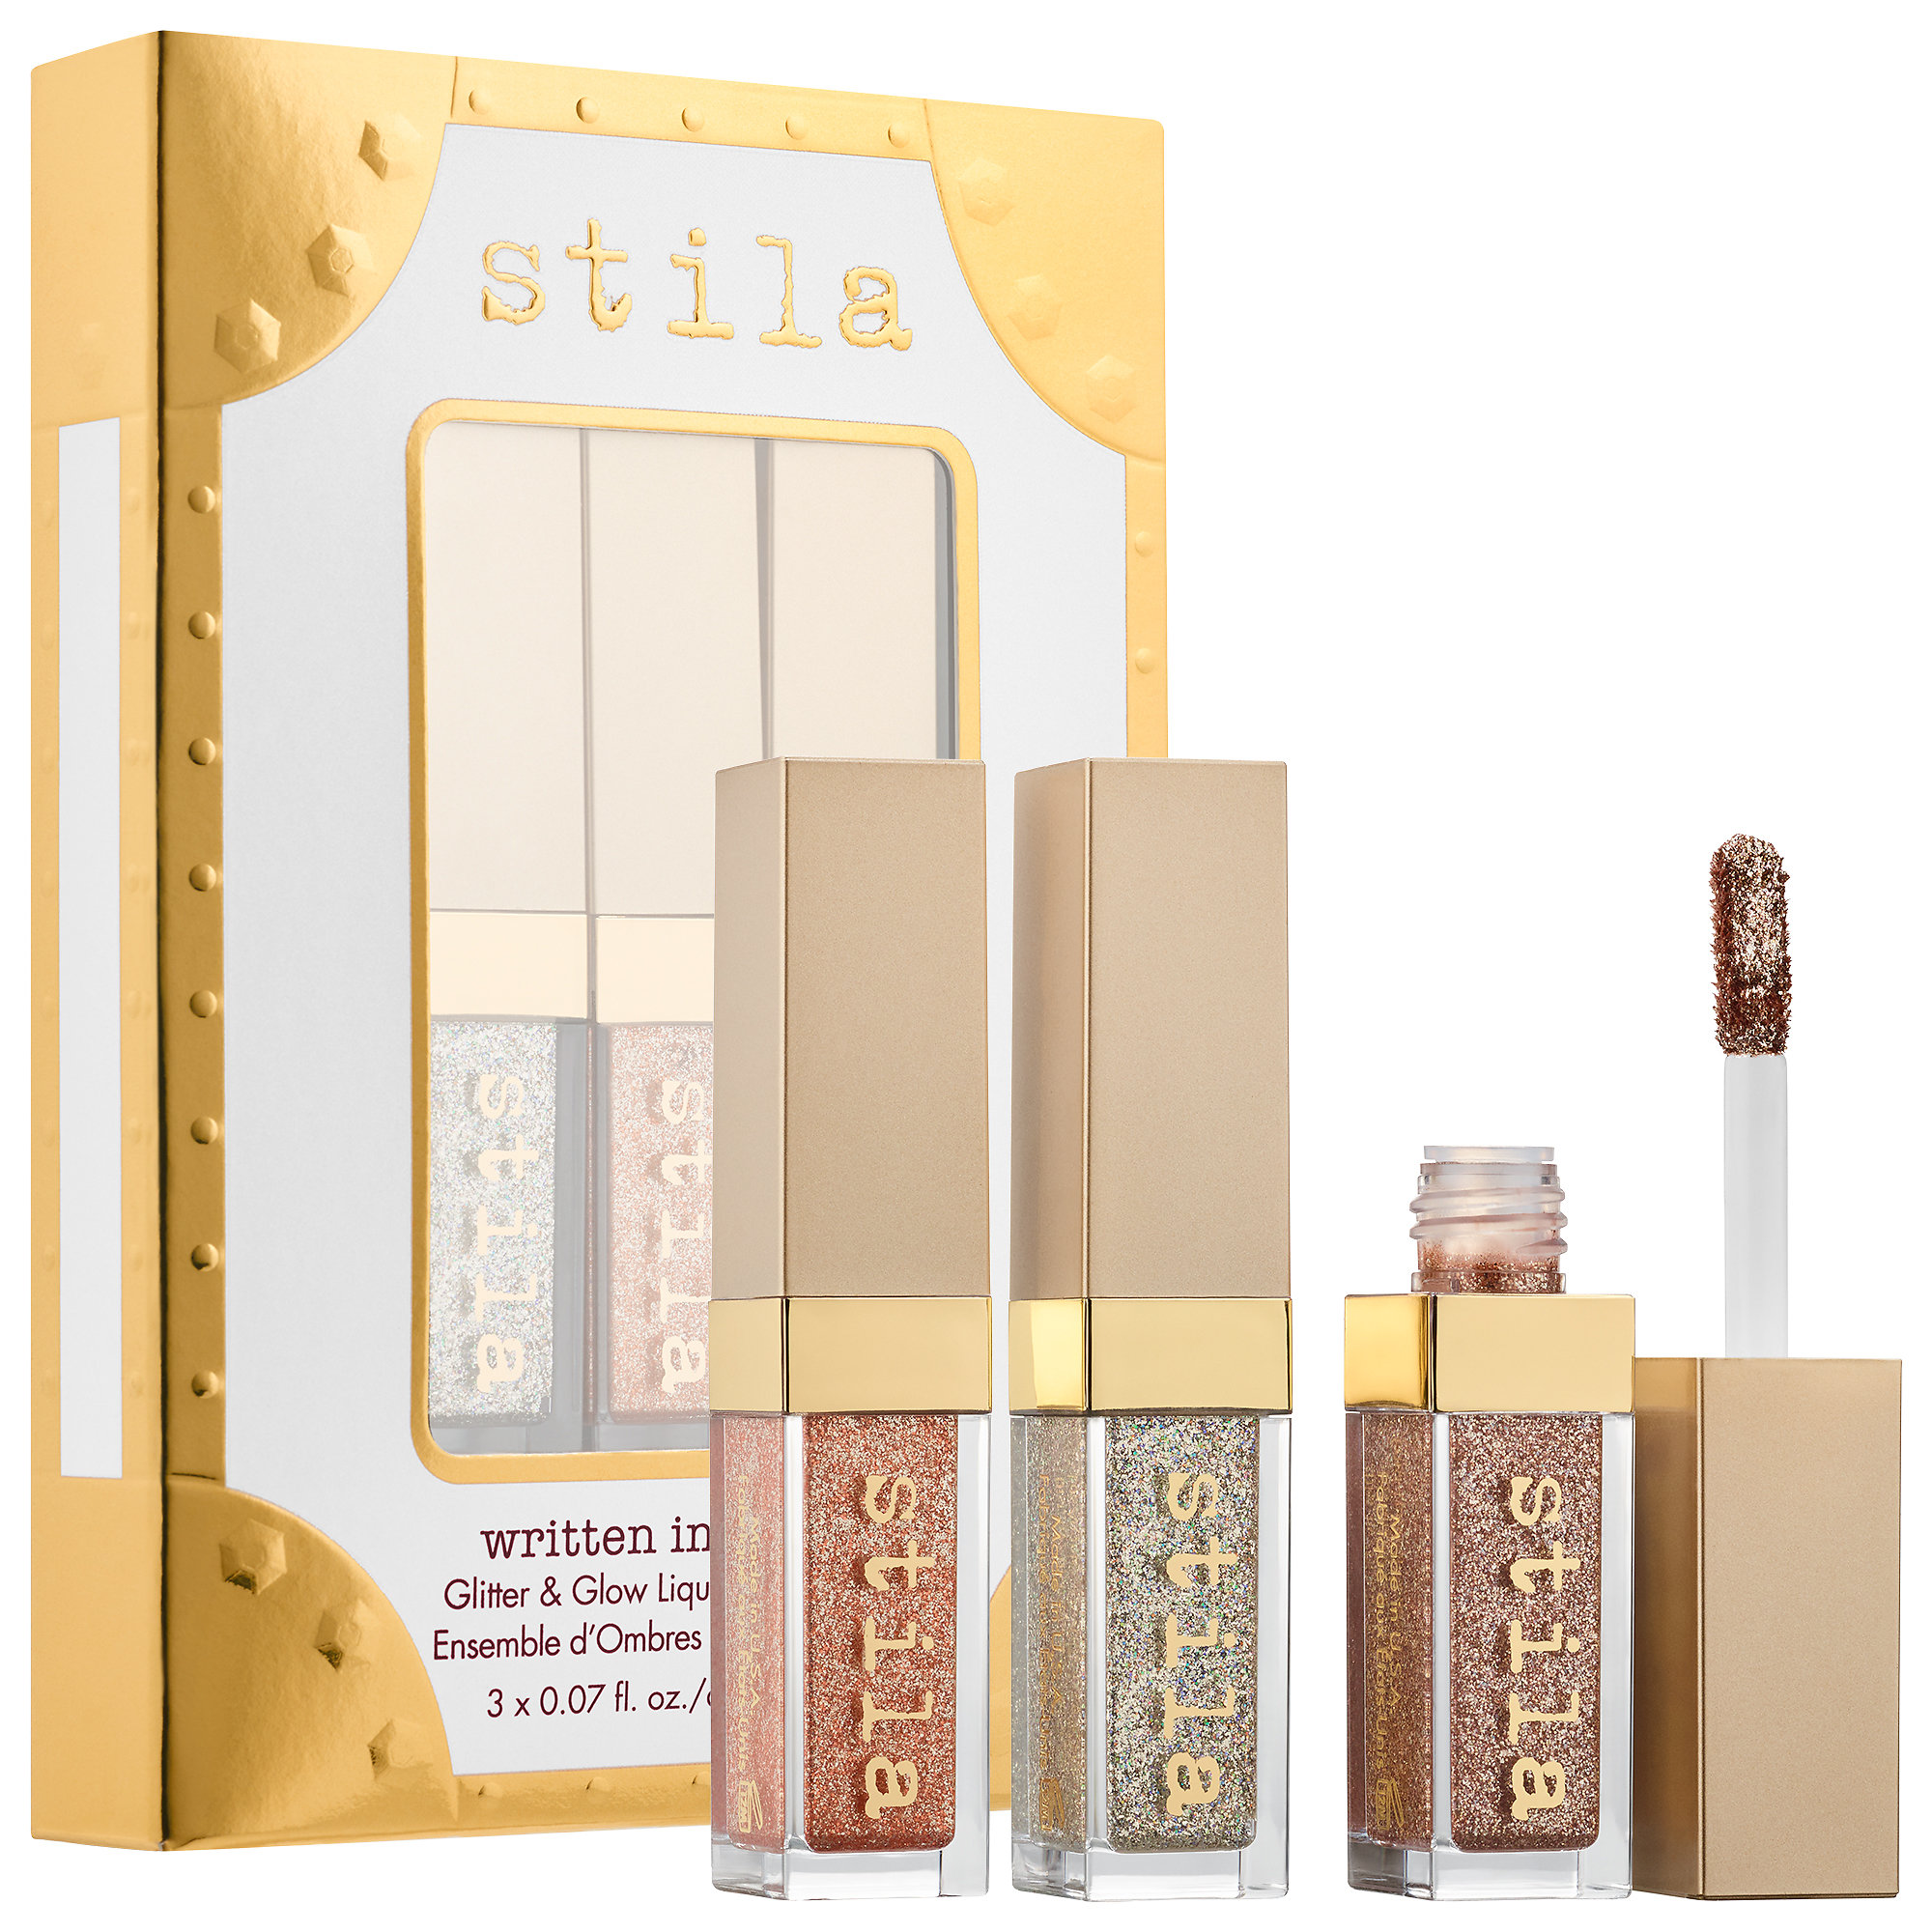
Stila Written in the Stars Glitter & Glow Liquid Eyeshadow Set: The moment I saw these at a media preview event, I was IN LOVE. Oh my goodness, when the PR rep swatched these for us, my heart swooned. They are incredibly pigmented and super glittery. They also did not rub off easily when I tested it out during the event.

It’s also out of stock on Sephora.ca right now, so I’m probably not the only one lusting over this set.

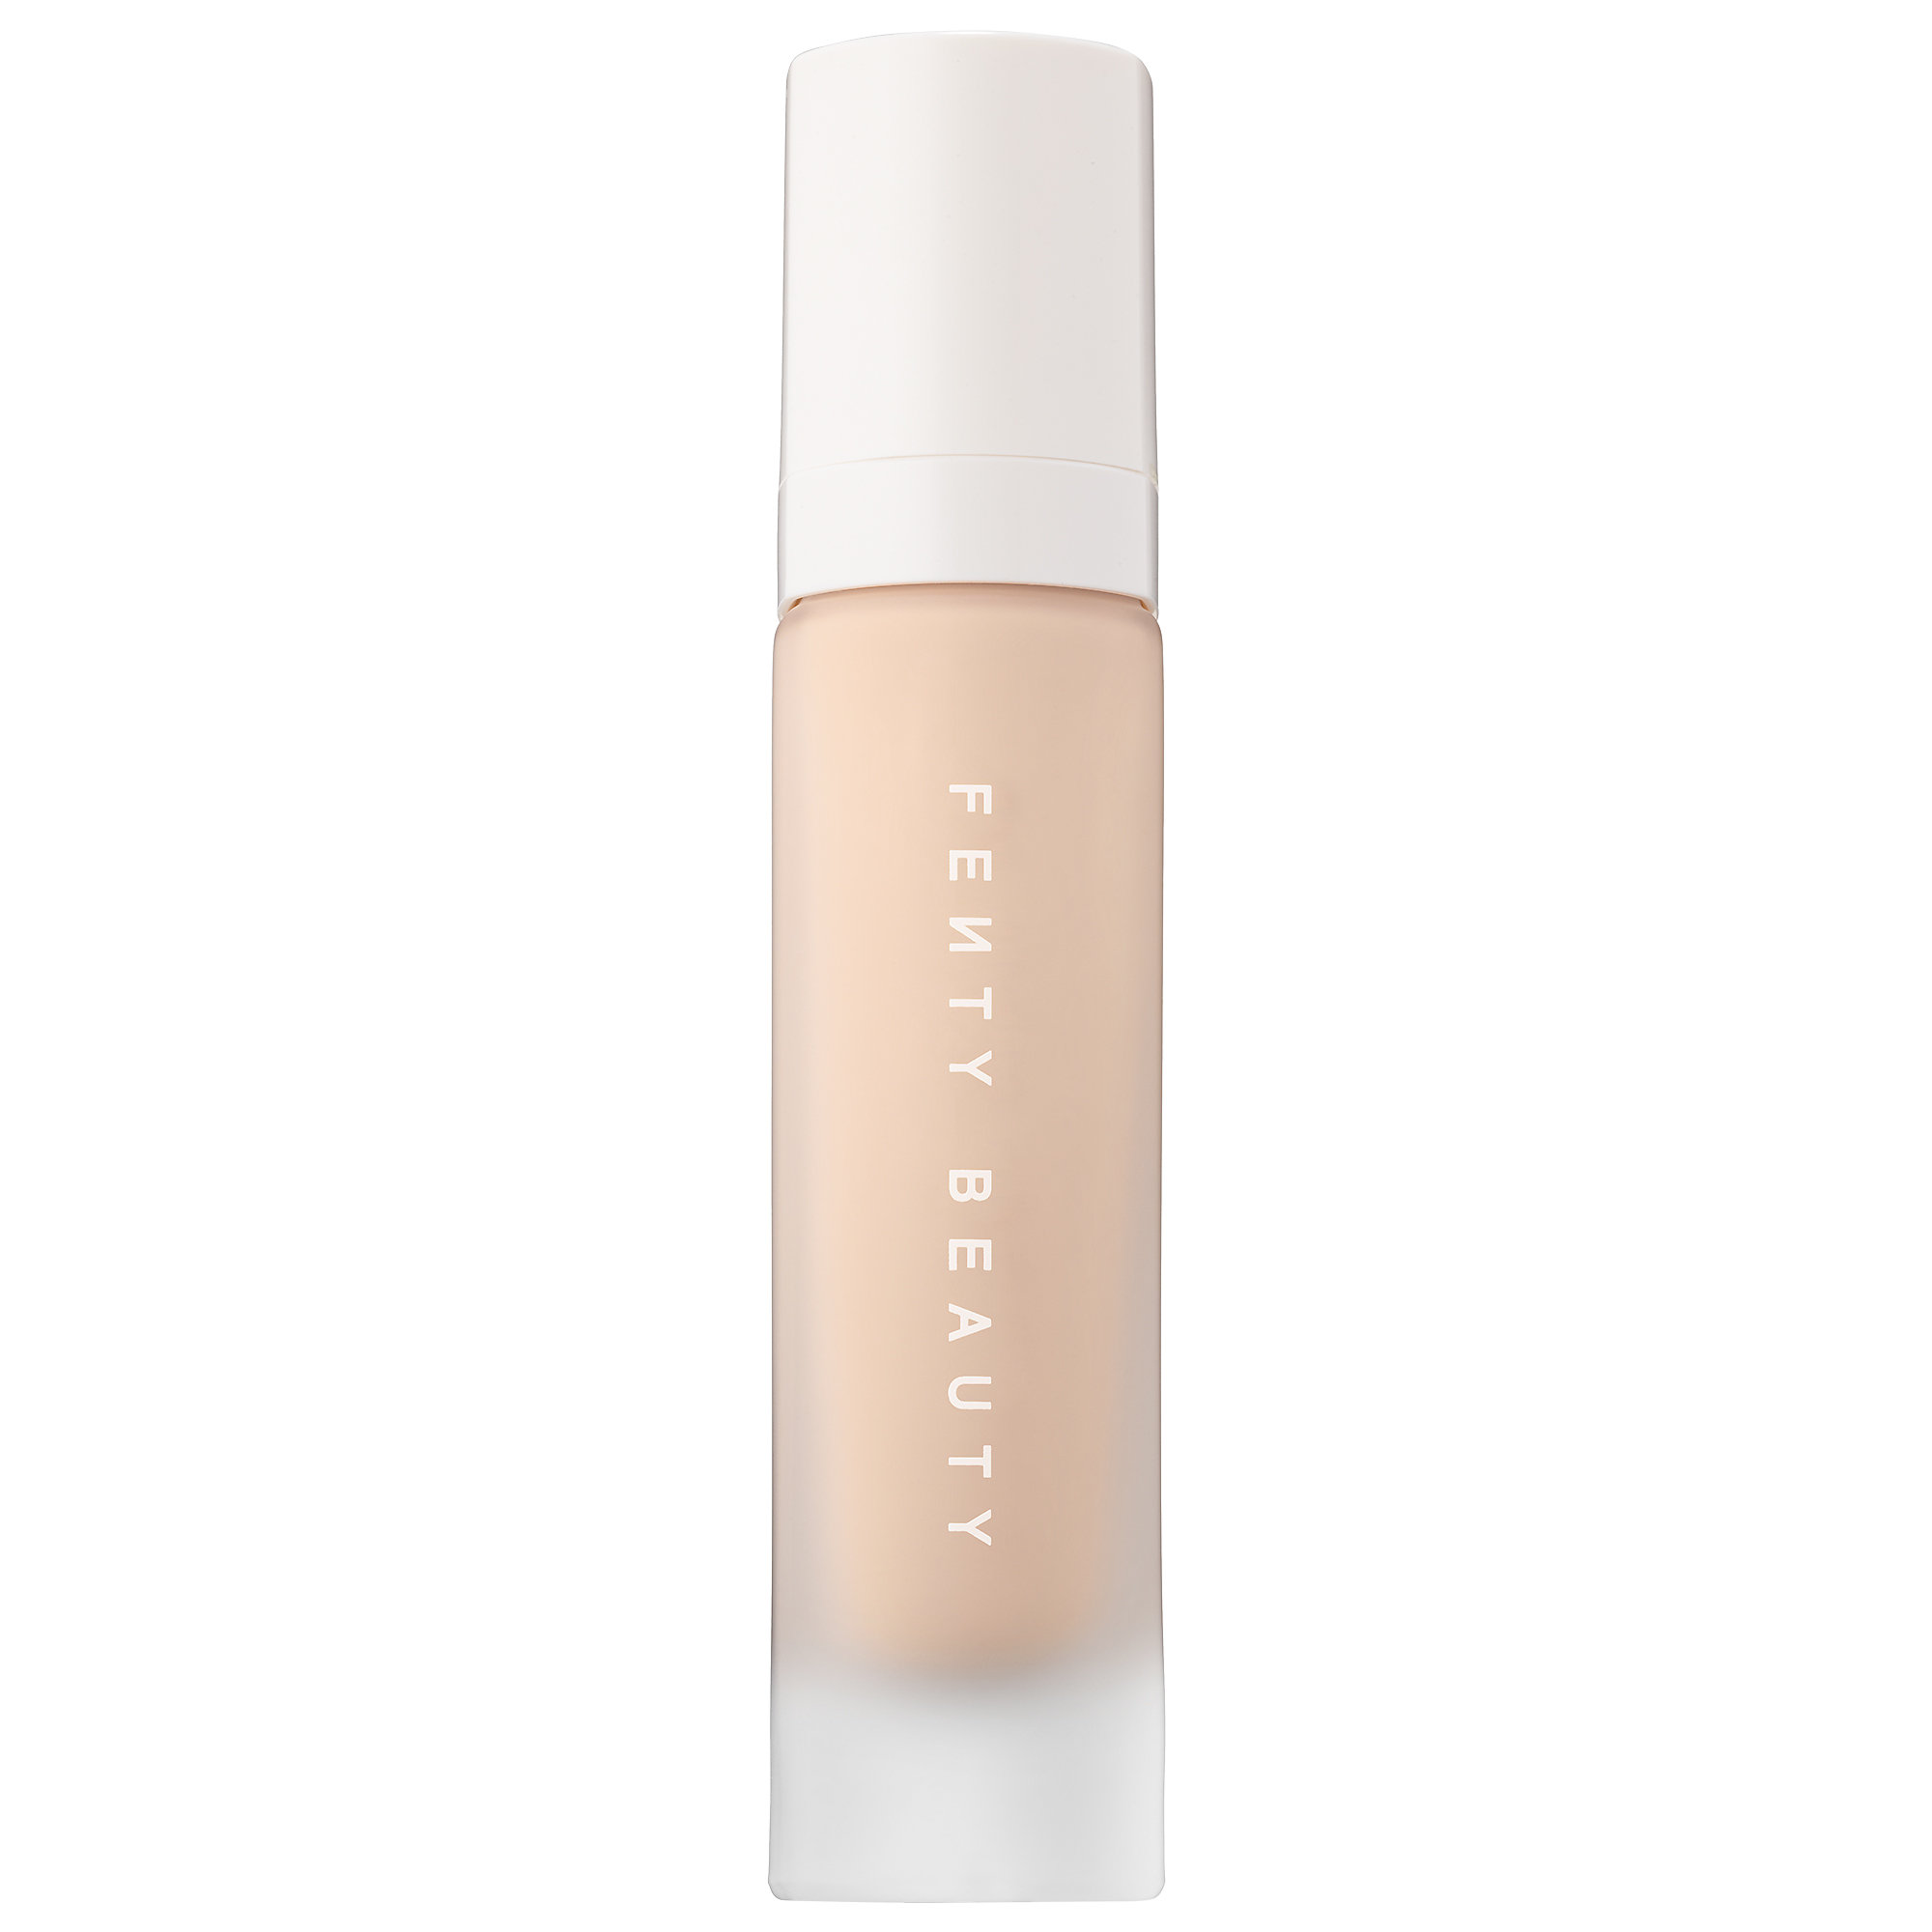
Fenty Beauty Foundation: If you have not seen or heard of Fenty Beauty over the past month, you have been living under a rock. Jk, or maybe you just don’t follow beauty accounts. Fenty Beauty is the new line that Rihanna released and the reviews for the products are really good, especially the liquid foundation.

People are really loving the foundation because of its wide range of shades. In fact, Make Up Fore Ever was recently under fire for trying to throw shade at Fenty Beauty. The loyal following that has already started and Rihanna herself were not having it, so there was a bit of beauty drama over that. You can read about it here if that’s your type of thing.

Anyways, I would love to try out the foundation myself and see if I love it as much as others do!

Tria Hair Removal Laser: This post is titled “If I had a million dollars” so naturally, I had to end with a big product! At $500, the TRIA laser is the only laser approved for home use. To put things in perspective, laser hair removal treatments can go up to thousands of dollars depending on the salon and amount of areas you are doing.  Six sessions for legs only could easily be $2000+ so TRIA would be worth it in scenarios like that.

I’ve had really great results with my laser hair removal session. If I was to laser other areas of my body, I would consider getting this one and doing it safely in the comfort of my own home.


That was a really fun way to take my mind off things! 

I hope you enjoyed reading this post! Let me know if you’ve tried any of these products and/or what you are wanting to try out! 


Filed Under: Beauty, makeup

  • « Previous Page
  • 1
  • …
  • 6
  • 7
  • 8
  • 9
  • 10
  • …
  • 18
  • Next Page »

Hello!

Hi and welcome to Curiously Carmen! I am Carmen, the girl behind the blog. You can read more about me here!

Recent Posts

  • H&P Noodle House Burnaby
  • Travel: Harry Potter Studio Tour (Watford, UK)
  • Travel: The Resident Soho Hotel, London UK
  • North Noodle House
  • Grand Crystal Seafood Restaurant

Subscribe to Blog via Email

Enter your email address to subscribe to this blog and receive notifications of new posts by email.

Partnerships

View my food journey on Zomato!

Archives

Theme Design By Studio Mommy · Copyright © 2025

Copyright © 2025 · Young Blush Theme on Genesis Framework · WordPress · Log in