Originally, I was thinking of writing this in my “about” page, but thought why not create a post on it instead, then link this post? I noticed that although I have tossed around a few beauty facts here and there about myself, there wasn’t a central place where I stored them. If you’re new to reading my blog and reviews (Hi there! welcome to my blog!), then I think this post will help you decipher whether the products are for you or not.
For example, some products may work wonders for dry skin, but not so well on oily skin! By knowing some beauty facts about me, I think it would help you formulate your own opinion or decision if you want to try out some products that I mentioned.
1) I started to get into makeup somewhere between 14/15 years old.
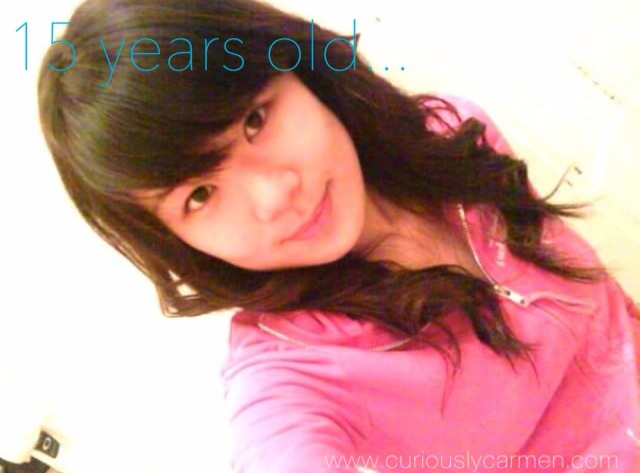
I’ve always been surrounded by makeup though… my mom has a pretty big collection. But I would say I started experimenting and buying my own products around that age =)
2) My skin type is oily/combination. I am prone to minor breakouts.
Yep, I have oily skin, but some days are better than others! During puberty, I broke out often but it has diminished significantly, which I am so glad for… I thought it would never end. I know that people say eating junk food or fried food doesn’t cause breakouts, but I noticed that whenever I have fried foods, I will be greeted with a pimple the next day =(
3) I do not wear foundation on a daily basis.
I usually don’t wear foundation when going to work or school. I’m usually in a rush getting ready, plus I like to let my skin breathe. If I did wear foundation, I save that for the weekends or if I’m going out somewhere!
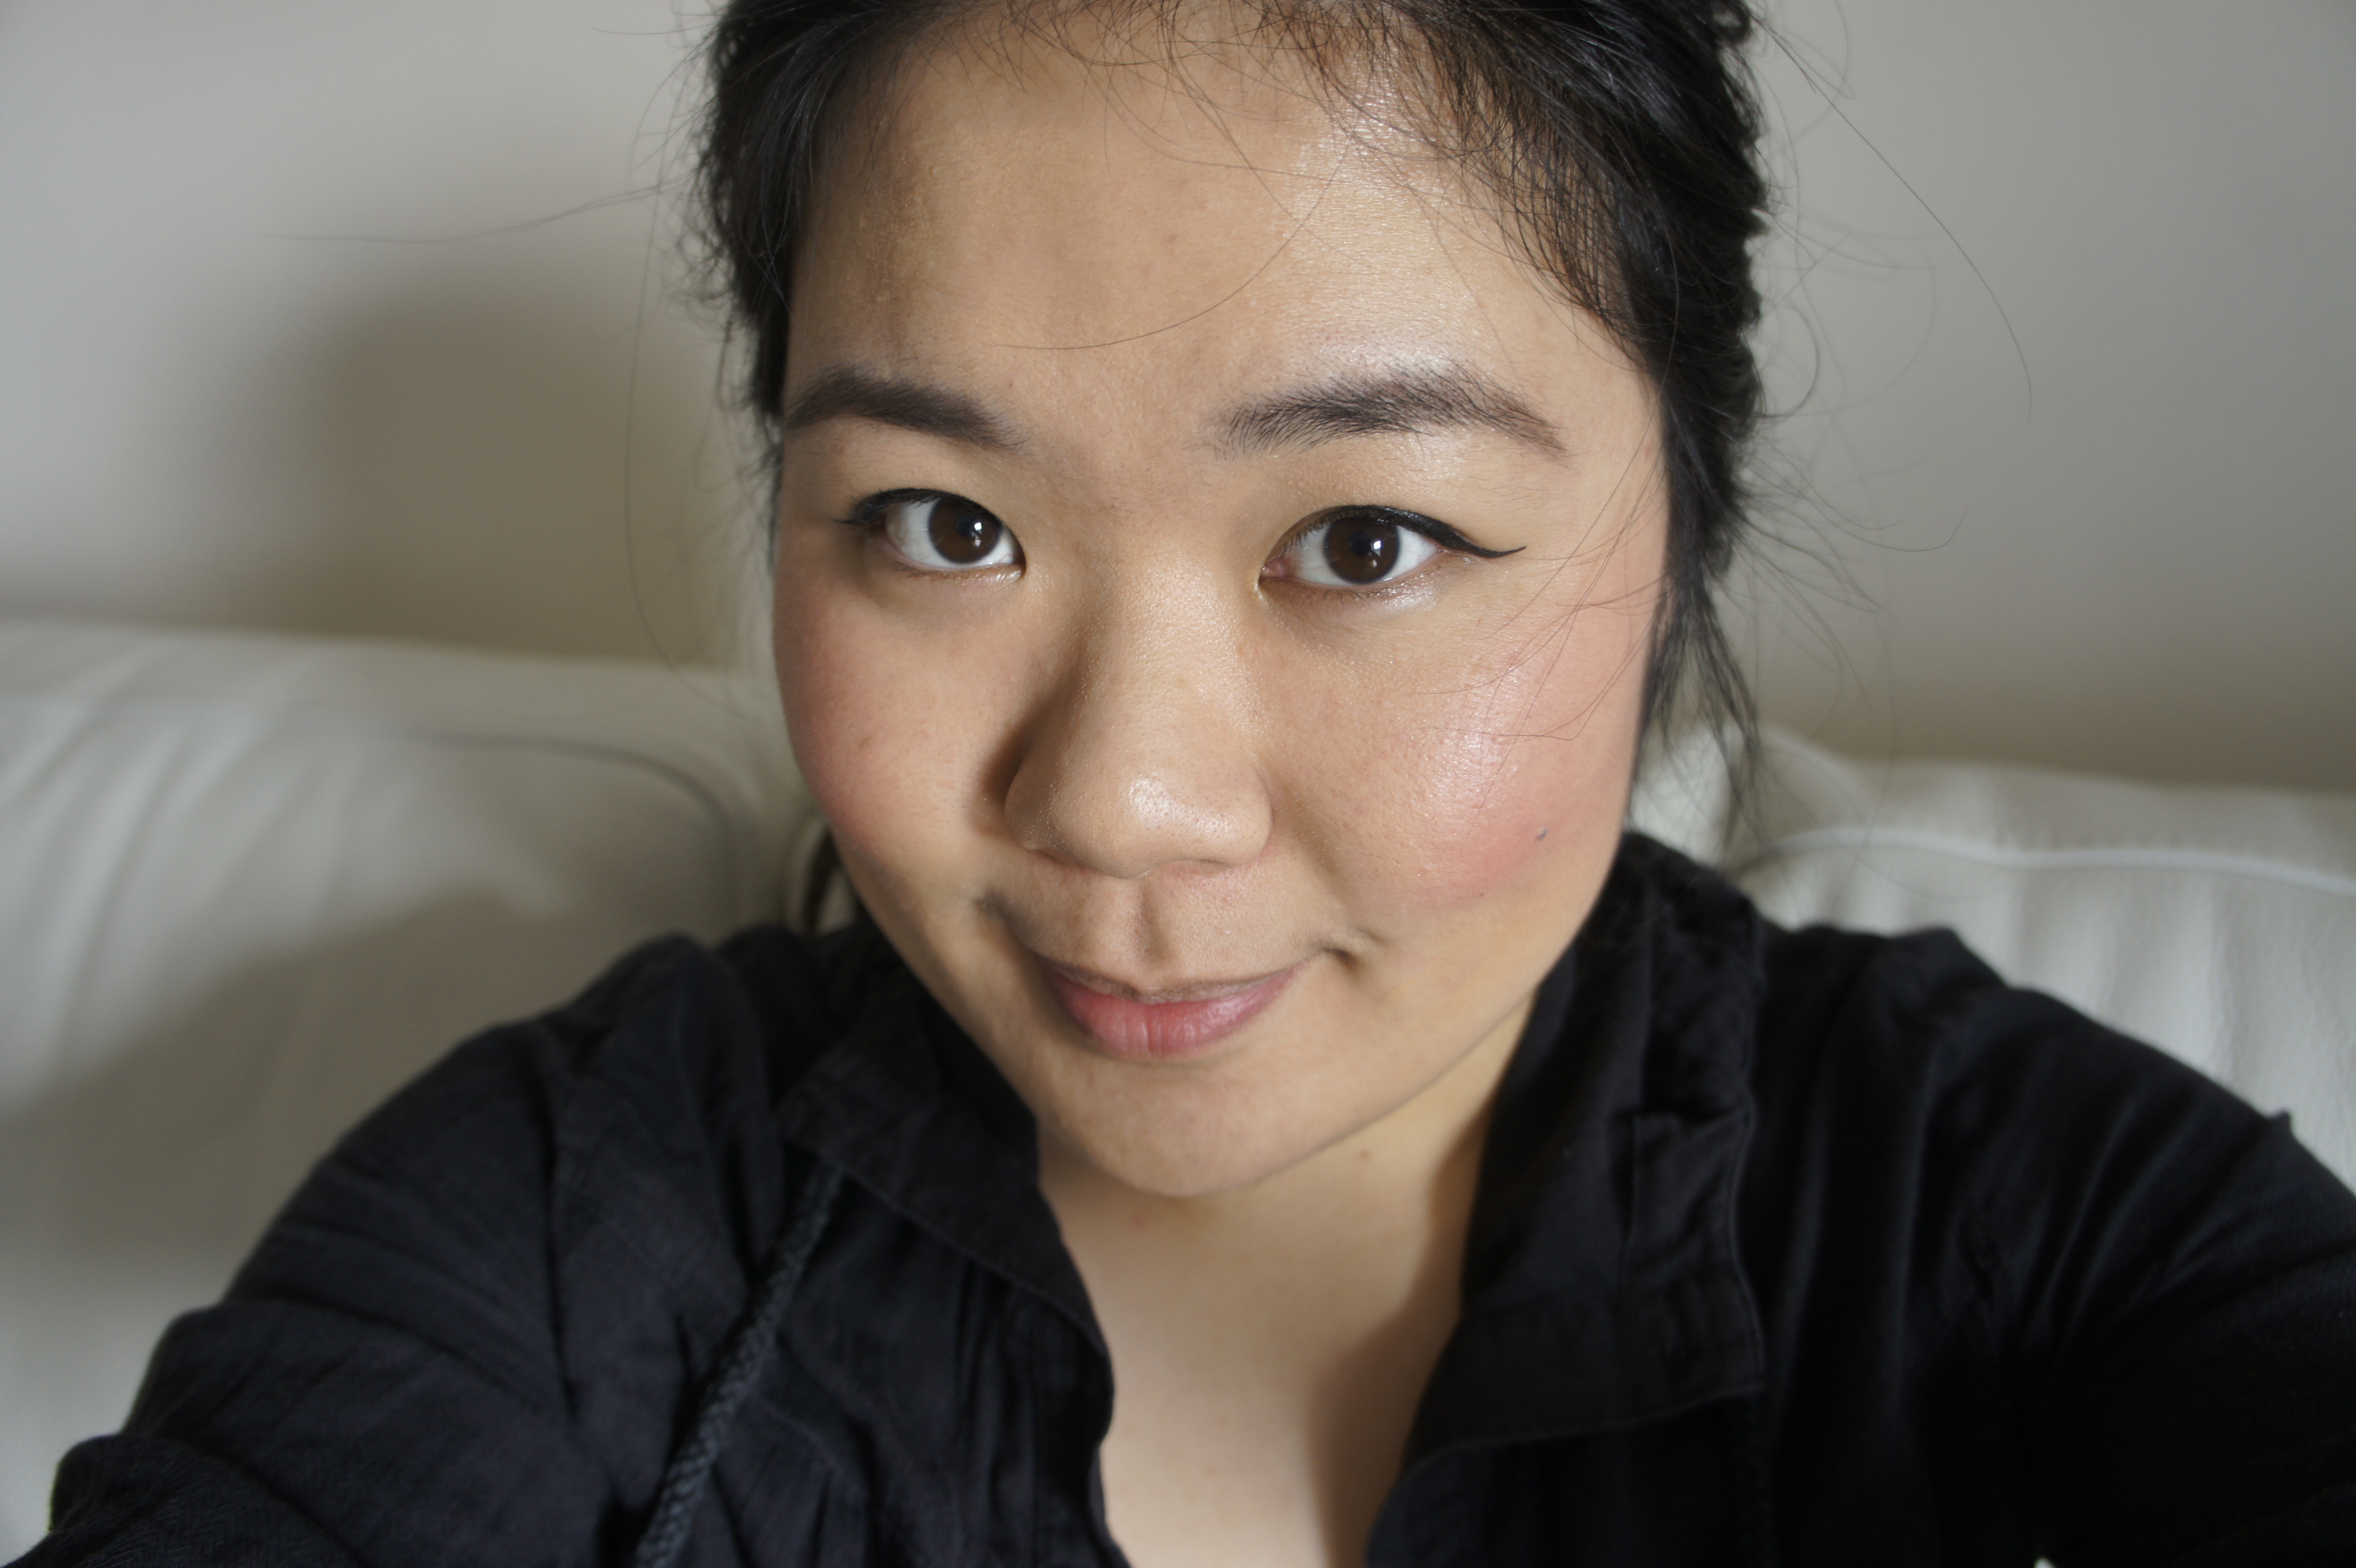
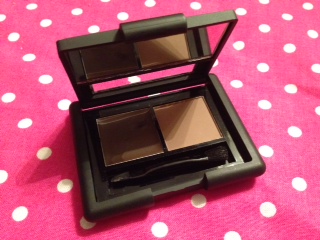
4) My daily makeup consists of only eyeliner & doing my eyebrows.
 I wear eyeliner every single day, and I love it! My daily look is a winged liquid eyeliner. If I don’t wing out my eyeliner, it feels weird to me! Each day, I alternate between my Holy Grail, the amazing Kat Von D tattoo liner or the Stila Stay All Day Waterproof Liquid Liner.
My eyebrows these days consist of the ELF Eyebrow Kit and Anastasia Beverly Hills brow gel (which I have get to review but featured briefly in my Valentines Day post!)
5) I wash my hair everyday.
Bleh. You know how it’s recommended that you don’t wash your hair everyday? NOPE! I’m not sure if I’m just particularly sensitive to that heavy, oily hair feeling… but I hate it! I wash my hair every single day because I can’t stand that oily hair feeling, not to mention it doesn’t look good either (unless you tie it up in a cute bun).
I’m not sure if I my hair type is more oily than normal, or if I just can’t stand the feeling of dirty hair.
6) I moisturize my skin twice a day.
I alternate different facial creams. Lately, I’ve been using my two Estee Lauder creams but I forget their names. I’ll probably do a review on them sometime, as I’ve been using them for the past two months and really like it!
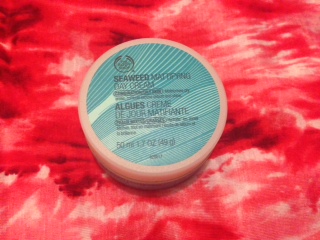
I will always go back to The Body Shop’s mattifying seaweed day cream though! It works really well on my skin and feels light weight =)
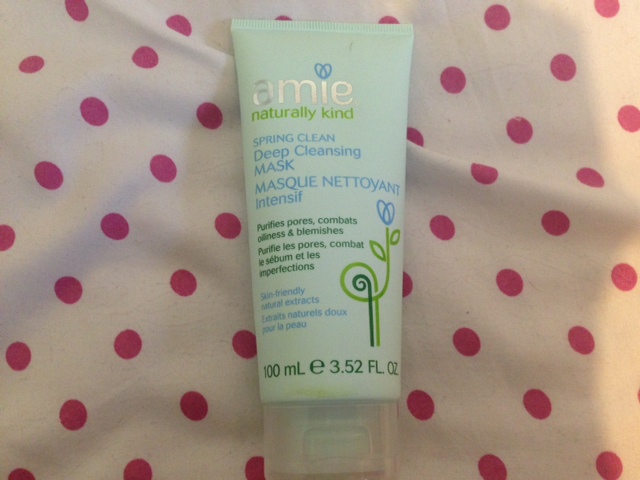
7) I rotate many different types of facial cleansers and moisturizers.
 I guess this is related to number 6! I’m not sure if I’m the only one, but I noticed that if I use the same continuous product for awhile, it starts to lose its effect. That’s why I normally rotate my different facial cleansers and moisturizers, because I don’t want my skin to build a tolerance up and have the product be not effective.
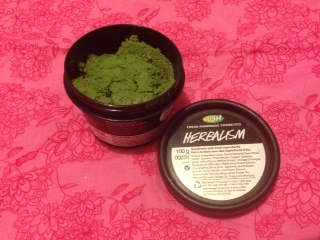
It’s happened to my Body Shop seaweed mattifying day cream, which is why I started to incorporate other moisturizers. I also found that my Lush herbalism cleanser wasn’t doing an amazing job like it used to, so I stopped using it for a few weeks and went back to it!
8) Lipstick shades that look best on my skin are darker or plum shades. You don’t want to see me with bright pink lipstick!
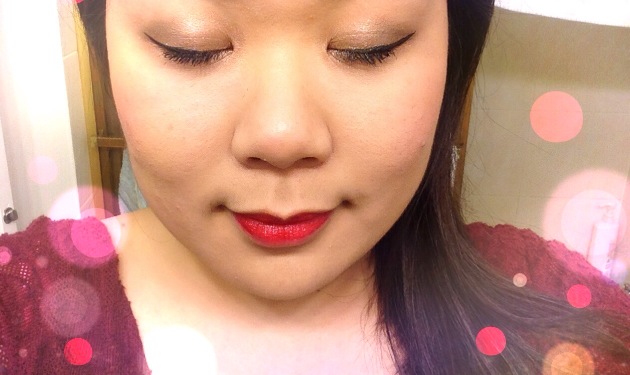
You really do not want to see me with bright pink lipstick shades, it really does not suit my skin tone! It really sucks because I see all these wonderful bright shades on the shelves that I would love to wear, but when I actually wear the shade – that’s a whole different story. With the summertime coming up, I compensate by just wearing brighter nail polishes which is better than nothing =)
I like dark red or plum shades. I’ve been told that I look good in red, whether it’s lipstick or clothing pieces!
9) For foundations, I use medium shades.
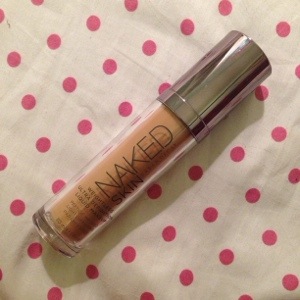
I’m using the term “medium” loosely because I know it depends on what product you’re using, and what company =) As an industry standard, I know that people usually just share their MAC foundation shade, but I don’t have any of their foundations! There’s just too many products out there, I’ll get to their foundation eventually =)
To give you somewhat of an idea, I am a medium 5.0 for Urban Decay.
10) My biggest beauty wish would be to naturally have clear skin.
Yep. Having natural nice, clear, soft, porcelain skin would be my biggest beauty wish! It’s easy to achieve a pore less and smooth makeup look, but it would be amazing to be blessed with clear and healthy skin no matter what your environment is! A girl can dream….
I would love to hear some beauty facts about you as well! Let me know in the comments below =)
Thanks for reading!
Carmen
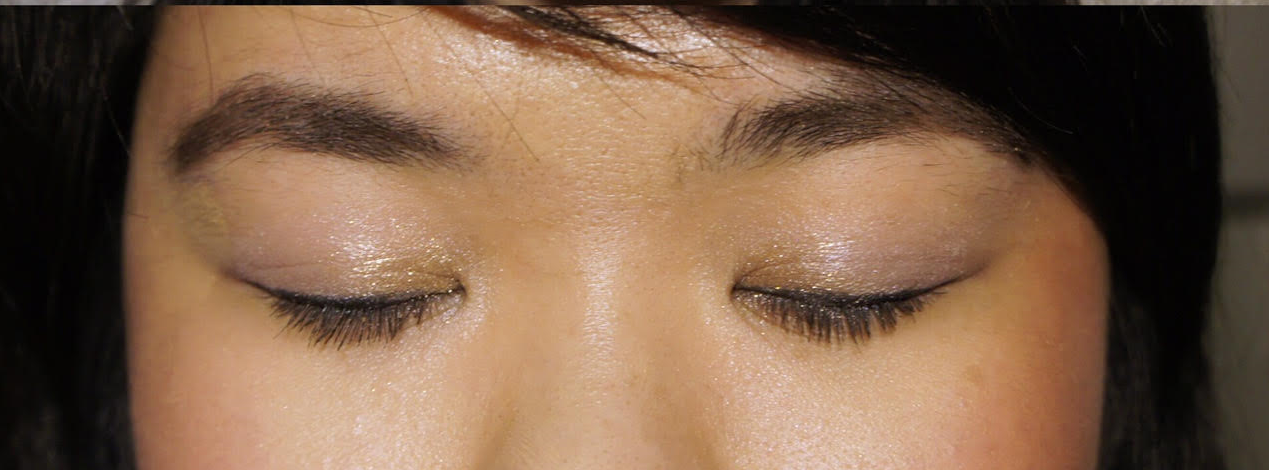
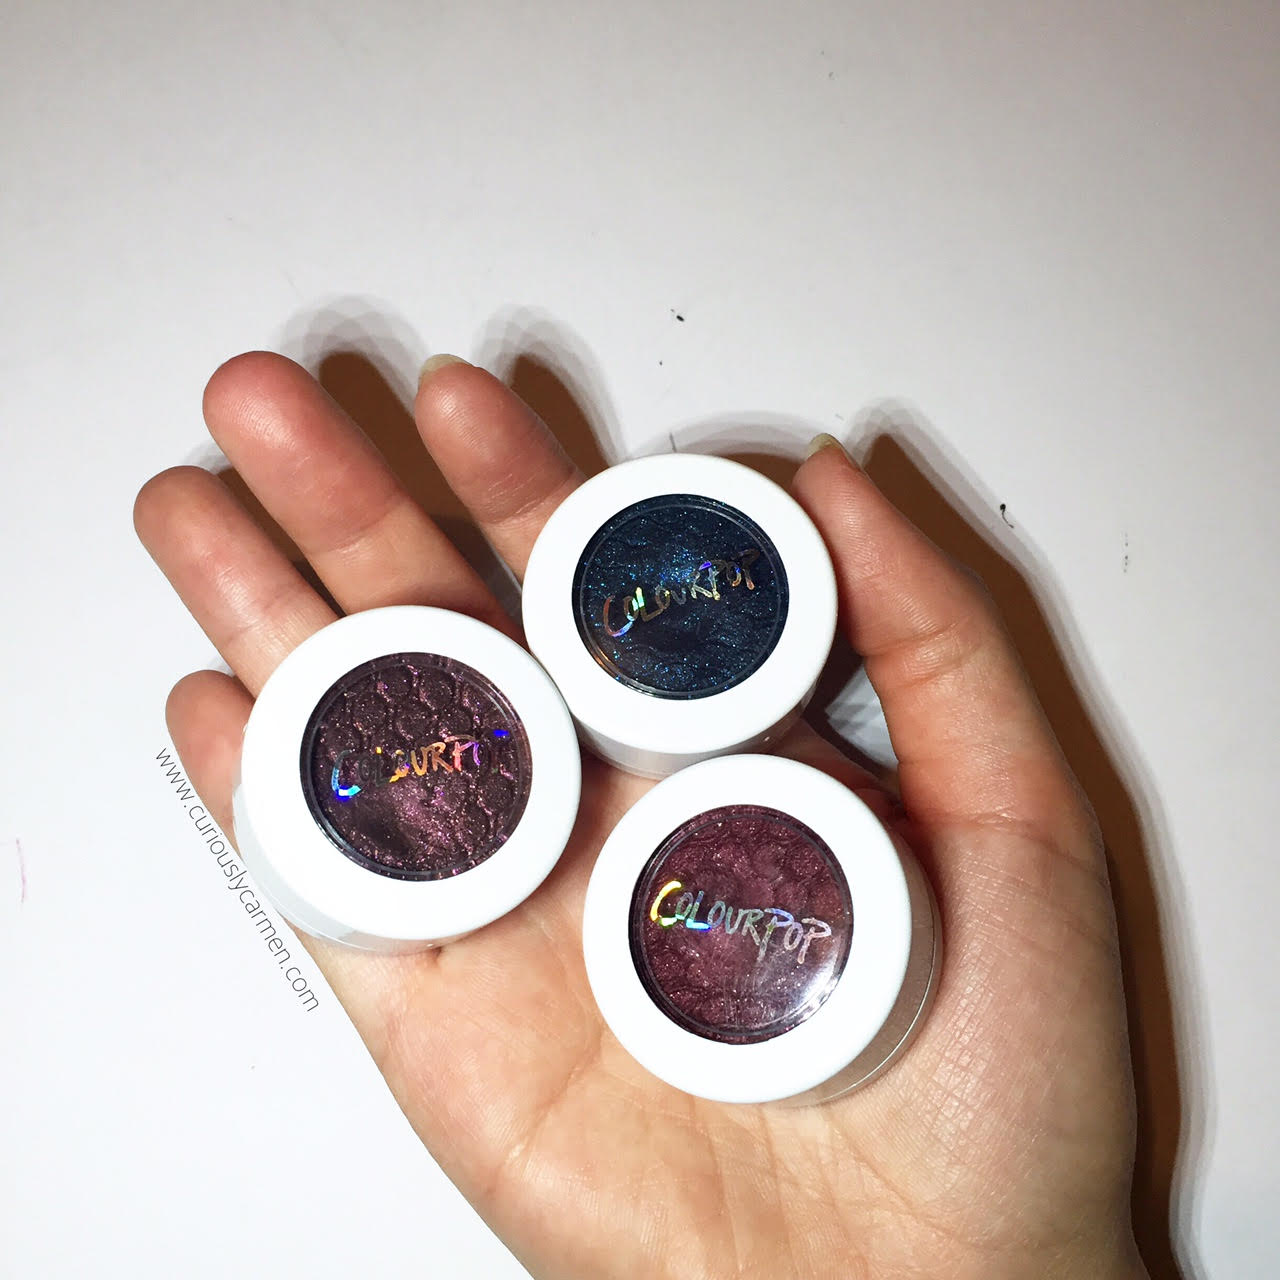 Here are the three shades I ordered! For the super shock eyeshadows, ColourPop has six types of finish – satin, matte, metallic, ultra-metallic, pearlized, and pressed pigment.
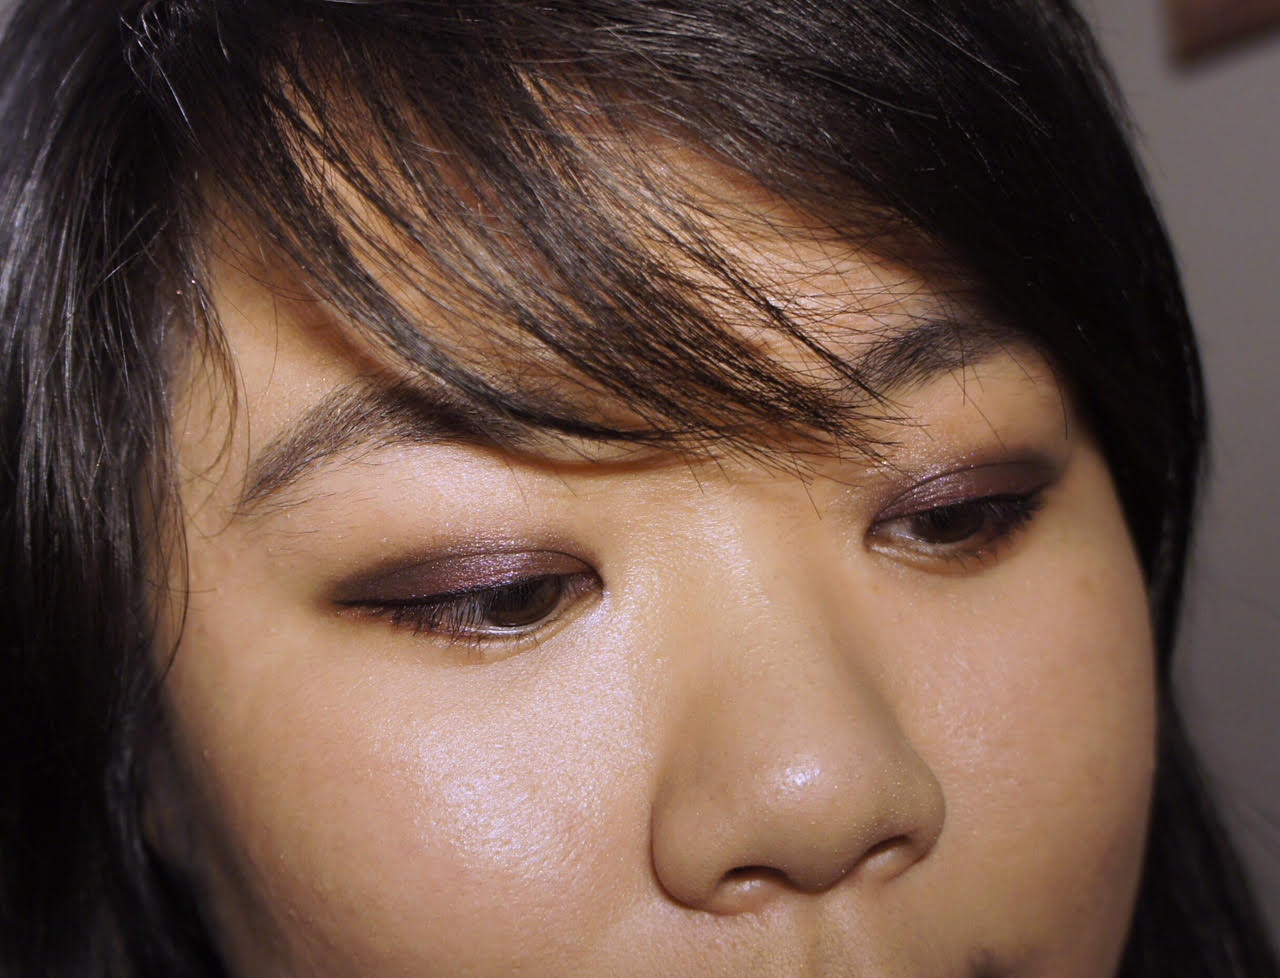 Here is one of the looks I created using the eyeshadows. Look how pigmented it looks, and I didn’t even use that much of the product!
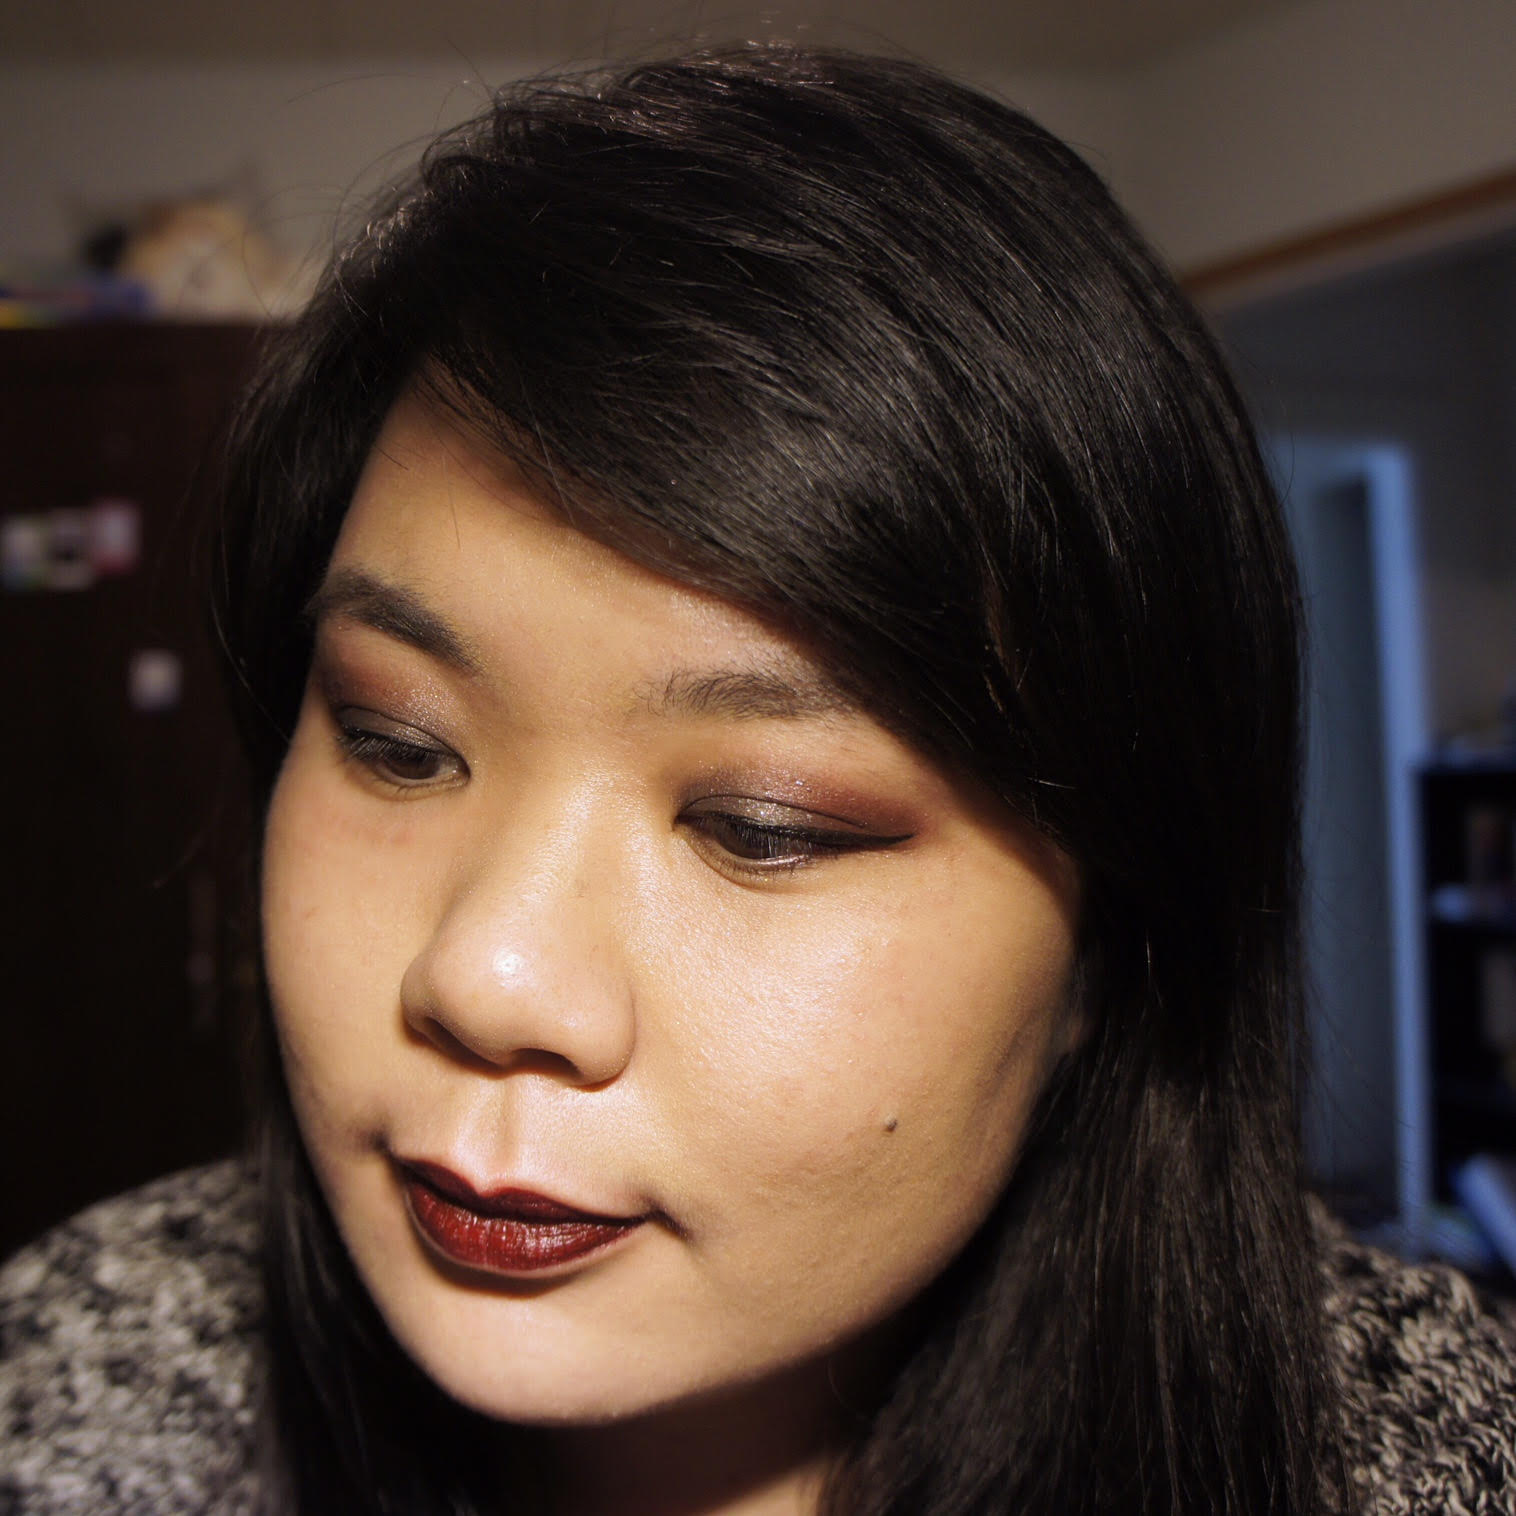 Here is another look I created using all three super shock eyeshadows. I am also wearing ColourPop’s Lippiestix in the shade dalia. I plan on doing a separate review for the Lippiestix!
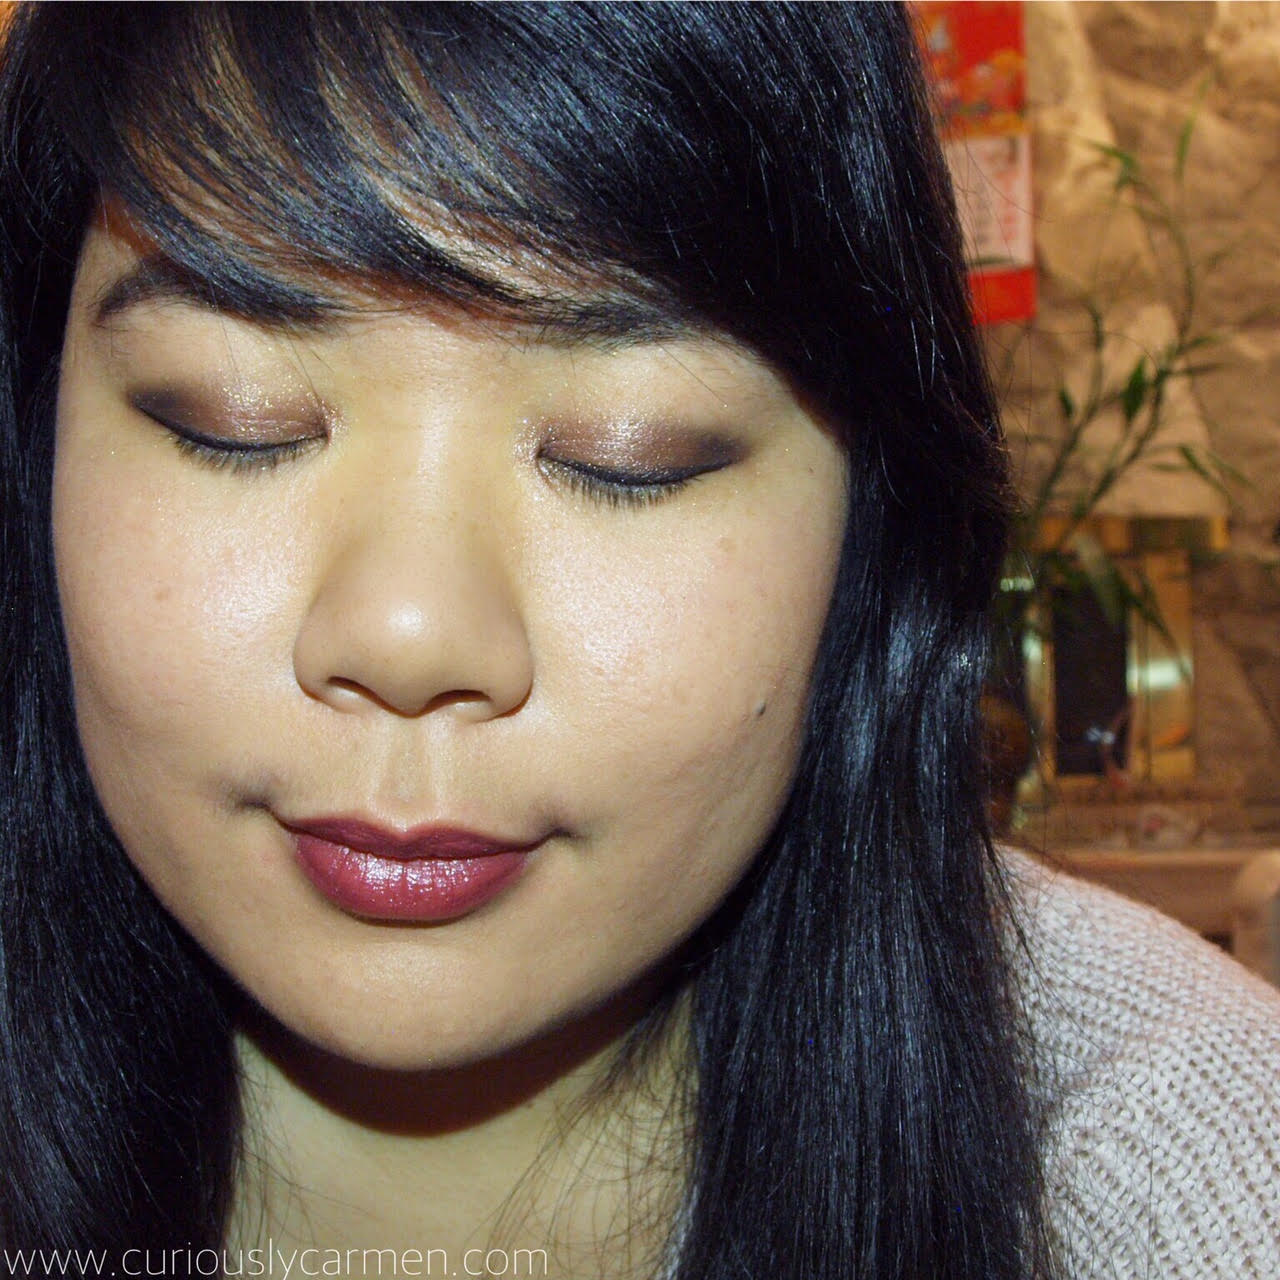 Since we are both pretty busy on the weekdays, we use the weekends to just be lazy (although I’ve been pretty busy with school, work and my blog). Admittedly, this makeup look was completed under ten minutes while we were binge-watching Brooklyn 99. But I still think it turned out decently, even if I was partly watching TV!
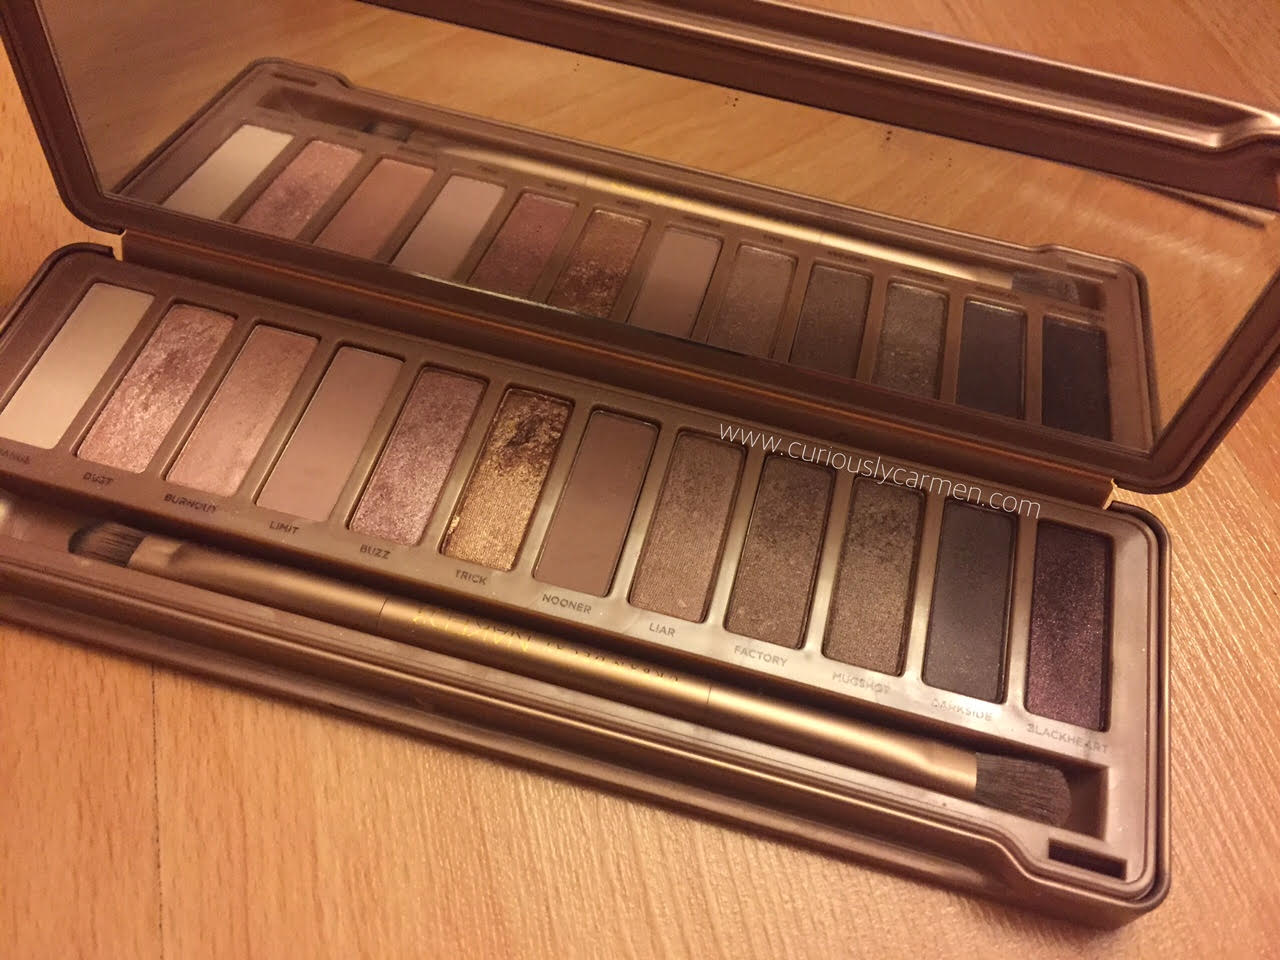 I was just planning on using ‘trick’ over my eyelids, but for some reason, I found myself playing with the other colours as well.
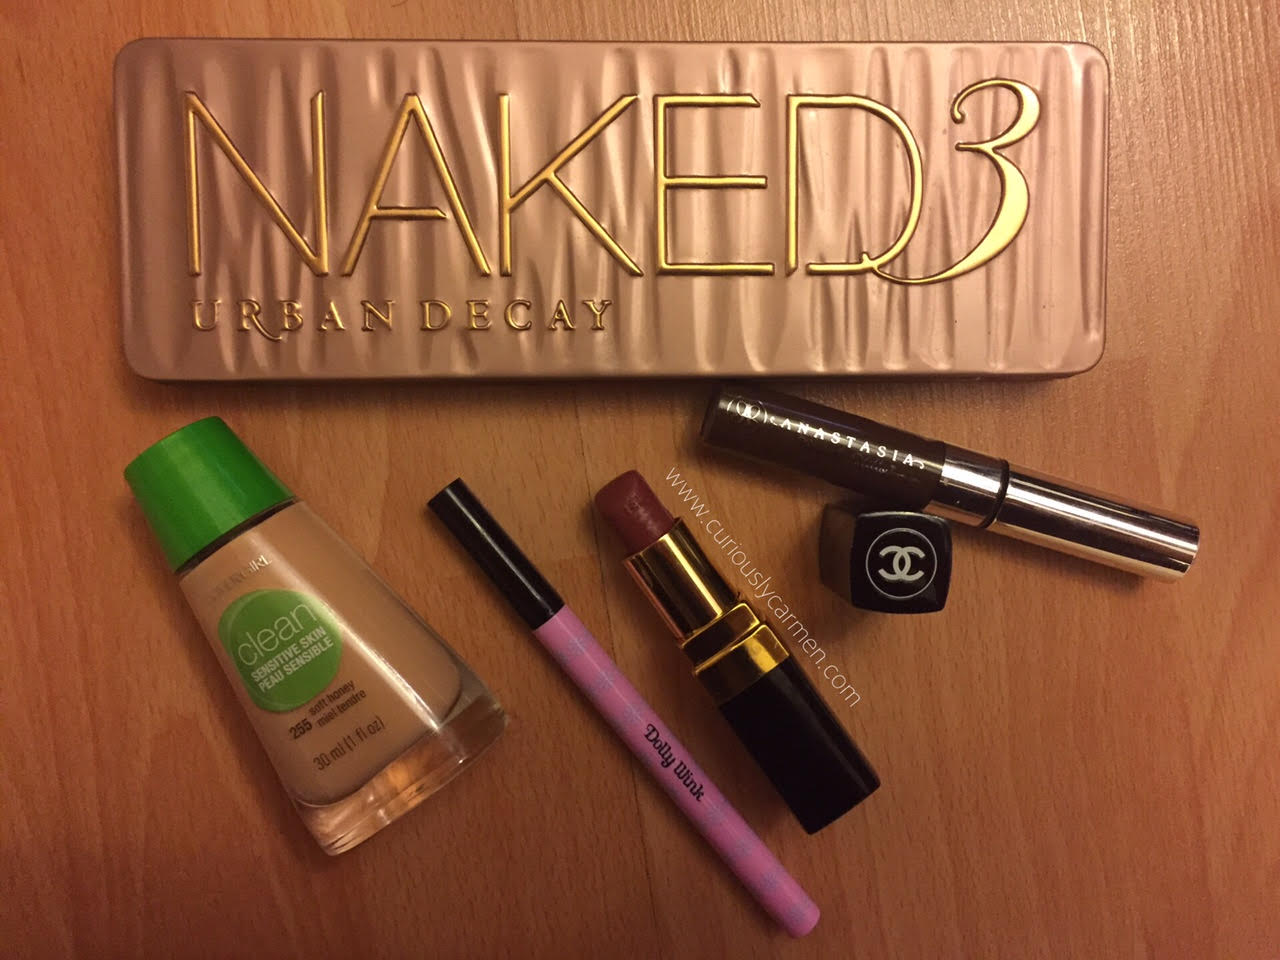 I finished the look on the rest of my face with the Anastasia brow gel, Covergirl clean foundation, and Chanel lipstick in shade ‘etole’.
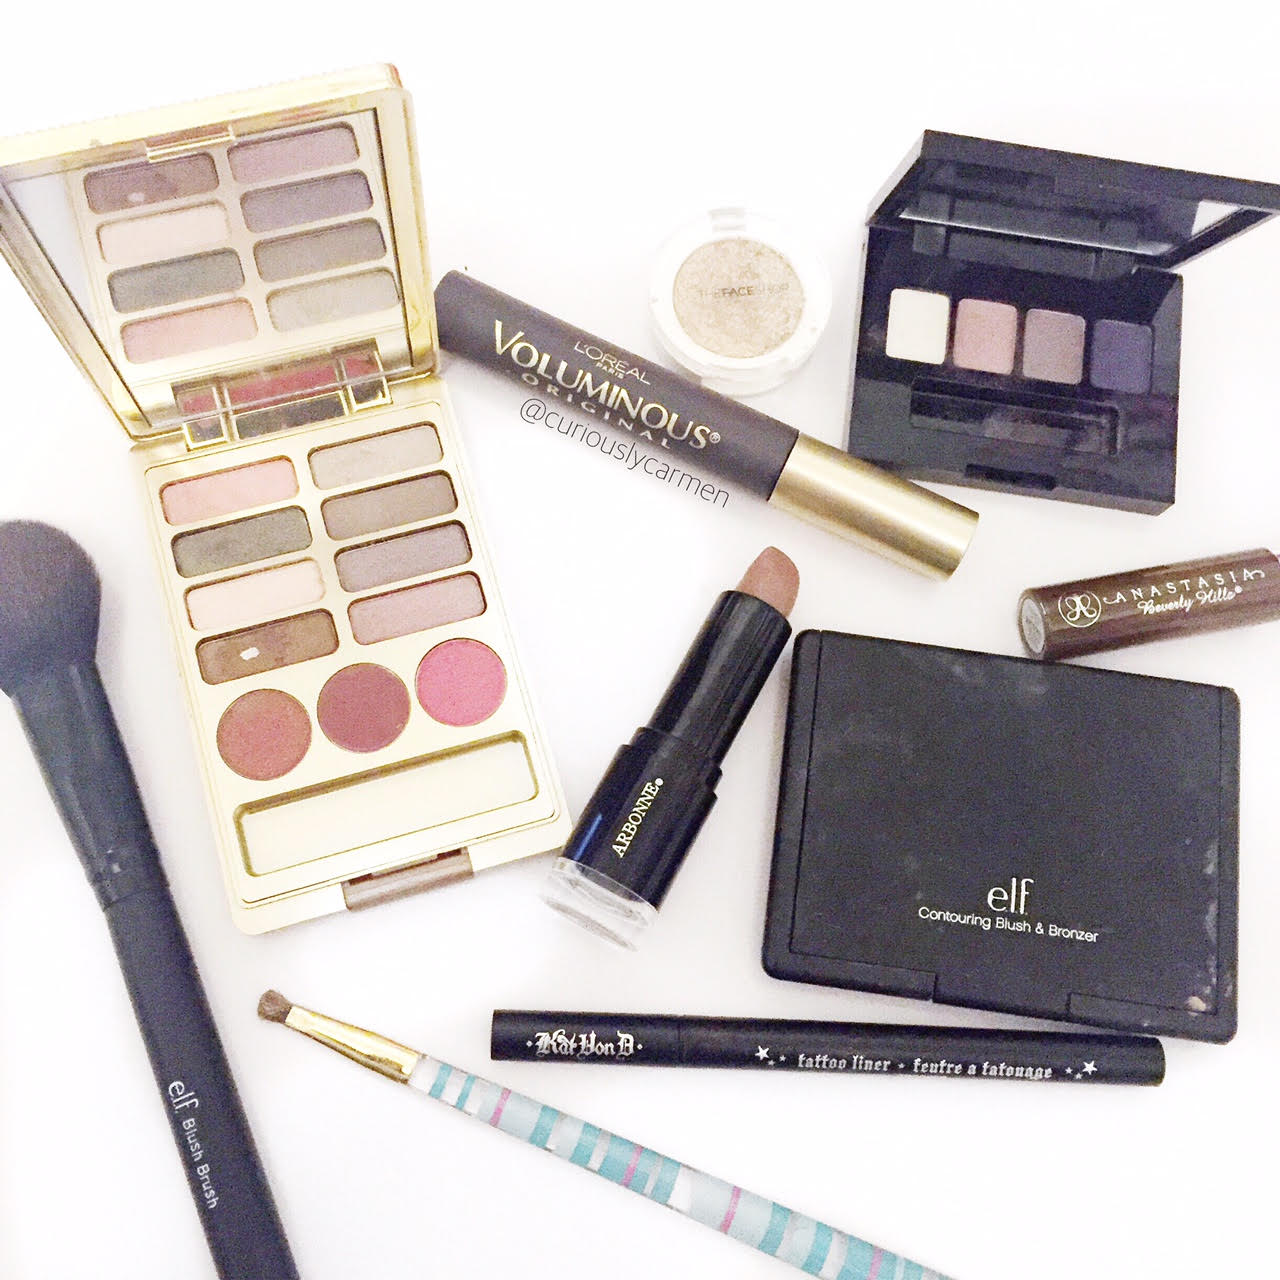
 1) Start by applying white eyeshadow to your eyelids. This will help the other eyeshadow colours pop out and look more vibrant. Since I was just playing around with this look and not going out, I didn’t wear primer but I would highly recommend a good primer that will make the eyeshadow more vivid.
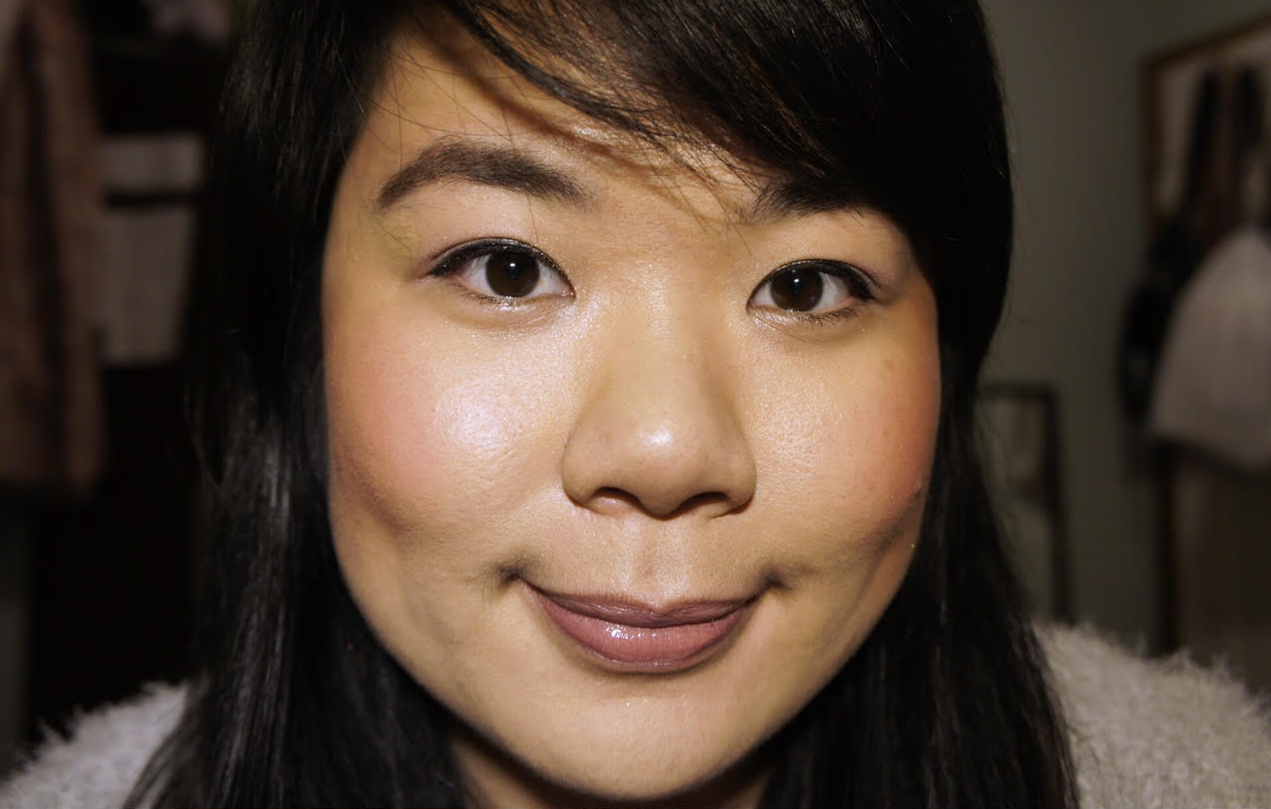 4) Use a black liquid liner and line your eyes. Since I wanted to keep this look soft, I didn’t wing out my liner as much as I normally would. However, you could wing out your liner if you’d like!
 I tried to take a decent photo of the palette, but it is a dreary January afternoon and the lighting is just bleh. It does not do the palette justice. Here is a photo of the palette that I found online instead: