Fun fact- my mom is a competitive ballroom dancer, which means she has a big makeup collection for her performances! She usually wears drugstore makeup and doesn’t like to splurge on makeup products, but she was looking for a very high grade and long lasting full coverage foundation for her performances.
This was already 5+ years ago, but the lady at Sephora recommended a Smashbox foundation, which was my first introduction to Smashbox. Being the curious teenager I was, I decided to try it as well. Unfortunately, we both did not like the foundation at all! It was very thick, oily, and uncomfortable. I hope they have since improved their formula!
Since then, I tried a sample of one of the Smashbox primers (forgot which it was) and it made me break out. As you can see, my experience with Smashbox hasn’t been positive so I haven’t really tried any of their other products for a long time, until now! Hopefully, their lip products would be better for me than their face products???
 I bought this lipstick ‘somewhat’ impulsively. I say ‘somewhat’ because I was looking for a dark, deep burgundy lipstick for awhile now although I didn’t know which brand I wanted. I went to Sephora one weekend and after looking around for awhile with no luck, I asked one of the girls there if they carried a lipstick similar to the Too Faced melted in berry red.
(I would have just bought the Too Faced liquid lipstick, but had a bad experience and ended up returning it. I know, I am probably one of the only people who don’t like the melted lipstick line! I wish it turned out for me because their shades are gorgeous.)
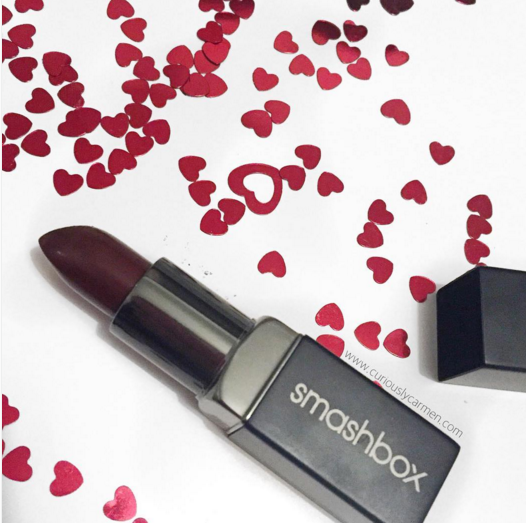
The girl suggested the Smashbox Be Legendary line in the shade witchy. I didn’t want to keep looking anymore, and when she swatched it for me, it was the definitely the perfect vampy shade I was looking for!
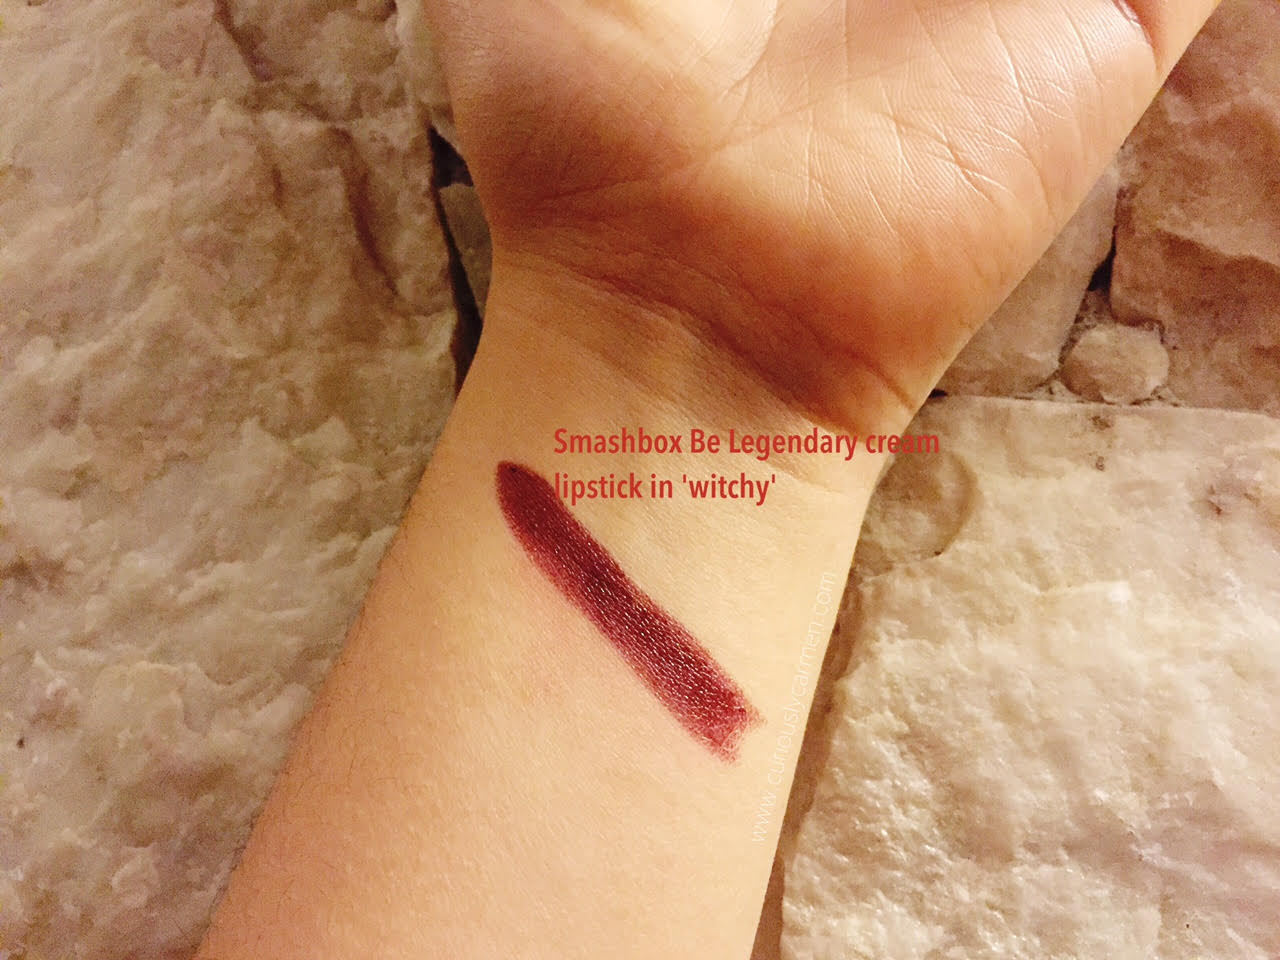
The Smashbox Be Legendary line is available in both matte and creamy shades. As you can see from the swatch, witchy is part of the cream line. I honestly didn’t have a preference for matte or creamy, I just really wanted a dark and vampy shade!
As advertised, this lipstick is pretty creamy, smooth and moisturizing. It is also nicely pigmented. My favourite part of this lipstick is how smooth and non-drying it was.
However, I did find that the lipstick did apply unevenly. You can slightly see on the swatch that the shade is a bit uneven. You can’t really see the unevenness in real life or in pictures though, unless you look really carefully. I also found that there were small ‘specks’ of colour when applying.
I fixed this by dabbing the specks off with a napkin or by using more product to cover it up.
Overall, I think this lipstick is alright. I don’t think I would repurchase this as there are cheaper options out there, but I don’t hate it either. I really love the shade and how creamy it is though!

Meh…
Thanks for reading!
Carmen
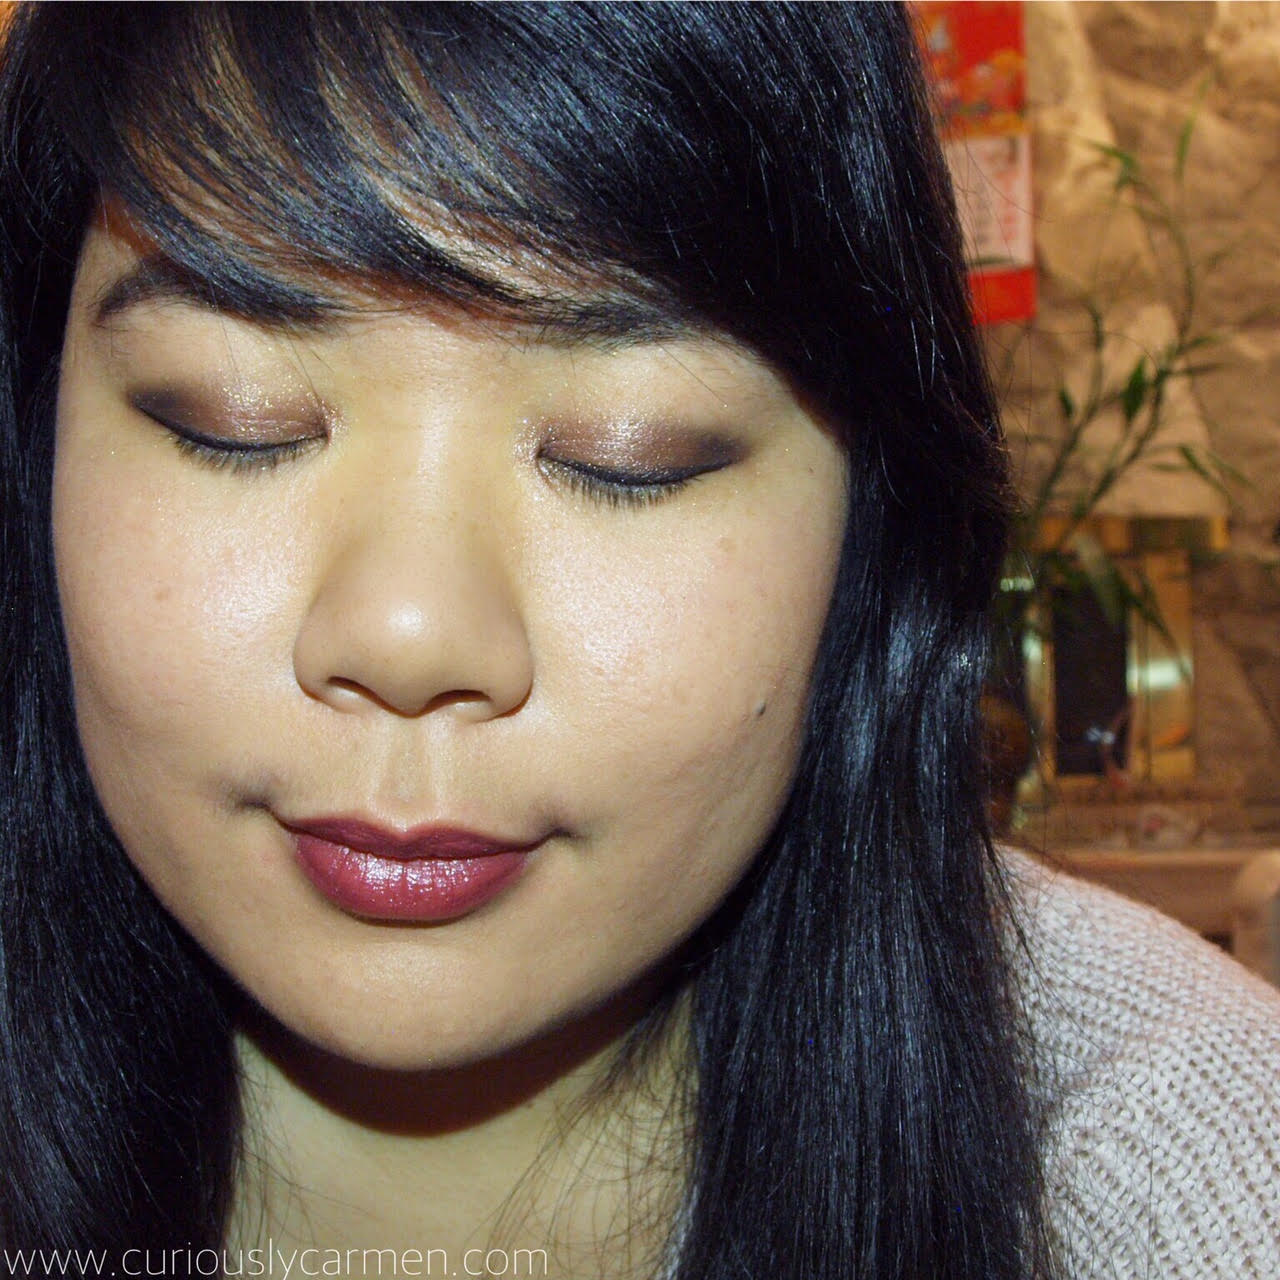 Since we are both pretty busy on the weekdays, we use the weekends to just be lazy (although I’ve been pretty busy with school, work and my blog). Admittedly, this makeup look was completed under ten minutes while we were binge-watching Brooklyn 99. But I still think it turned out decently, even if I was partly watching TV!
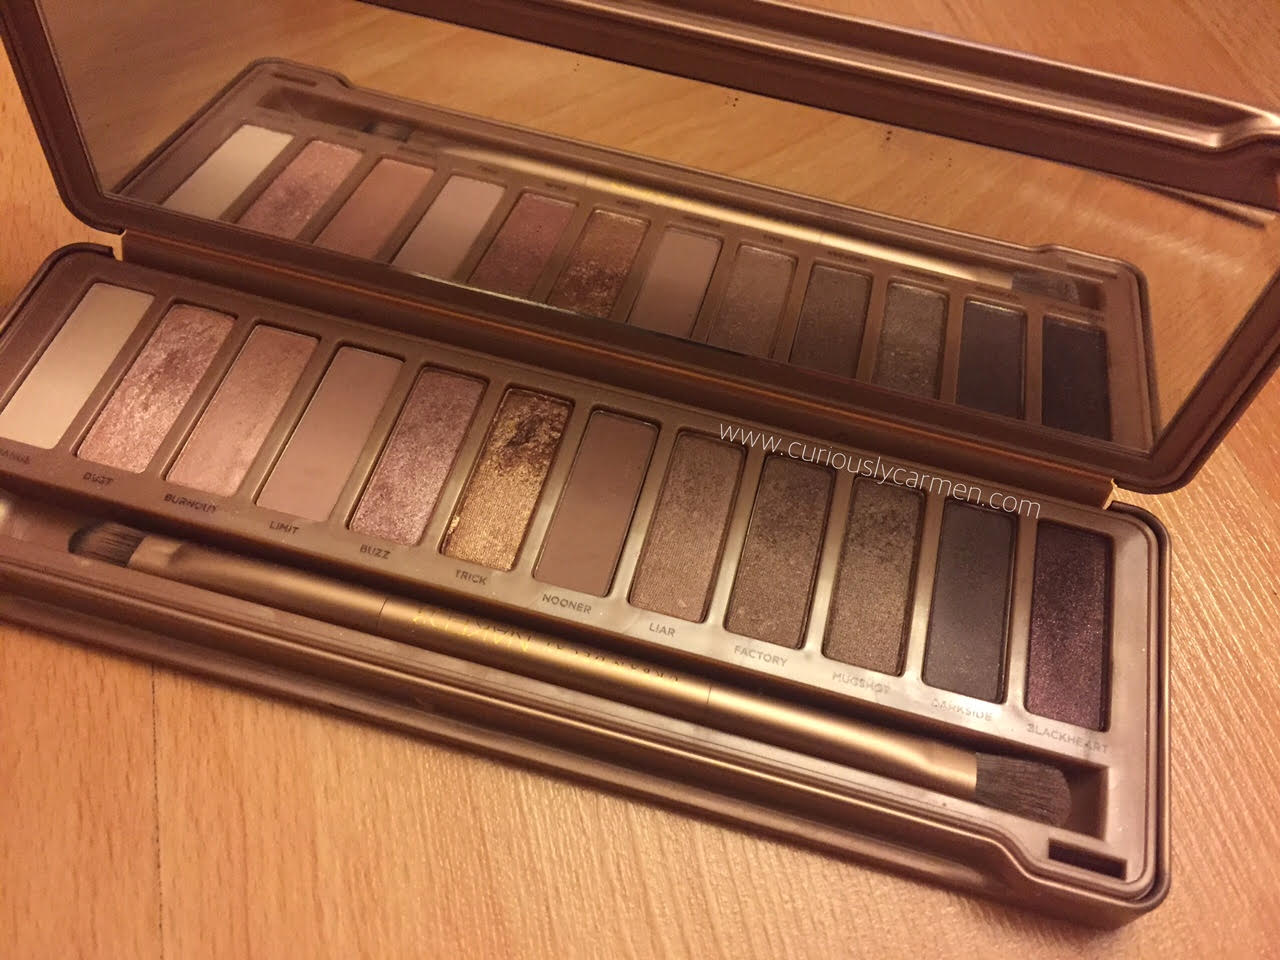 I was just planning on using ‘trick’ over my eyelids, but for some reason, I found myself playing with the other colours as well.
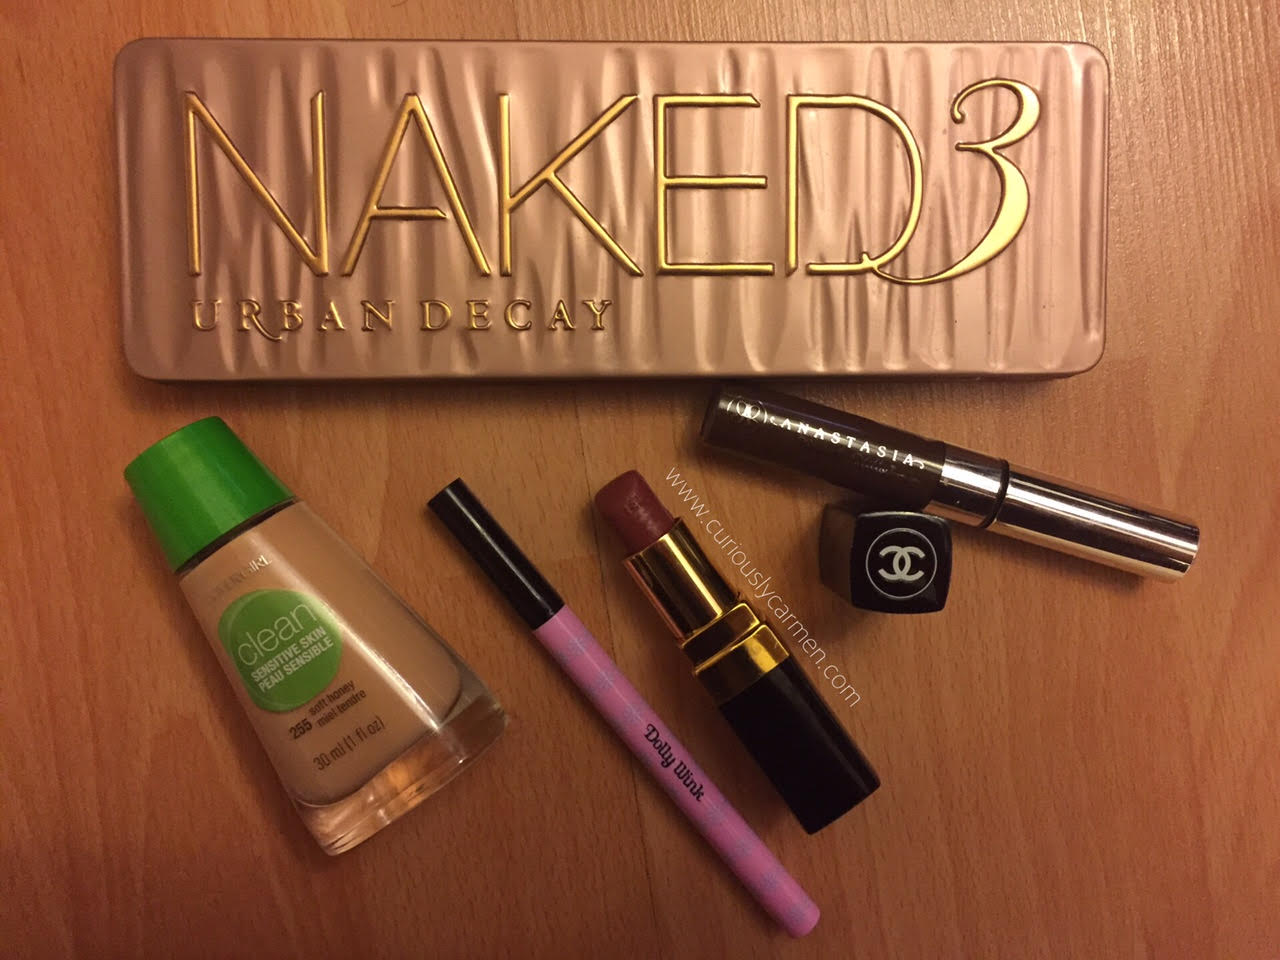 I finished the look on the rest of my face with the Anastasia brow gel, Covergirl clean foundation, and Chanel lipstick in shade ‘etole’.
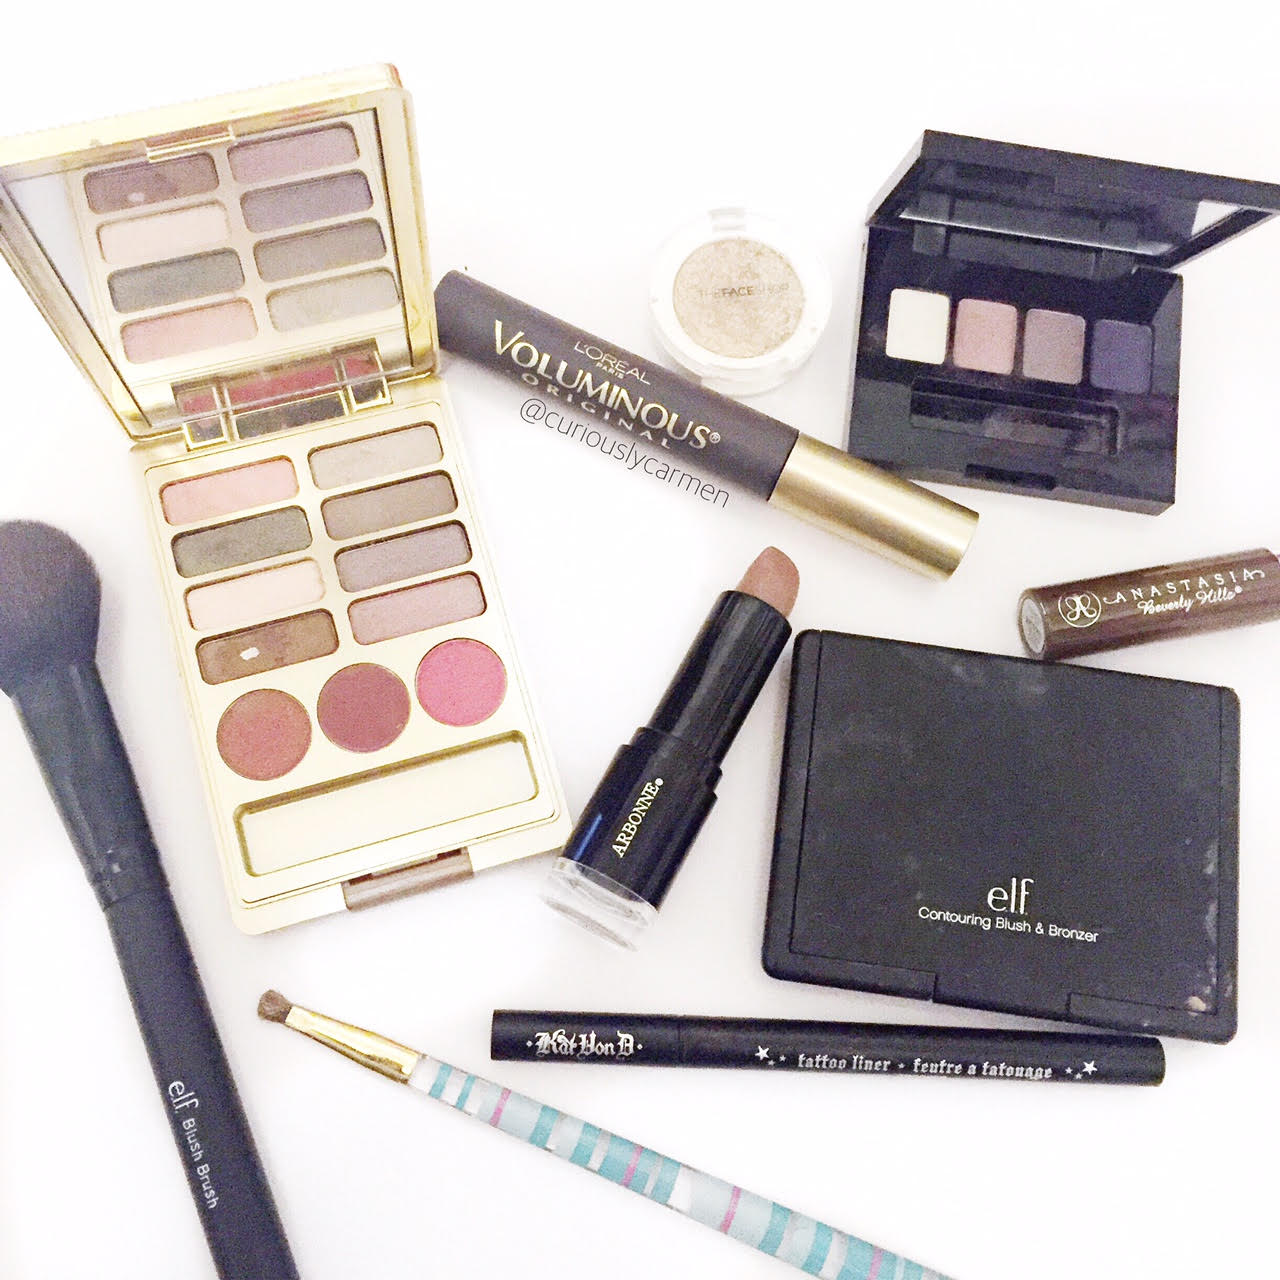
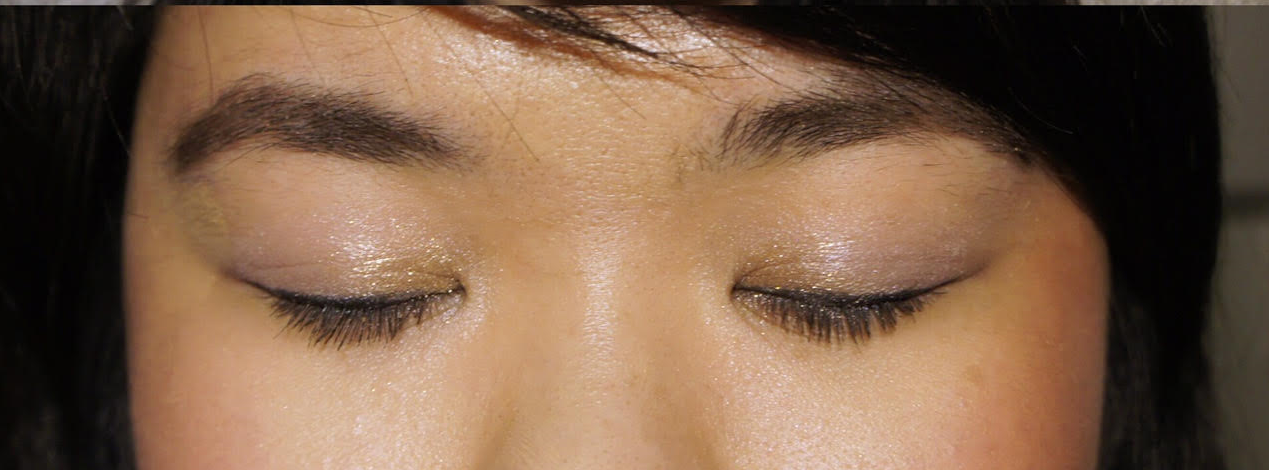 1) Start by applying white eyeshadow to your eyelids. This will help the other eyeshadow colours pop out and look more vibrant. Since I was just playing around with this look and not going out, I didn’t wear primer but I would highly recommend a good primer that will make the eyeshadow more vivid.
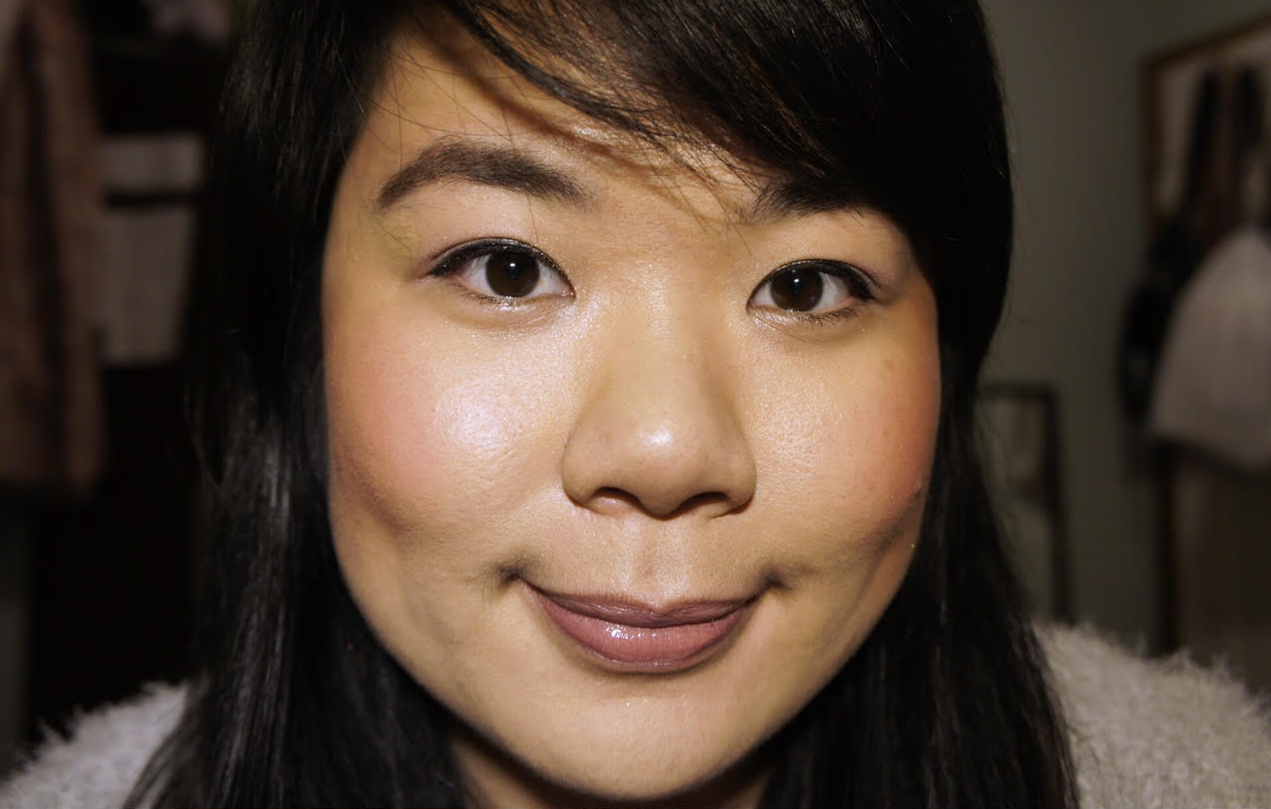 4) Use a black liquid liner and line your eyes. Since I wanted to keep this look soft, I didn’t wing out my liner as much as I normally would. However, you could wing out your liner if you’d like!
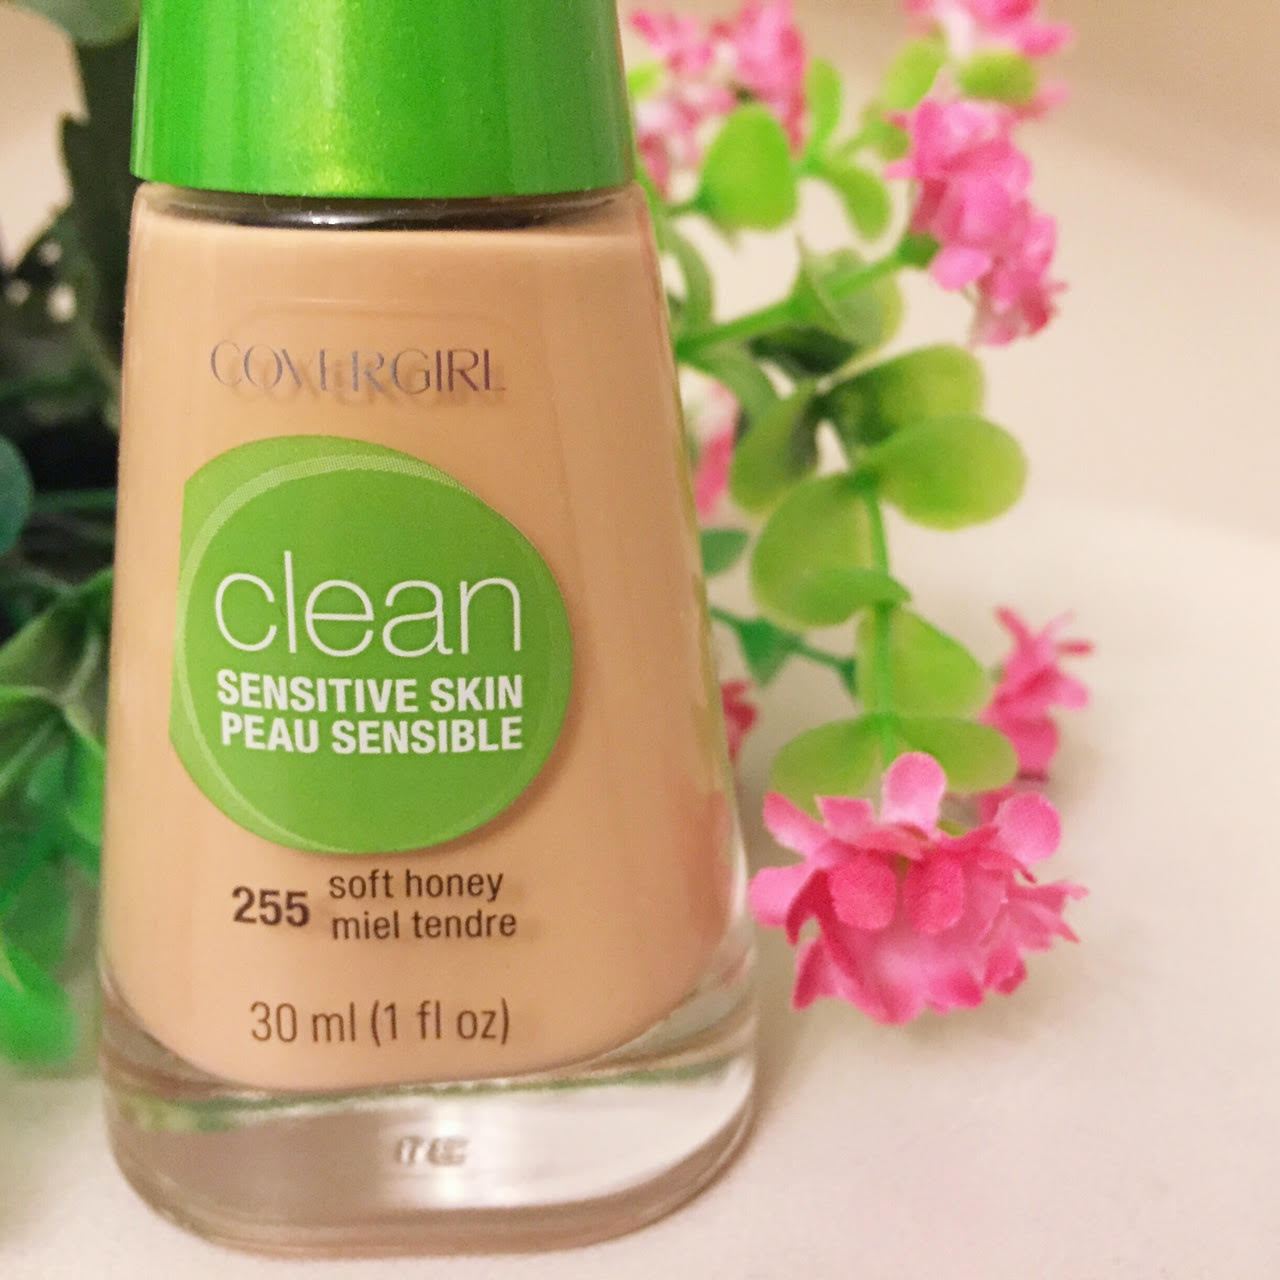
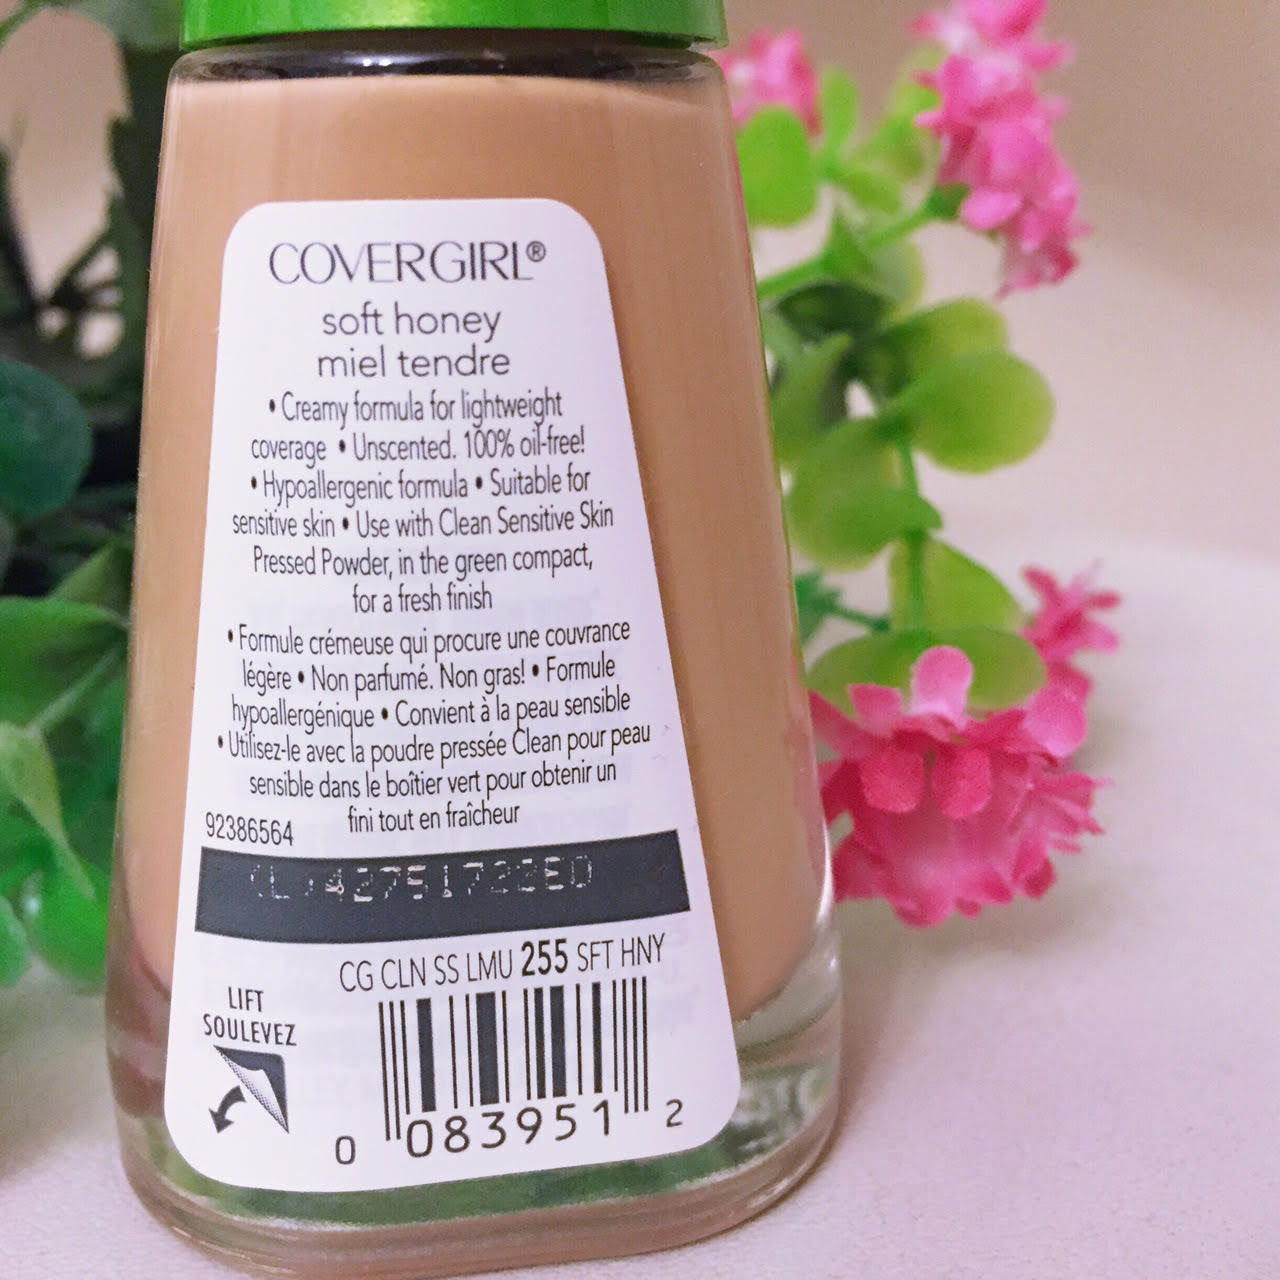 There are three types of foundation under Covergirl’s clean line. I don’t recall what the other two are, but this one is meant specifically for sensitive skin. Although I don’t have sensitive skin, I bought this one because it was the only one out of the three that was on sale.
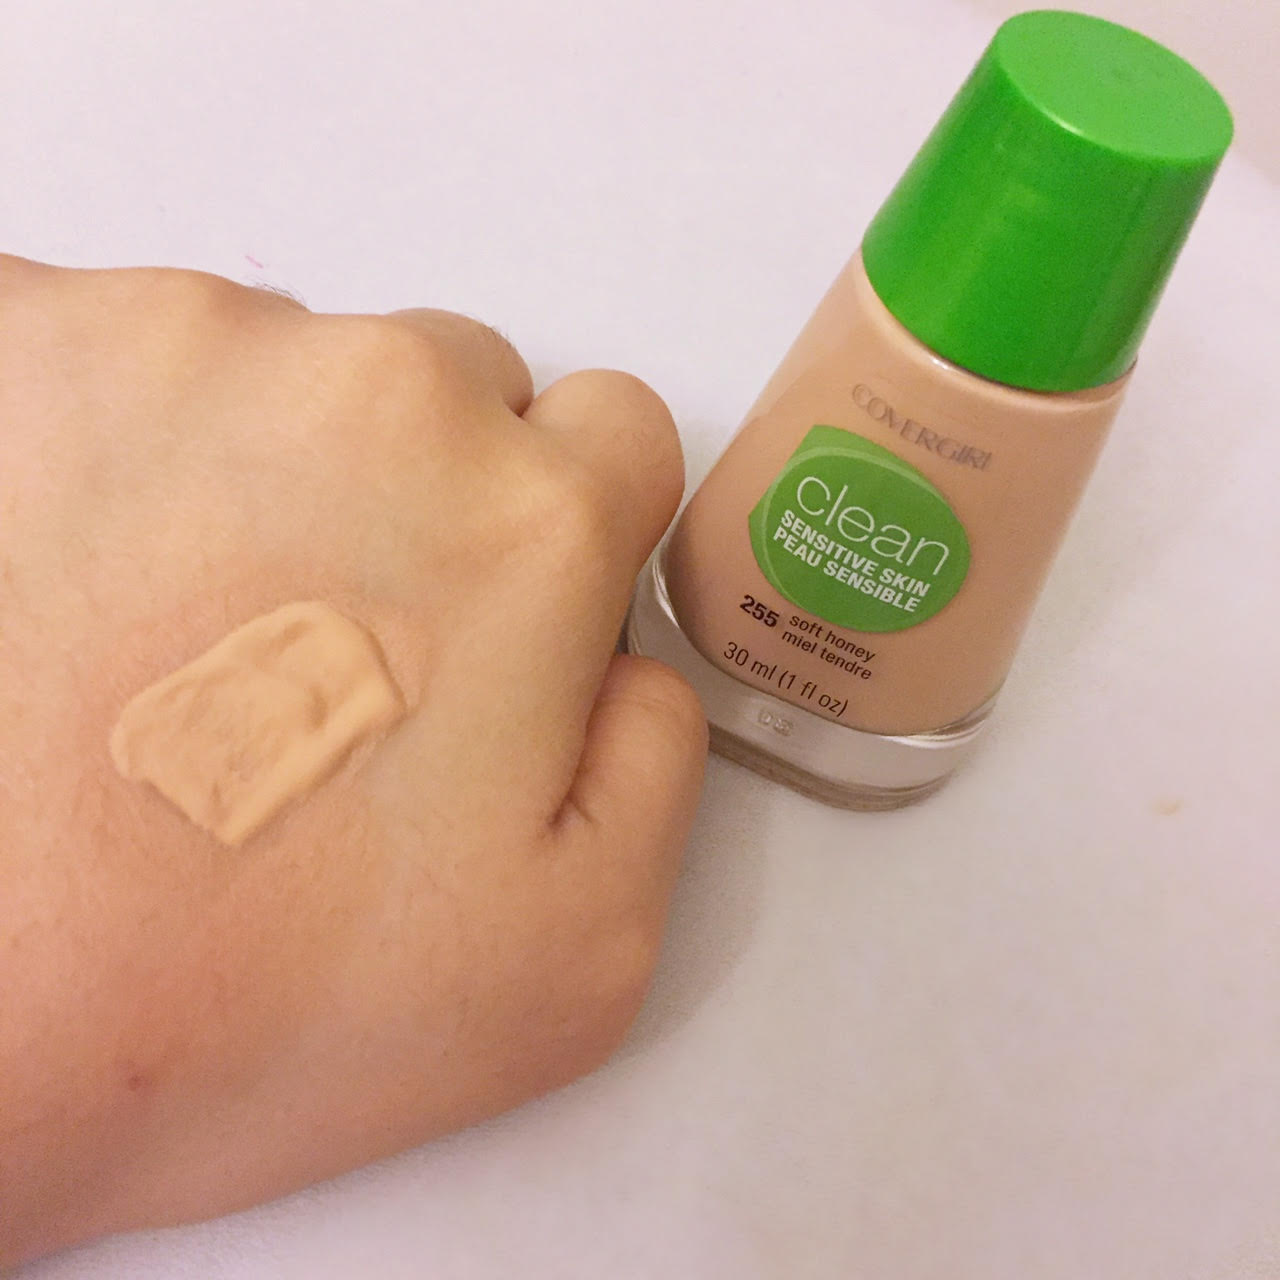 I got the shade ‘soft honey’, a lucky guess because it matched my face nicely!
 I found that the foundation was easy to blend, and came without a scent. It was also very buildable, which is something I always look for in foundation. Being buildable allows you to be flexible with the amount of coverage you want.
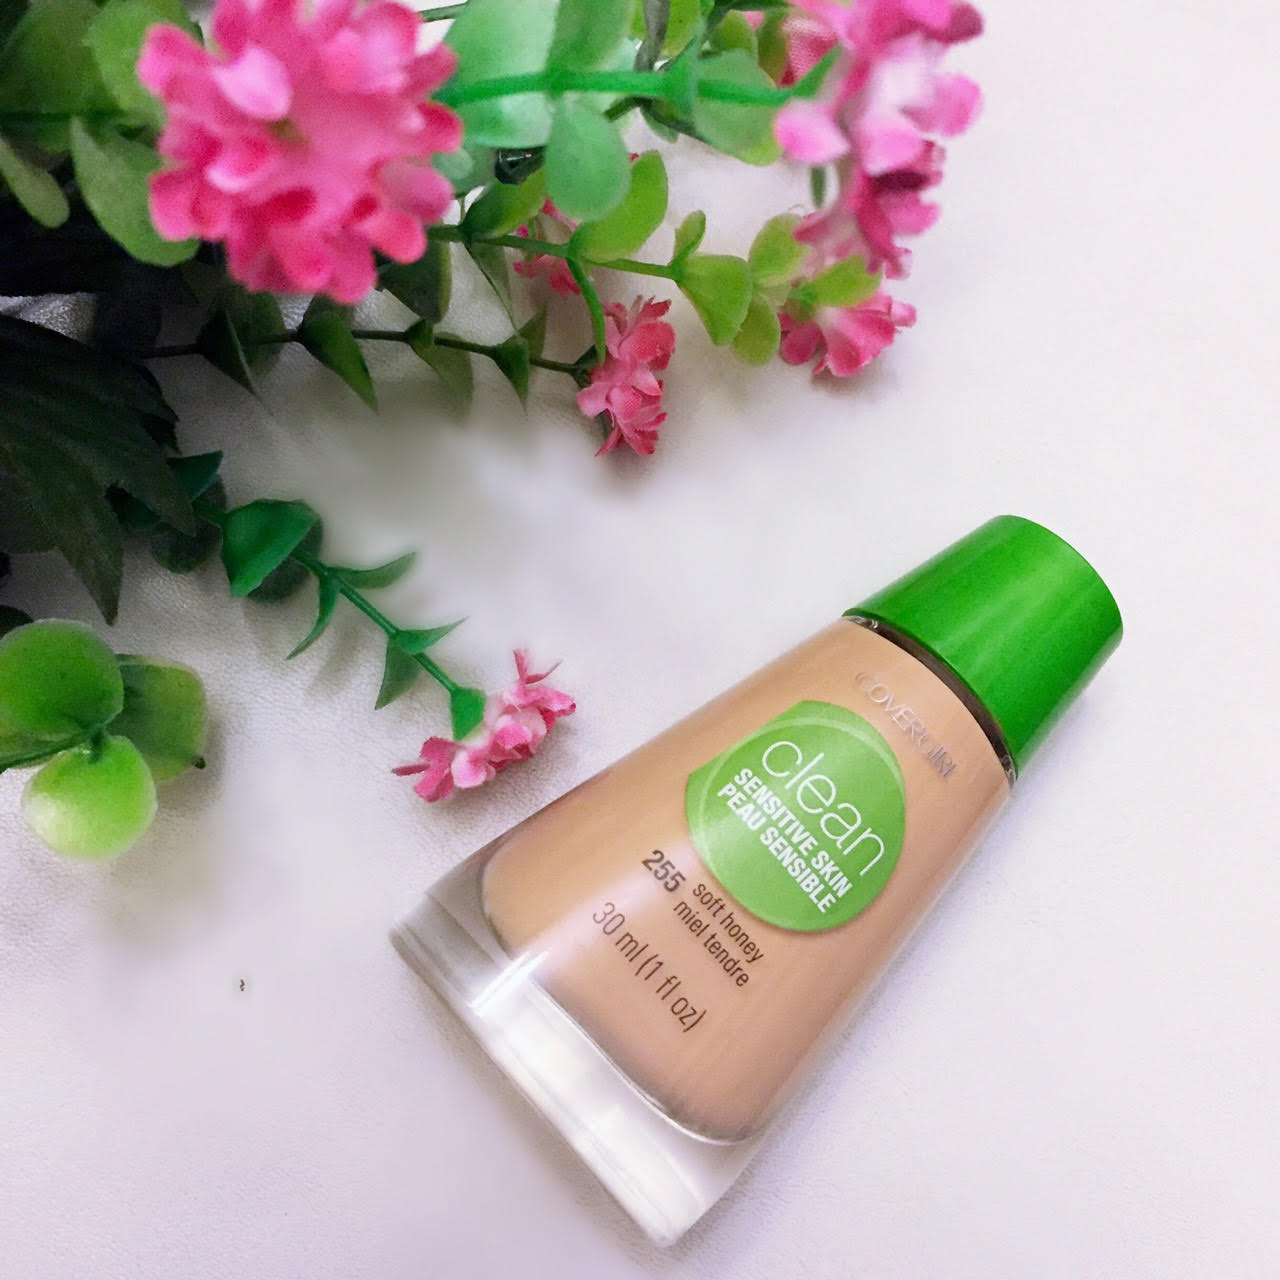 Overall, I really liked this foundation, especially since I found it on sale for only $5! That is a steal and if I saw it on sale again for that price, I would buy it in a heart beat.
 I tried to take a decent photo of the palette, but it is a dreary January afternoon and the lighting is just bleh. It does not do the palette justice. Here is a photo of the palette that I found online instead: