• About / Contact
  • Work With Me
  • Food & Drink
    • asian —>
      • chinese
      • indian
      • japanese
      • korean
      • malaysian
      • taiwanese
      • thai
      • vietnamese
    • brunch
    • coffee and tea
    • dessert
    • fusion
    • happy hour
    • italian
    • greek
    • mexican
    • pub
    • seafood
    • steakhouse
    • vegetarian/vegan
    • western
  • Travel
    • Canada ->
      • Kelowna
      • Sunshine Coast
      • Victoria
    • Japan ->
      • Himeji
      • Kamakura
      • Kobe
      • Kyoto
      • Osaka
      • Tokyo
    • Mexico ->
      • Cancun
      • Isla Mujeres
      • Playa Del Carmen
    • USA ->
      • Las Vegas
      • Los Angeles
      • New York City
      • Seattle
    • Europe ->
      • London
  • Beauty
    • beauty events
    • body
    • eyes
    • face
    • costumes
    • hair
    • lips
    • nails
    • skincare

Curiously Carmen

Estée Lauder Brightening Serum + Concealer

November 6, 2015

I stumbled on the Estee Lauder brightening serum + concealer by accident, when I swapped it in for my regular (and misplaced) concealer. Little did I know that I actually the brightening serum side instead of the concealer stick side, oops!

During that evening, I noticed my skin looked significantly brighter, my skin more translucent, and generally better than usual! Since this was the only product that I had changed, I decided to wear it a few more times to test it out. 

aillis201510281654143

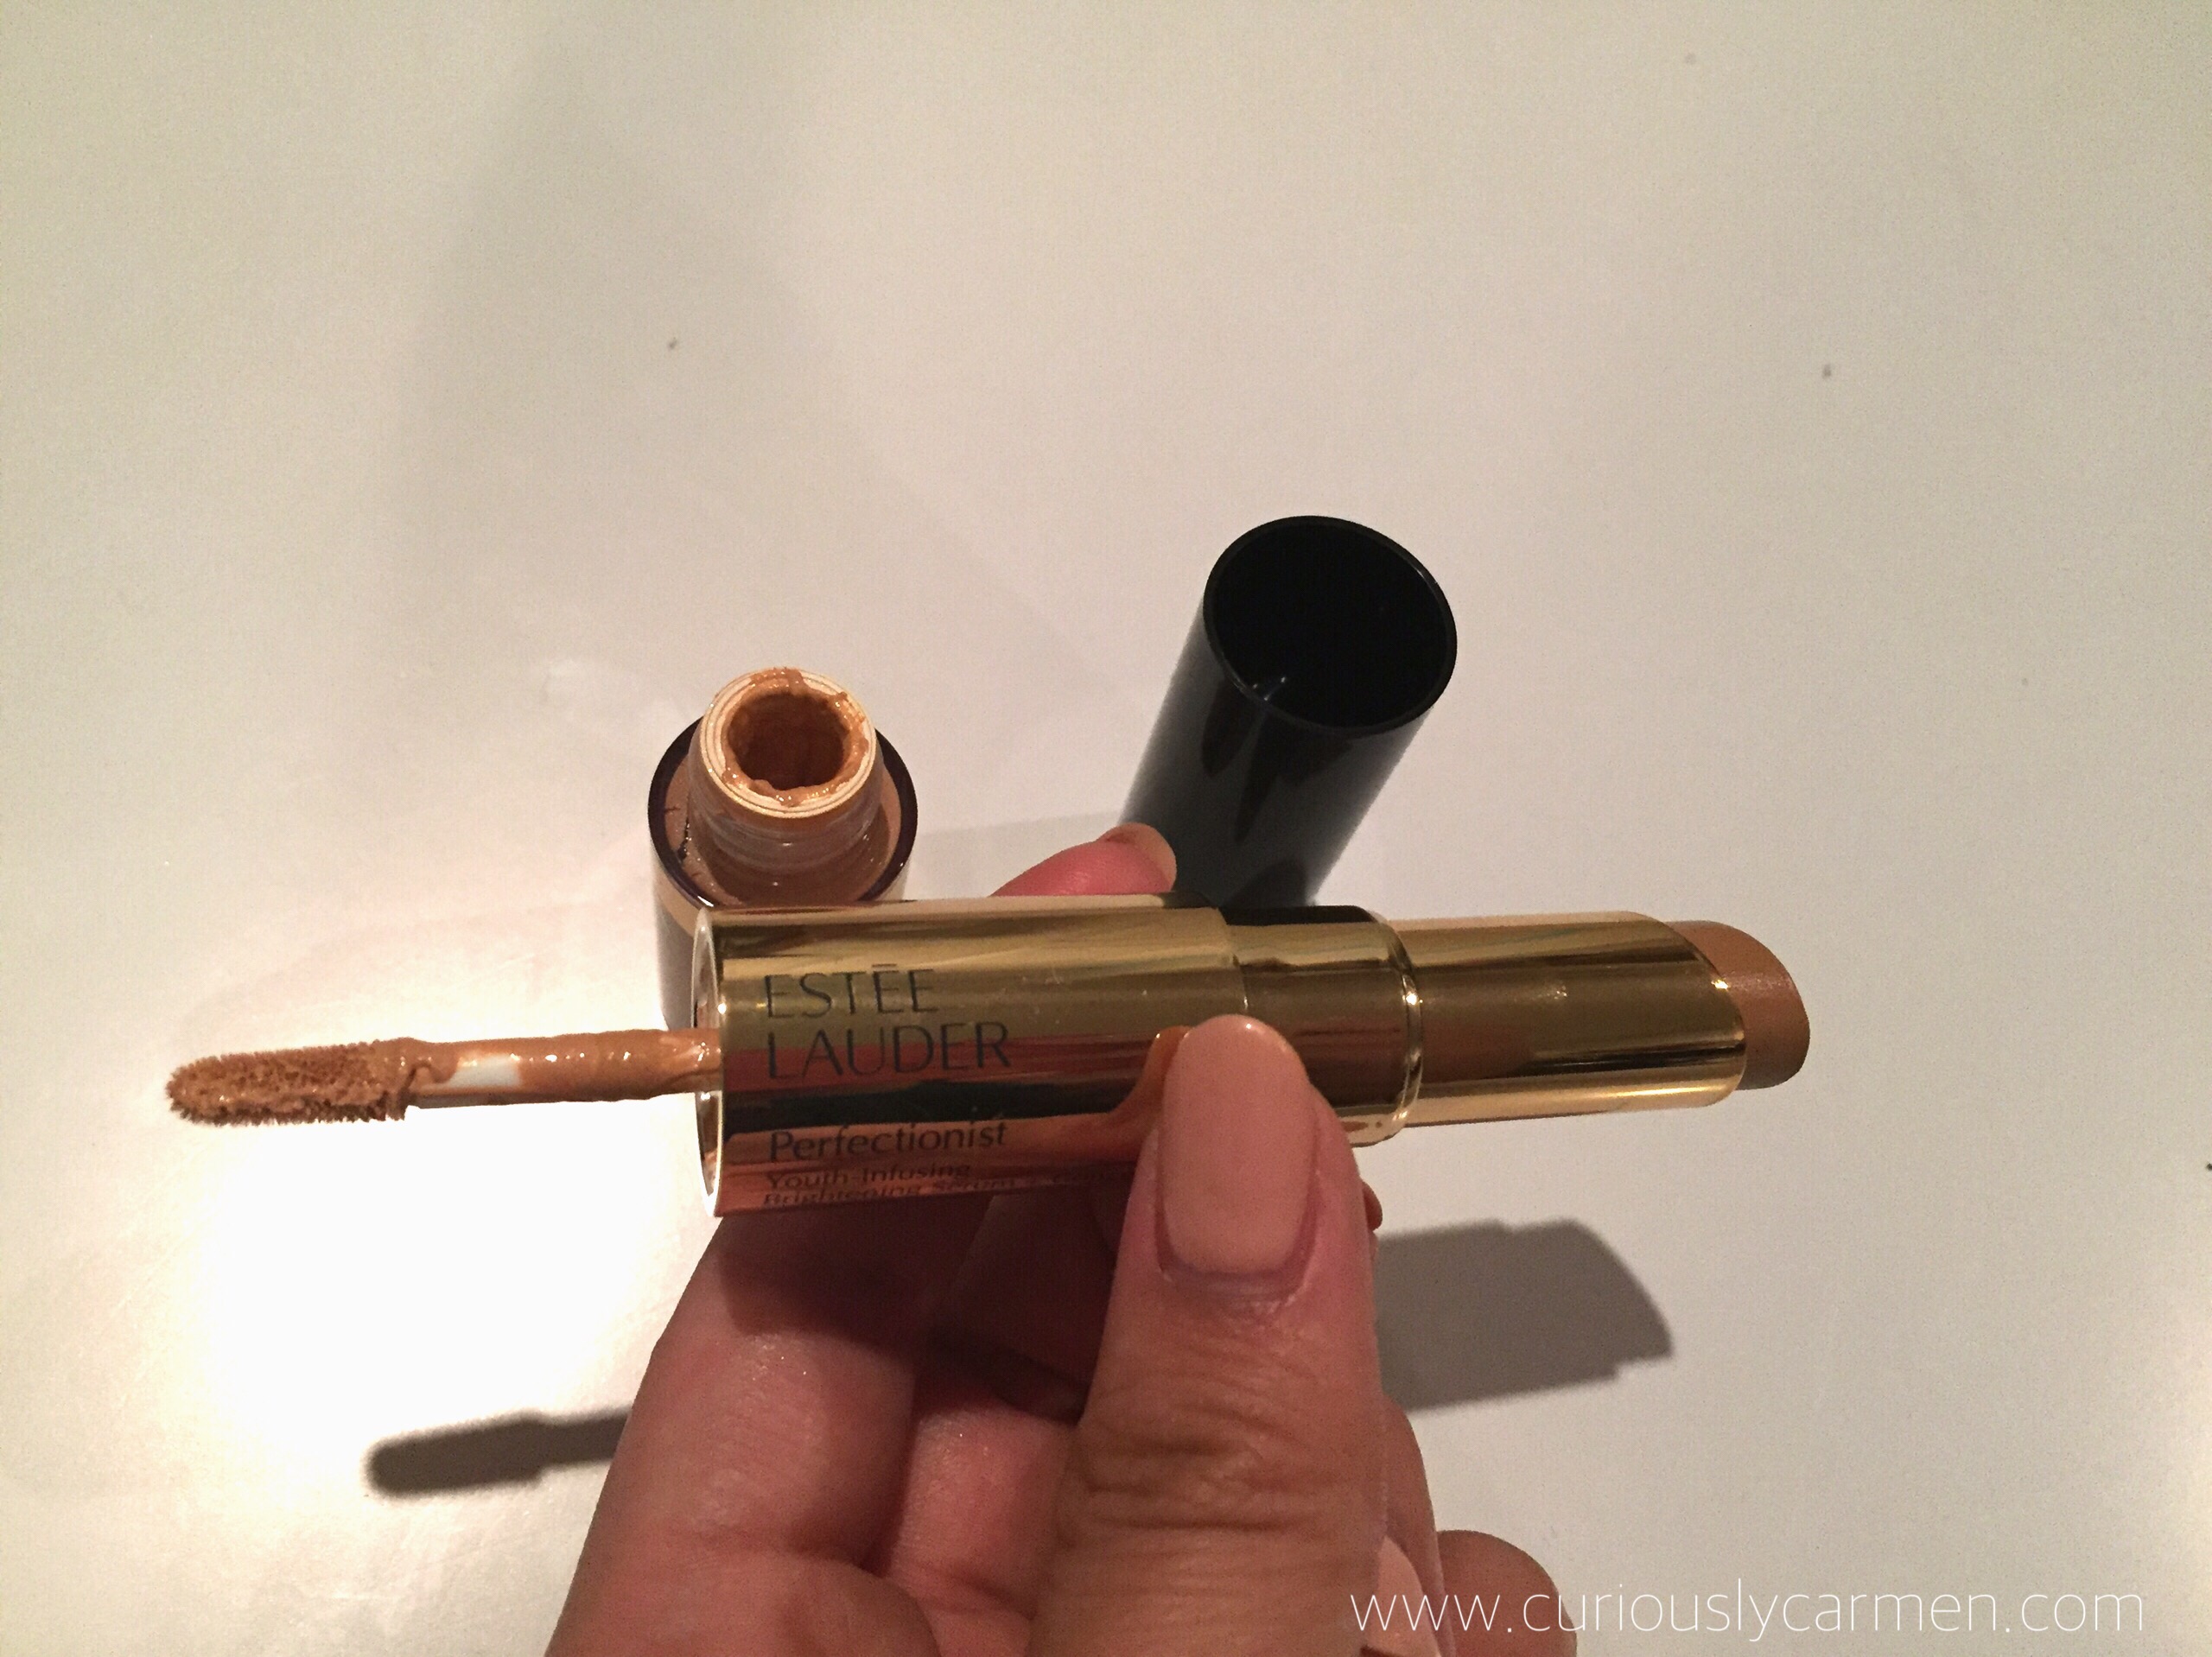
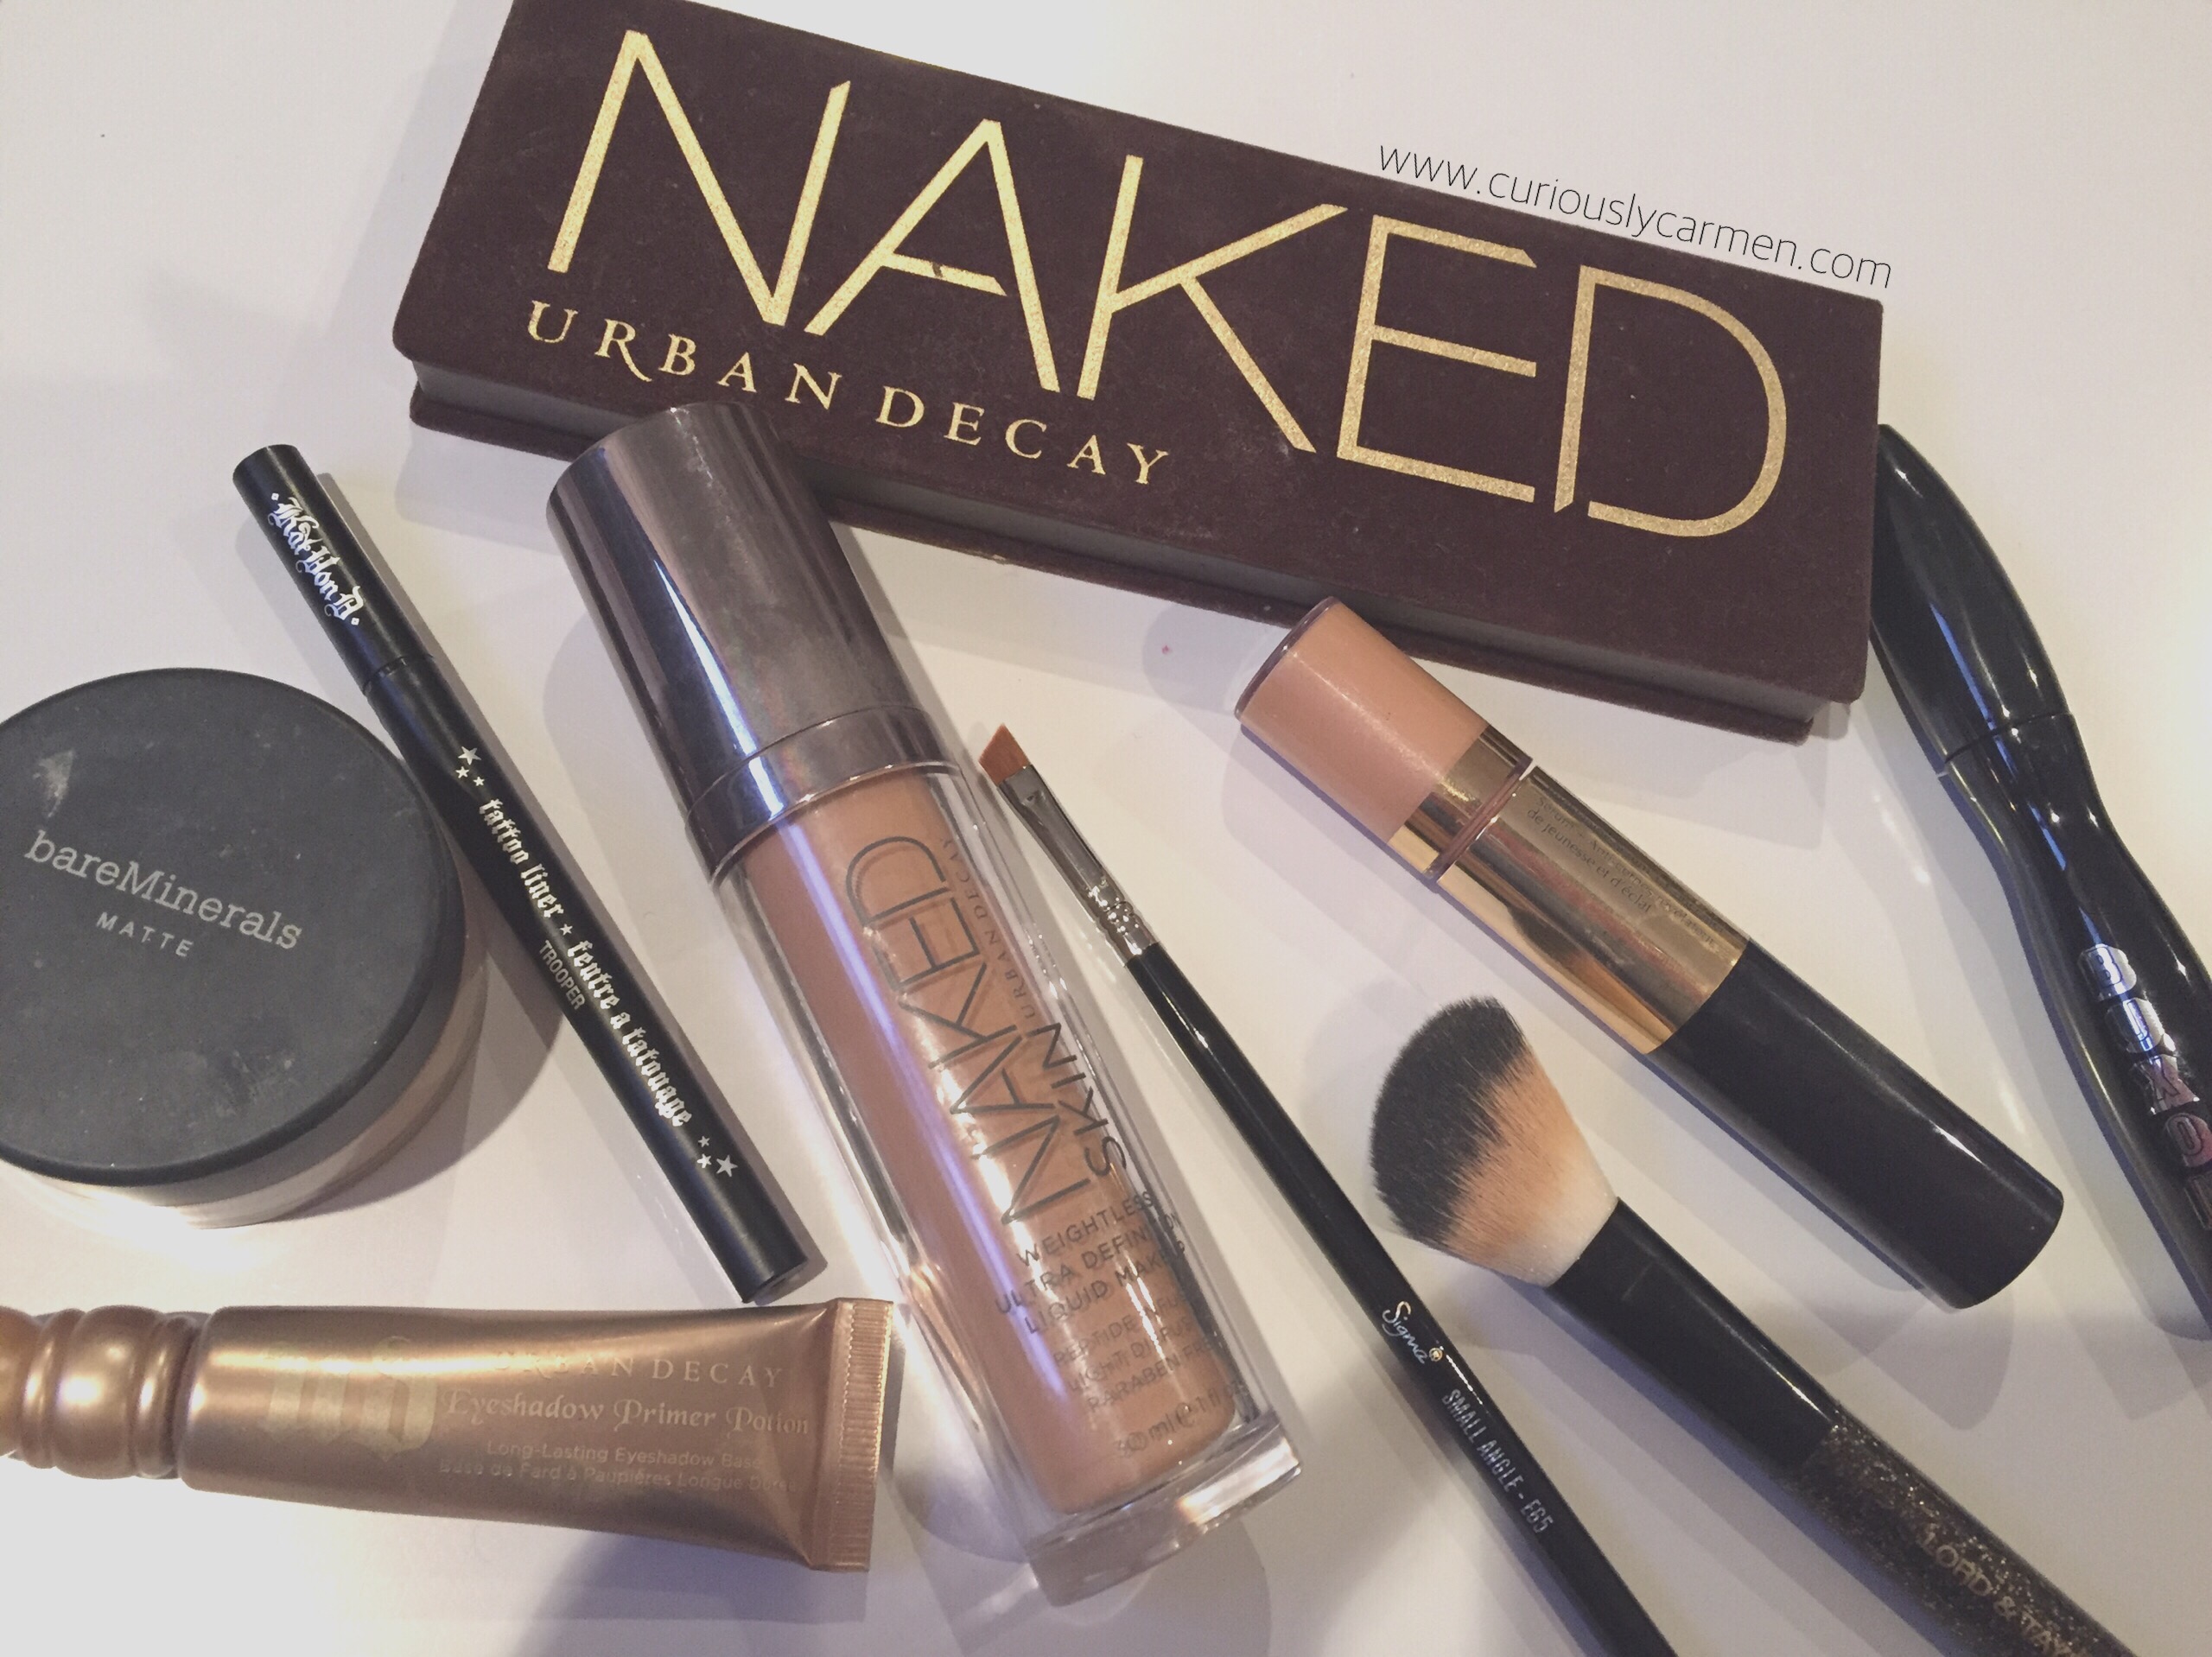
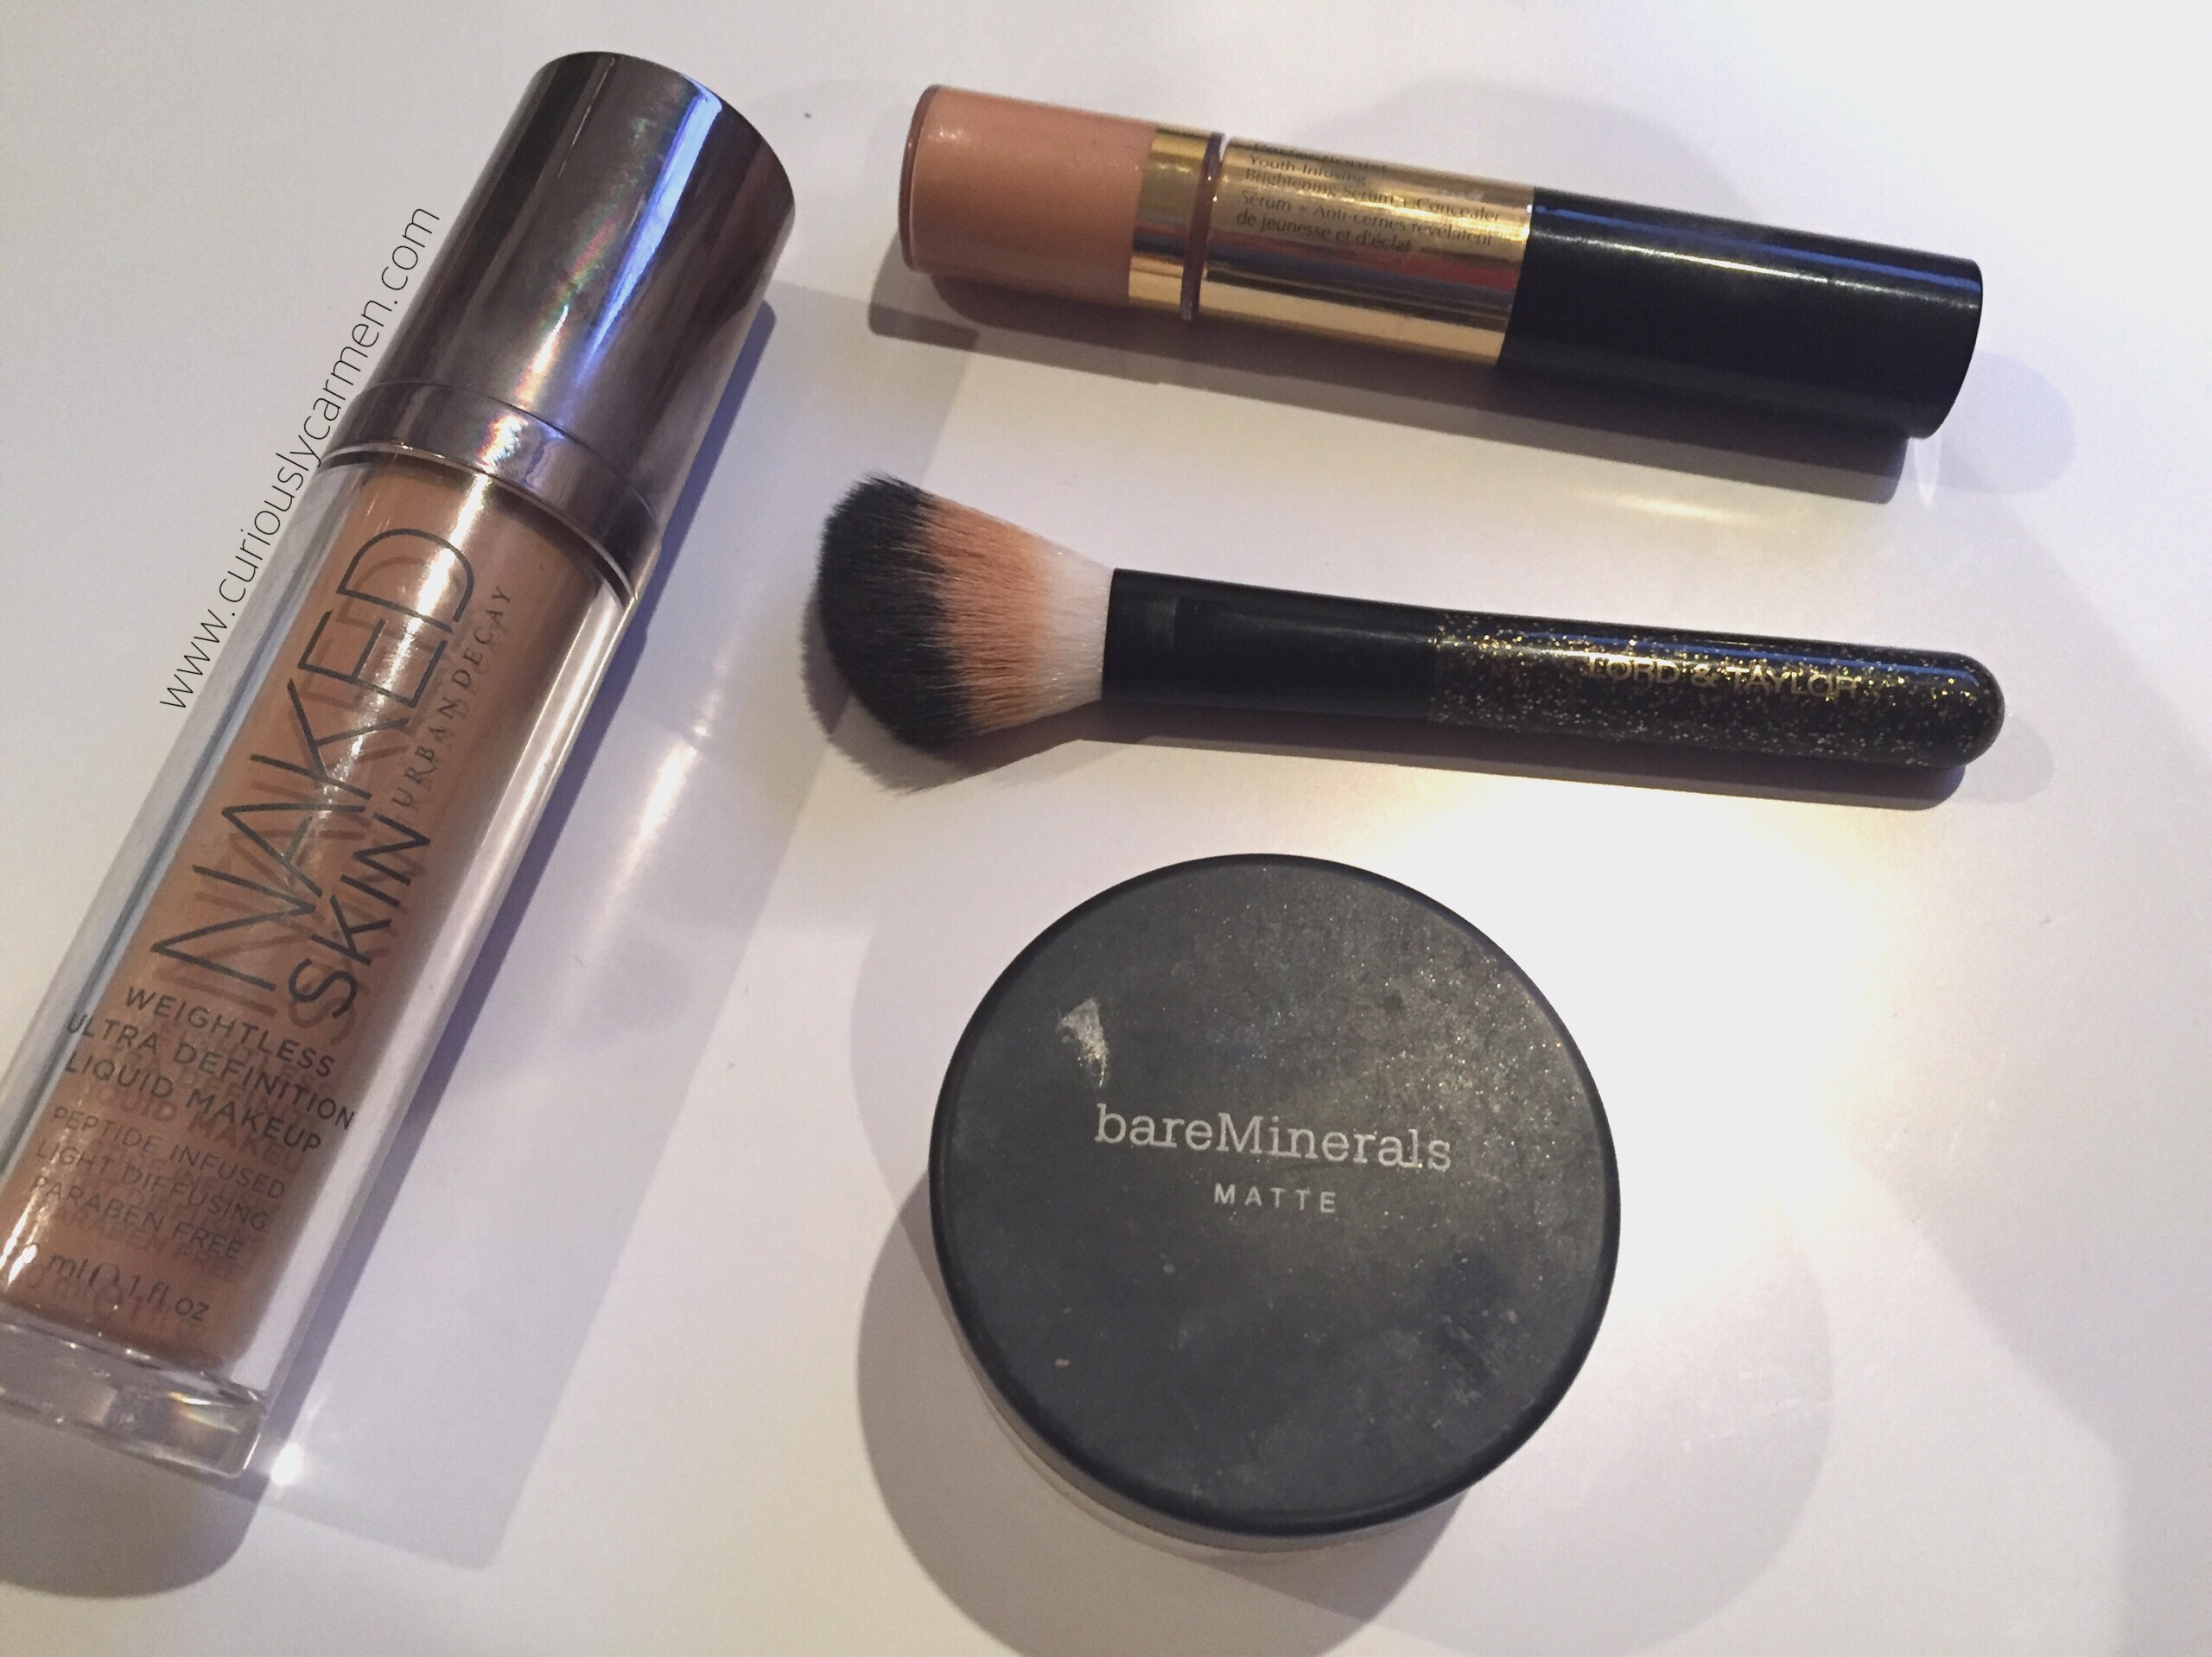
The Estee Lauder brightening serum and concealer comes in a double ended duo stick. The brightening serum is on the left, while the concealer is on the right. Since I received this as a sample after an event, I was unable to choose the shade (which is why I didn’t test out the concealer as it was a bit darker than the serum). I would definitely have to buy a lighter shade for myself!

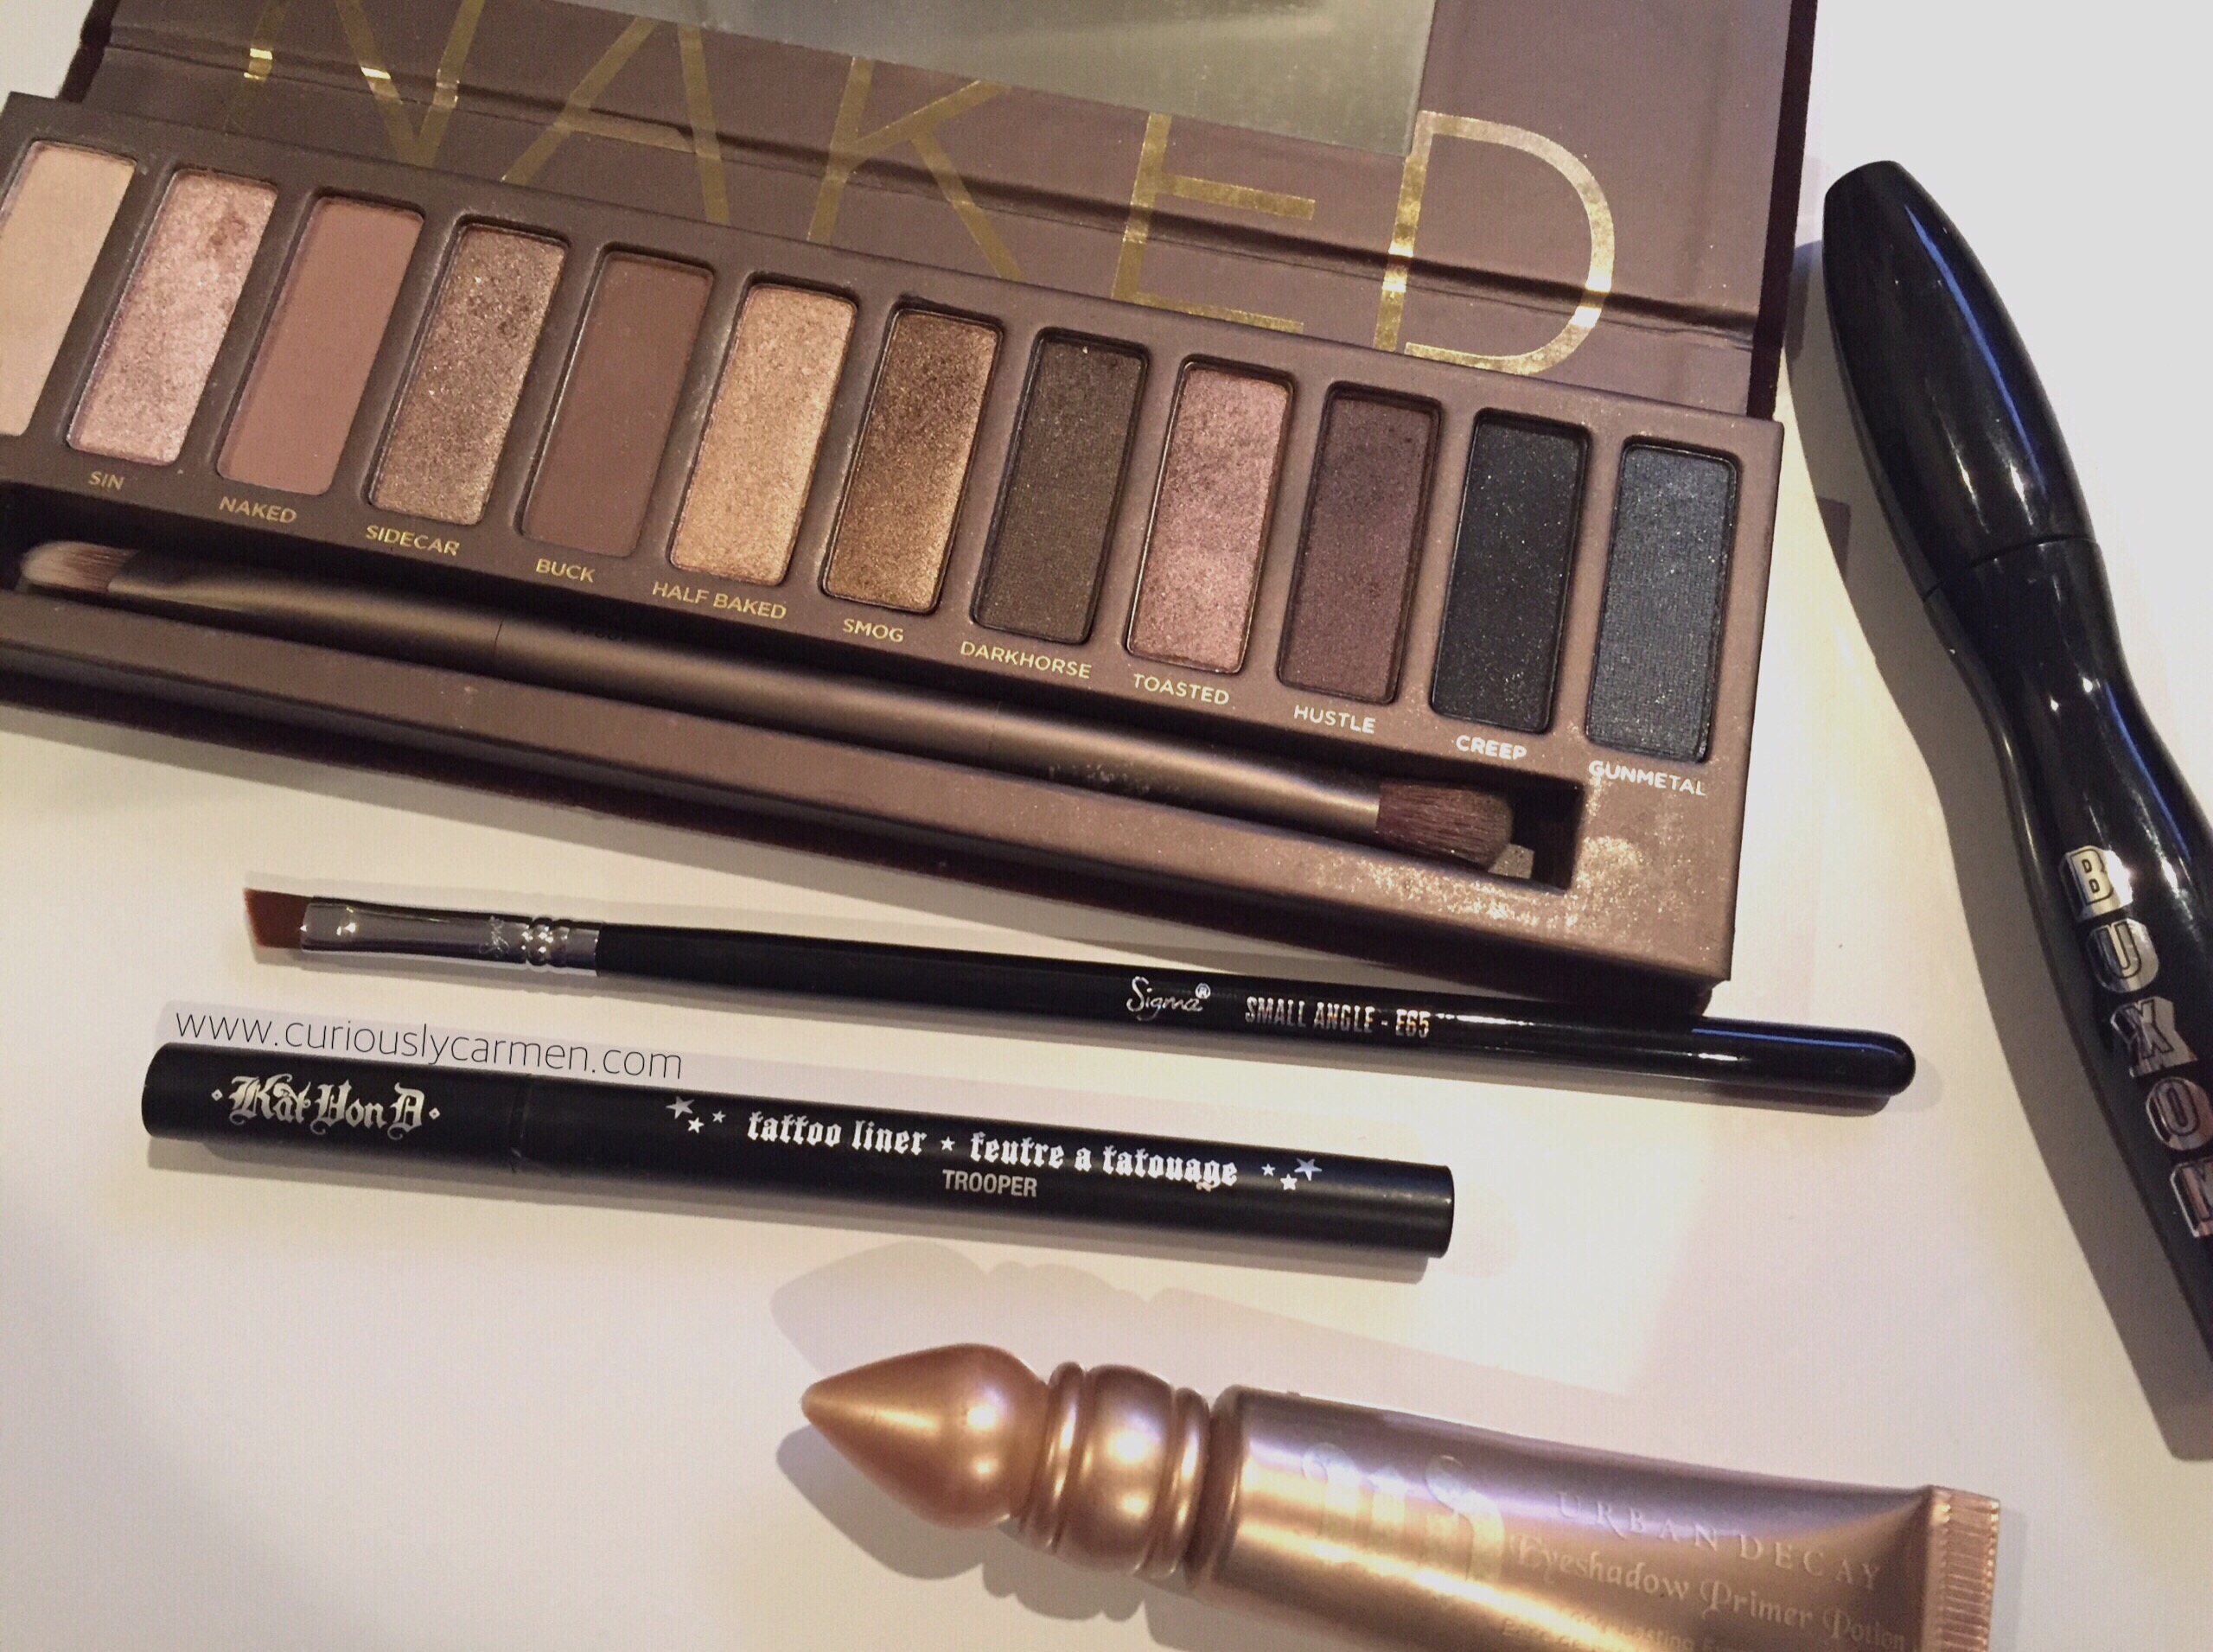
The product itself is very durable and sturdy. However, due to the reflective gold tube, it is very easy to get fingerprints on it, especially if you already have foundation on your fingers. This is why you might see some fingerprints in my pictures, sorry about that!
IMG_2091

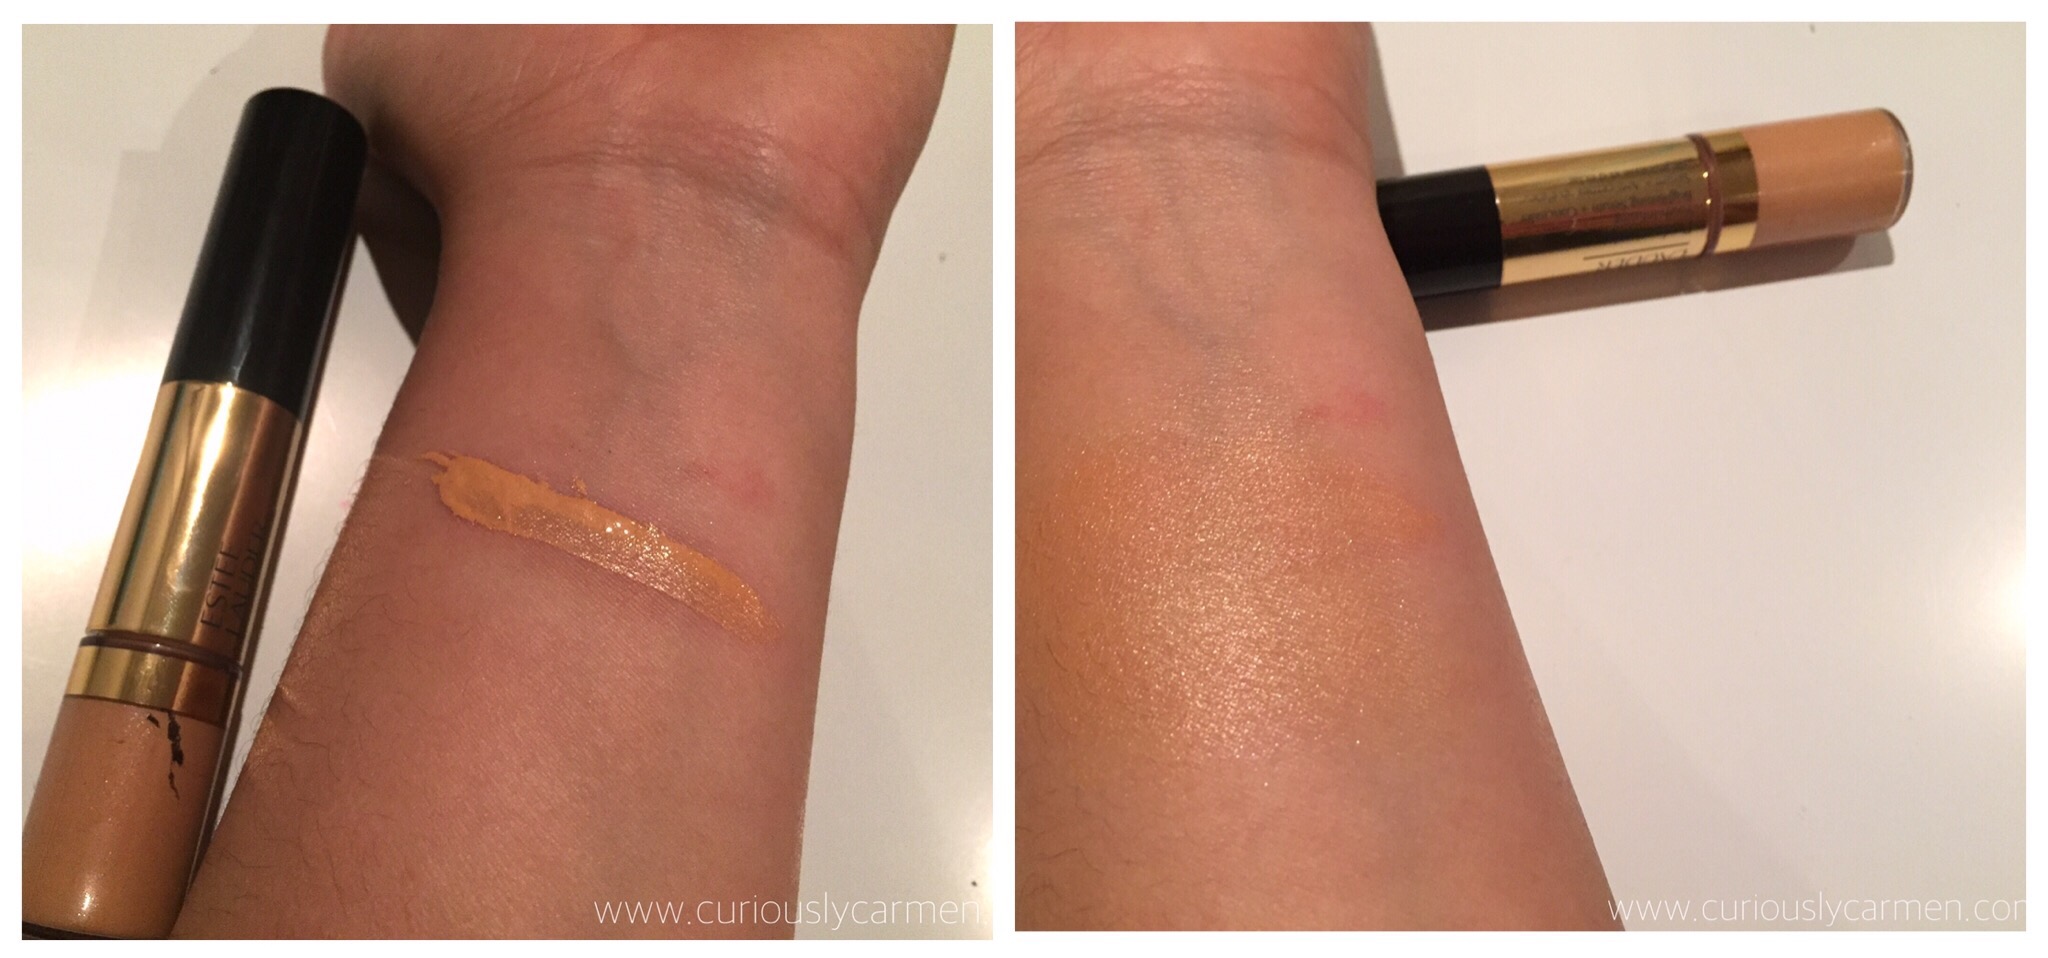
Although the serum looks a bit too dark for my skin on the left, there actually isn’t that much of a shade difference once you blend it in, as seen on the right.

Based on this swatch, you can definitely see how it brightened up my wrist – imagine how well it would brighten up your face!

I put the highlighting serum under my eyes, on the side of my nose/inner cheek, and Cupid’s bow. You could definitely see the highlight on my inner cheek near my nose and Cupid’s bow, but unfortunately my under eye circles are so bad these days that even this serum couldn’t completely erase it.

I love the brightening effect it has, and would make for an excellent highlighter for contouring as well.

This is currently being sold for $38 CAD, so I would recommend using this on special occasions only since the tub is somewhat small. I only wear foundation on special events or when I dress up, so this is perfect to incorporate into my regular foundation routine.

Thanks for reading!

-Carmen

Yay!

Press sample featured. Opinions are own. 


Filed Under: face, makeup

Night Out Makeup Look

October 24, 2015

I went out with some friends for dinner over the weekend, and thought I would share the makeup I wore! I haven’t done this for awhile, not since my Valentine’s Day makeup look, I believe – so hope you enjoy reading this as I do love writing posts like these.

Unfortunately, I was in a rush that night so the thought of taking some selfies after my makeup completely slipped my mind. Sorry! I took some pictures with friends but the lighting was pretty dark and bad inside, so those won’t be much help.

aillis201510242049836
Here is all the makeup I used that night.

aillis201510242050051

For my eyes, I wanted to create a smokey eye look and used my Urban Decay Naked palette to achieve the look. Since I was in a rush, I wasn’t able to create as much of a dramatic effect as I wanted but I was still happy with the way it turned out!

After priming my eyes with Urban Decay’s primer potion, I brushed ‘sin’ and ‘toasted’ all over my eyelid. On the outer corners, I blended ‘darkhose’ and ‘hustle’. I also wanted to try my new Sigma angle brush, and used ‘sidecar’ on the lower inner corner to make my eyes seem a bit brighter.(You can click on the photo for a new tab with a larger photo size, so that you’re able to see the names of each shade)

Obsessed Canada has started carrying Sigma brushes and they offer free shipping on products over $25 or a mere $3 flat rate!

As usual, I created a wing with my favourite Kat Von D liquid liner but decided to thicken and extend the line more. I finished my eyes with my new Buxom mascara.
aillis201510242048745-0

Since I wasn’t getting ready at home, I didn’t want to bring all of my face products with me in my makeup bag. I used my Urban Decay Naked skin foundation all over my face – I love this foundation and it is my definite go-to! For my under eye circles, I used the Estee Lauder Perfectionist concealer which I find does a really good job in brightening your skin.

To set my foundation, I used my Bare Minerals matte powder. Bare Minerals will always have a special place in my heart because it was the first higher end makeup brand I bought. It’s also a really great setting powder or you can use it alone for lighter coverage.
IMG_1873Here is the one picture I have, where you can decently see my makeup although it is a bit grainy! For privacy reasons, the boyfriend has turned into an orange just like in Kelowna.

Thanks for reading!

Press samples featured (Estee Lauder Perfectionist concealer and Sigma angle brush). Opinions are own. 

-Carmen


Filed Under: eyes, face, makeup

NARS Lipstick – Sephora Birthday Gift

October 14, 2015

My birthday falls on one of the last few days of the year — how unfortunate, right?! I was always the last of my friends to get a driver’s license, be of legal age, and of course, receive my Sephora beauty insider gift.

Over the past few years, the disappointment has weaned off and it doesn’t really bug me anymore. I’ve come to really appreciate my birthday time. After all, I never have to worry about having to study for an exam because it’s winter break, worry about work because it’s a holiday, people are in a great mood because of the holiday season, and I get beautiful holiday decorations!

I was in Sephora in January, and after completing my purchase, the lady at the counter handed me a small NARS box. ‘Here’s your birthday gift!’ She was nice enough to give it then, so I didn’t have to wait an entire year before finally receiving mine! Thank you, Sephora lady!
IMG_1281Admittedly, I forgot about the sample as I usually stick with my one lipstick, and had also bought a couple around that time. It wasn’t until last month during a family dinner, when I noticed my cousin’s strikingly bold red lip. I asked her what she was wearing, and she told me it was the NARS birthday lipstick from Sephora.

After that, I finally decided to open mine to see how it would look on me!
IMG_1282The lighter, rose pink shade is the satin lip pencil in rikugien, and has a hint of shimmer to it. I found that this shade was pretty light and neutral, and would be good for those who want a natural look. Or, it would be suitable if you already have a lot of dramatic eye makeup on, as you typically want to avoid your eyes and lips competing for attention.

I find that light pinkish shades don’t go well with my skin tone. It makes me look sickly pale, LOL! Which is why I liked the hint of shimmer, it didn’t make me look like I was sick. It does have a satin-y look to it so the name is very well suited for the colour.

Meanwhile, the darker shade is the velvet matte lip pencil in cruella. I am a big fan of darker shades, so personally, I liked this one more. However, it is definitely really bold and attention grabbing so you have to wear it with confidence!
IMG_1283

Overall, I’ve heard nothing but positive opinions on these two Sephora birthday gifts and I can definitely vouch for them too. The quality is great, they are long lasting, and do not dry out your lips. For a free product, this is really great and would be a product that I wouldn’t mind spending money on either.

Have you received your Sephora birthday gift yet this year? What did you think of it?

Thanks for reading!

-Carmen


Filed Under: face, lips, makeup Tagged: beauty, birthday, lips, lipstick, makeup, pink, red, red lip, sephora

My Melody Face Mask

October 4, 2015

When Maki went to Taiwan and Hong Kong last month, she came back with an assortments of gifts and souvenirs for me! Thank you, Maki, if you’re reading this! I don’t buy many Asian beauty brands, but to my knowledge, I believe that they are a lot cheaper in Asia so it is a good time to stock up on them while you are there.

I received a bunch of facial masks from her, which I am slowly trying out.. as well as an liquid eyeliner that I really love! One of the facial masks that she got me was the My Melody face mask.

For those of you that don’t know, My Melody is one of the Sanrio characters. You can think of Sanrio as the Disney of Japan… their characters are very popular and everywhere in Asia! The most popular Sanrio character is probably Hello Kitty.

I grew up with a lot of Sanrio characters in my life, my favourite characters would have to be Hello Kitty, Keroppi, Little Twin Stars, My Melody… and the list goes on. I’m feeling so nostalic as I type this, I had Keroppi stickers all over my room and door when I was a kid!
IMG_1242This is what the packaging looks like – simple and minimalist, yet still very cute!
IMG_1244Although I took a Japanese beginners class three years ago, sadly I did not continue with it although I hope to be able to read fluent Japanese one day. That, or be able to travel to Japan and understand or get around!

With that said, clearly I can’t tell you what the ingredients are or what this mask claims to do. I’ll just leave it up here for you all to see and if you can translate the back, please leave a comment down below =D
IMG_1245I was very surprised when I took out the mask, and saw that it was an actual My Melody face! How cute is that?! Seriously, Japanese products are amazing and are so detailed. It also smelled like strawberries, which was an excellent delight.

At first, my skin reacted a bit with the mask as it stung a little, which went away in less than 30 seconds. I left it on my face for 15 minutes, and I thoroughly enjoyed the scent of strawberries the whole time. I am a big fan of strawberries, if you didn’t know 😛

I was a bit confused as to if this mask would fit my entire face, since it is more horizontal than vertical. It actually covered my whole face area, except for the tip of my nose because the nose flap was a bit too short for me.

Overall, I thought that this mask was very cute and I enjoyed using it. I really loved the packaging and design of this. The mask felt very moisturizing, although I wish I could read Japanese so I can tell what this mask targets.

Thanks for reading!

-Carmen


Filed Under: face, makeup, skincare Tagged: asian, asian beauty, beauty, beauty blogger, face, face mask, facial, makeup, makeup blogger, my melody, sanrio, skin, skin care, skincare

Stila Foundation Haul & Review

August 29, 2015

Following the fall/holiday event I attended for Stila, I was generously given a few samples of their new products to try out! I’ve mentioned the ‘perfectly poreless’ line briefly on my event recap post but today, I will be doing a more detailed review after using the three products for almost a month now.
Stila Foundation Poreless Putty Bronzer Brush

I was first introduced to this line by Sarah Lucero, the Global Executive Director of Creative Artistry at Stila who led us through all the new products that day. The products I will be reviewing today are seen on the far left of this photo.

Stila Foundation Poreless Putty Bronzer Brush

Starting off with the new Wonder Brush, I really liked this brush at the event and was quite happy to see it in my sample bag once I got home! As the name suggests, the Wonder Brush is a versatile brush, which you can use for a multitude of different foundation steps. It was also designed by Sarah herself – how cool is that?!

I liked how dense and soft the brush was. I wish that it came with a cap so that I could bring this around in my purse for touch-ups though.
Stila Foundation Poreless Putty Perfector

Secondly, is the perfectly poreless putty perfector. This product is a combination of a cream foundation and loose powder. The best way to describe this product would be ‘bouncy’ but also slightly more dense due to the cream ingredients in it.

Although it feels very bouncy and slightly dense, the product does go on lightly and is very smooth to the touch. I was quite surprised at how lightweight the product felt, considering that it felt and looked pretty dense in the case!

Stila Foundation Poreless Putty Bronzer Brush

Thirdly is the Stay All Day face and body bronzer’. You might be familiar with the Stay All Day liquid liner from Stila, which I really love! This bronzer is an addition that line.

I really love the detailing of the product and how both foundations can be easily brought on the go. Both feature a mirror inside, and feel very sturdy so you don’t have to worry about the product accidentally opening in your purse or cracking!

Stila Foundation Poreless Putty Bronzer BrushI used the Wonder Brush to apply my foundation. The foundation applied very easily and was pretty lightweight on my skin. The foundation is a light to medium finish, depending on how much you put on as it is very, very buildable! On some days, I used this for a light finish but on days where I wanted more coverage, I simply applied a bit more.

Afterwards, I used the bronzer to contour my face. The bronzer goes on pretty light, which I prefer because I’ve owned some bronzers that look too harsh. Also, you can easily pick how much product you’d like, making this bronzer super buildable as well. For each cheek area, I swiped the brush three times in the bronzer.

If you are new to contouring, I would recommend using this brush as you can easily put it on an angle and swipe bronzer on your face, then blend the product out. Since the brush is so dense, it delivers a nice and even colour on the first swipe.

I always use primer before my foundation, but I decided to test these products out by eliminating it. After a whole day of shopping, I noticed that my foundation was still on but it was not as smooth looking as it initially was. As with most foundations and my slightly oily skin, I touched this up in the evening and it was as good as new!

—

In conclusion, I really enjoyed incorporating these foundations into my routine and will be continuing to use them. I like how lightweight the two products felt, and how easy it was to apply and contour with the Wonder Brush. You could use these products daily, as they look very natural but you can easily build the coverage up if you would like.

You can find these products at Shopper’s Drug Mart and Murale.

Thanks for reading!

-Carmen


Filed Under: face, makeup Tagged: beauty, beauty blogger, contour, makeup, makeup blogger, media product, media relations, media sample, PR, public relations, stila

  • « Previous Page
  • 1
  • …
  • 9
  • 10
  • 11
  • 12
  • 13
  • …
  • 19
  • Next Page »

Hello!

Hi and welcome to Curiously Carmen! I am Carmen, the girl behind the blog. You can read more about me here!

Recent Posts

  • H&P Noodle House Burnaby
  • Travel: Harry Potter Studio Tour (Watford, UK)
  • Travel: The Resident Soho Hotel, London UK
  • North Noodle House
  • Grand Crystal Seafood Restaurant

Subscribe to Blog via Email

Enter your email address to subscribe to this blog and receive notifications of new posts by email.

Partnerships

View my food journey on Zomato!

Archives

Theme Design By Studio Mommy · Copyright © 2025

Copyright © 2025 · Young Blush Theme on Genesis Framework · WordPress · Log in