• About / Contact
  • Work With Me
  • Food & Drink
    • asian —>
      • chinese
      • indian
      • japanese
      • korean
      • malaysian
      • taiwanese
      • thai
      • vietnamese
    • brunch
    • coffee and tea
    • dessert
    • fusion
    • happy hour
    • italian
    • greek
    • mexican
    • pub
    • seafood
    • steakhouse
    • vegetarian/vegan
    • western
  • Travel
    • Canada ->
      • Kelowna
      • Sunshine Coast
      • Victoria
    • Japan ->
      • Himeji
      • Kamakura
      • Kobe
      • Kyoto
      • Osaka
      • Tokyo
    • Mexico ->
      • Cancun
      • Isla Mujeres
      • Playa Del Carmen
    • USA ->
      • Las Vegas
      • Los Angeles
      • New York City
      • Seattle
    • Europe ->
      • London
  • Beauty
    • beauty events
    • body
    • eyes
    • face
    • costumes
    • hair
    • lips
    • nails
    • skincare

Curiously Carmen

NAILKALE – Nails Inc.

April 8, 2015

Hello everyone =)

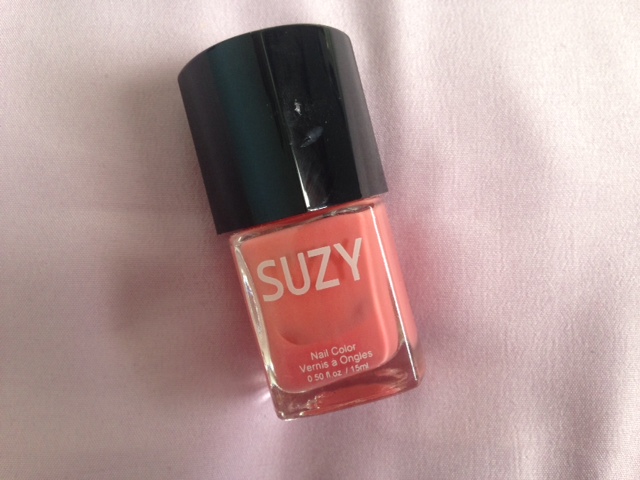
On one of my many visits to Sephora, I saw a line of nail polishes by Nails Inc. I’ve never tried their products before, so decided to try out their gel effect line. I really loved the results, they lasted longer than usual and had a nice, thick glossy shine to them! A few visits later, I went back and decided to try their other polishes.
NAILKALE - Nails Inc.Why the name “NAILKALE” ? Because it rhymes and sounds cool off your tongue. Nah, it is because their NAILKALE line is actually infused with kale extract! The kale extract stimulates advanced keratin production, hydrates, and nourishes your nail. Personally, I love eating kale and including it in smoothies. Kale is a superfood and has a tremendous amount of nutrients, it isn’t long before beauty companies incorporate it in their products.
NAILKALE - Nails Inc.
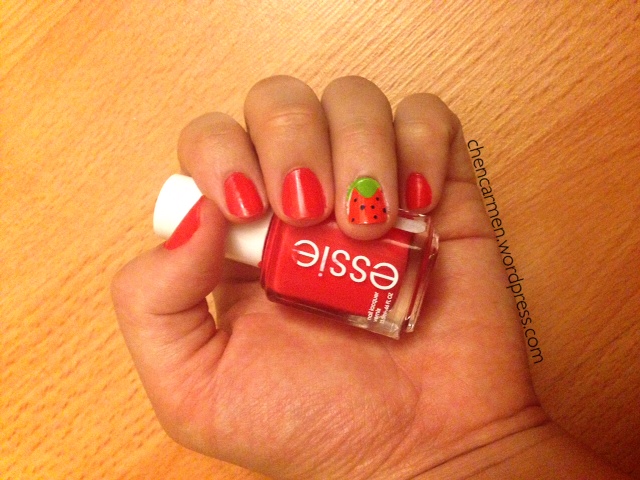
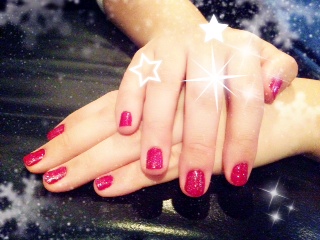
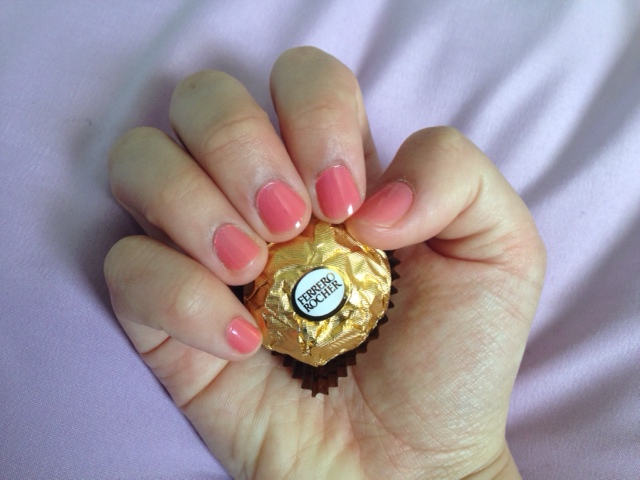
I bought the shade “Hampstead Grove” which is a dark coral colour. Coral is my go-to colour in the summer.

I used two coats to achieve this look, followed by a clear top coat. One thing I love about Nails Inc. is their fanned nail brush. The shape of their nail brush makes application so easy. One quick swipe covers my entire nail, leaving no streaks behind.

NAILKALE - Nails Inc.
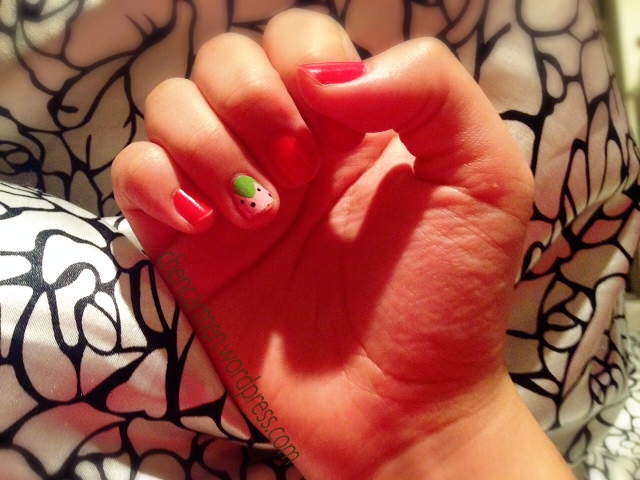
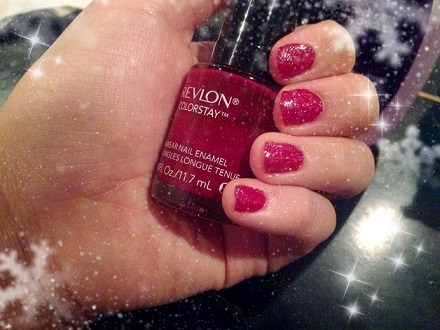
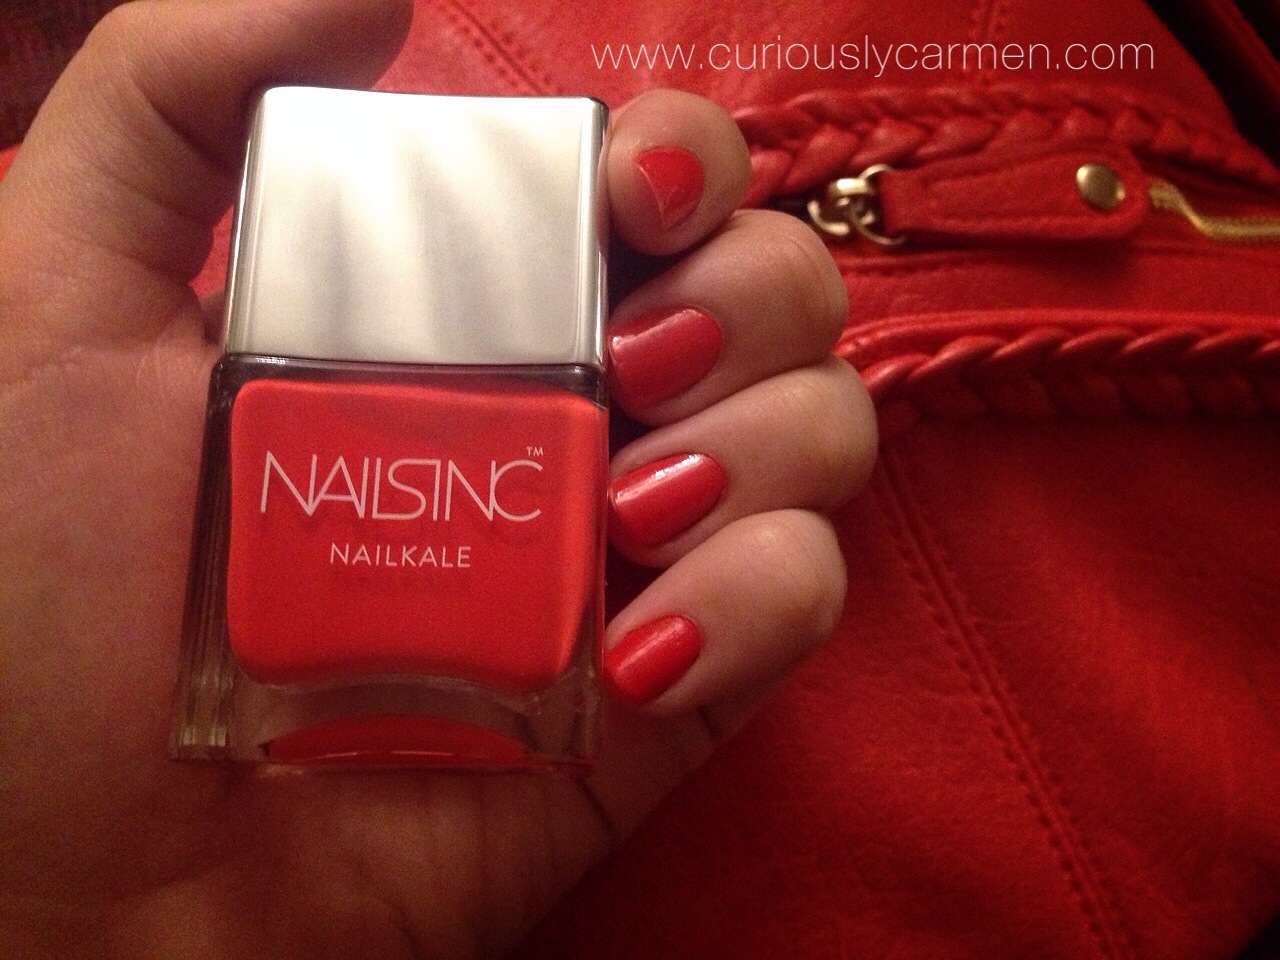
This is what the polish looks like with flash. Less orange-y tones, more pink.

NAILKALE - Nails Inc.
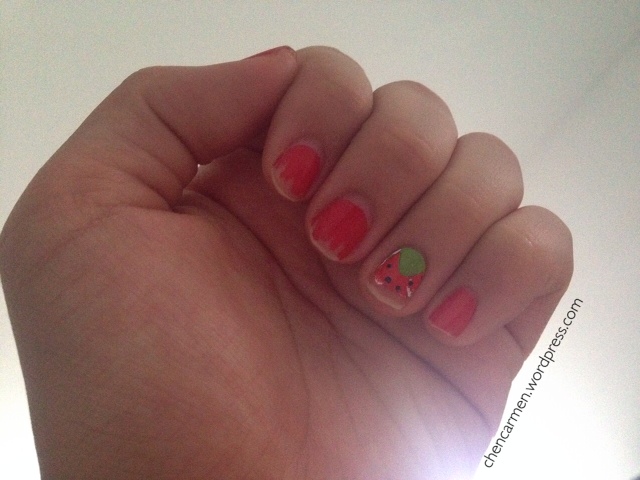
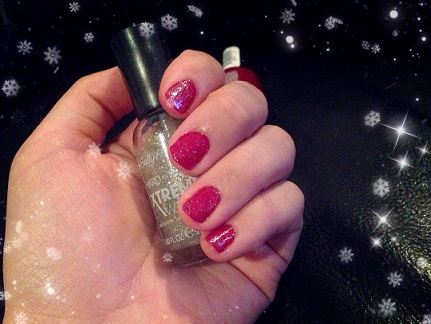
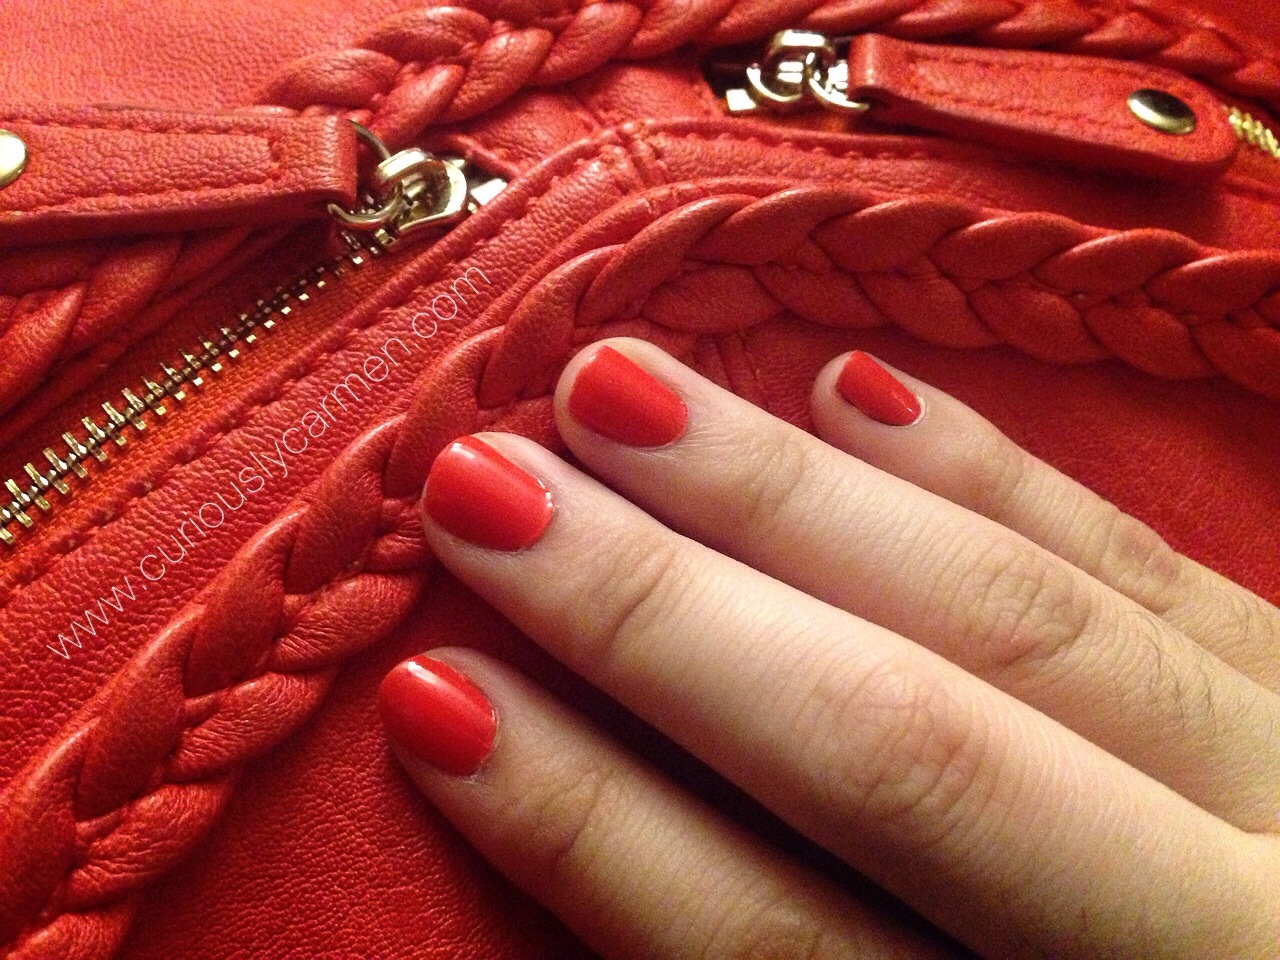
The day of, I was pretty satisfied with the way it looked! However, I was a bit surprised that the next morning, I woke up only to find that it was already starting to chip. For a $20 polish, I expected it to stay longer, this didn’t even last for 24 hours!

I recommend trying Nails Inc gel effect line instead of NAILKALE, it lasted many more days without chipping.

Thanks for reading!

-Carmen


Filed Under: nails Tagged: beauty, beauty blogger, coral, makeup, makeup blogger, manicure, nail art, nail polish, nails, nails inc, notd, summer, summer colour, youtube, youtube guru

OMGNailStrips.com {Nail Strips Review!}

January 5, 2015

Hi everyone!

Hope everyone is having a good day so far. I am excited to share this post with you as I’ve always been curious about nail strips, and I know some of you might be as well =) OMGNailStrips.com is a website specializing in nail art stickers, with a wide range of nail sticker designs. Cutesy, festive, to grunge- OMG Nail Strips have it all.
Nail stripsFor this post, I was able to choose two nail strip designs that I wanted. Originally, I had wanted a polka dot nail strip (no surprise there, hehe) but I was told it was sold out =(. I just tried to link that design, but I think they took it off their site. As a backup, I went with the strawberry design instead, which I was still really happy with and is sold for $8 USD. They arrived in the mail pretty fast, around 2-3 days from when I first placed the order.

The application process consisted of trial and error for me.  I have a tendency to skim over instructions instead of carefully reading them, it’s just a bad habit that I have. Because of that, I don’t blame OMG Nail Strips for being unclear. Although I gave my friend a set to try, and she had trouble following the instructions as well.

One thing I found really odd about the nail strips were how HUGE the strips were. I think it’s because you can also use it on your toenails, and our toenails tend to be bigger than fingernails… I used the smallest stickers this time.
Nail strips 1

Here is the application process:
1) Ensure that your nails are clean and free of polish.
2) Find the size of nail stickers you’d like (I recommend the smallest one on the right, everything else is really big).
3) Before peeling, match it with the size of your nail and cut the sticker with manicure scissors if needed.
4) Unpeel the clear top coat and apply to nail, starting from the bottom. Ensure that there are no air bubbles! This was the part my friend and I had trouble with, we didn’t even notice there was a hard, clear coat until afterwards.
5) After it is on your nail, unpeel the white backing slowly.
6) Apply a top coat of clear nail polish.

Nail strips 2

This picture was taken two days after I applied the nail sticker, still looking pretty good! But the tip was beginning to chip a bit. If you’re wondering why the strawberry sticker is pink this time, it is because this is my left hand =)
unnamedAfter five days in total, I decided that it was time to part ways with the sticker, as you can see it was peeling off. The packaging said it would last up to ten days, but my nail polish tends to chip after 2-3 days so I knew that it wouldn’t last that long for me.
RachelMy friend tried the crow nail design, she wanted to get a Christmas themed sticker but we weren’t sure how long shipping would take. If we knew how fast it would be, she definitely would have ordered them! For my friend, hers lasted seven days before peeling.

Would I use nail strips again? Yes, definitely! I love how they are an easy and fun way to dress up your nails. Plus, there is no drying time and it also does not smudge. I know some people who don’t like nail strips because it’s hard to apply or it doesn’t fit their nail shape or something, but I find them fun to use and would not mind using them again =)

Check out OMGNailStrips.com here!

What is your opinion on nail strips? Thanks for reading and take care!

-Carmen

Press product featured, all opinions are my own.


Filed Under: body, makeup, nails Tagged: beautiful, beauty, beauty blogger, beauty guru, makeup, makeup blogger, makeup guru, manicure, nail art, nail design, nail designs, nail polish, nail stamps, nail stickers, nails, notd, pedicure, polish, pretty

Christmas Holiday Nails!

December 7, 2014

Christmas radio playlist on repeat, planning holiday parties for work,  and some Home Alone movie nights later, it is safe to say that I am getting into the holiday spirit. Last night, when I was sick at home and watching Home Alone 2 (it never gets old), I had the sudden urge to repaint my nails. Then, I realized that I should paint them in the holiday spirit!
XmasHere is what I ended up with! Pretty simple and classic, but with a holiday twist. Depending on what angle you look at them, it can look a bit more sparkly or not 🙂 Random fact about me, whenever I watch movies, I can’t just sit still and watch the movie… I always have to be doing something, which is why I painted my nails. I’ll also be working overtime tomorrow at my company’s holiday party for our members, so might as well have pretty nails at the registration table and show some holiday spirit.
Xmas nails redI applied two coats of Revlon’s Colourstay in #130-Velvet Rope. It was my first time using it, I thought it was very pigmented and had a really deep, rich, and red colour. One coat would have been sufficient, but I normally do two coats of colour. I found that the drying time of this polish was a bit longer than I was used to, but I was just watching a movie as I was painting so I didn’t really mind.
Xmas sparkleI could have stopped there, but I love glittery and sparkly things and thought that sparkle polish would really add a Christmas twist and holiday magic to it. I used the Sally Hansen Hard As Nails Xtreme Wear in #305-Shine On. I’ve always had great experiences with Sally Hansen polishes, it’s my favourite drug store nail polish as it doesn’t chip easily, easy application, has great pigment/colours, and is very affordable.

Originally, I was debating if I should just paint the tips of my nails or just one nail for accent, but I decided to paint all of them because I love the sparkly look. The sparkles reminded me of tiny snowflakes, or little stars in the night sky. I always used to paint my nails a deep, dark blue or black, and use glitter polish on top to look like the sky so this is just a Christmas version of that. Something about the starry night sky is just so pretty to me and if I could capture a bit of that on my nails, I don’t mind at all.

I’m already thinking of the next holiday themed nails! Maybe I’ll share that too. What are your favourite holiday themed designs to do?

-Carmen


Filed Under: body, makeup, nails Tagged: beauty blogger, beauty review, beauty story, Christmas, christmas nails, christmas season, december, diy, holiday, holiday nails, holiday party, make up, makeup blogger, makeup guru, makeup review, manicure, manicure ideas, motd, nail art, nail design, nail polish, nails, revlon, sally hansen, snow, snowflakes, themed party, winter

Suzy Nail Colour Review

April 12, 2014

For the past two years, I’ve been stripped away from the liberty of wearing nail polish due to my job. So, whenever I have a few days off, I jump at the opportunity to wear it!

Since I only wear nail polish a handful of times per year, I don’t splurge on expensive ones since they’ll probably dry out by the time I wear it.
photo (23)I got this nail polish probably last year, at Suzy Shier which is a women’s clothing store. I really liked the soft, girly pink colour and it was also really cheap, so I decided to get it.

One of these cost $3, or 2 for $5. It’s a pretty good deal! I applied 2 coats to get the current colour.
photo (22)I haven’t worn this since last Summer, so I forgot how fast it dried! I would have to say that it dried in less than 45 seconds, I was so impressed. I’ve never had a nail polish dry that fast and have such healthy and strong shine to it! And for $3?! What a miracle.

Also, can you notice how the top brush part is uneven from the bottom? Somehow, I can’t twist it back to its normal position no matter how hard I try. I’m glad that it doesn’t leak, or else we’d have a problem!
photo (24)One of the annoying things about nail polish is their removal, especially if it’s glittery. I was in a rush to remove the colour since I was about to be late for work, but thankfully, this polish comes off so easy with nail polish remover. YES!!! Overall, I love this polish!

Pros:
-Fast drying
-Lovely colour
-Matte finish but with a light shine to it
-Easy to remove
Cons:
-Smells strongly like chemicals

-Carmen


Filed Under: body, makeup, nails Tagged: baby pink, beauty products, beauty review, makeup, makeup review, manicure, nail art, nail colour, nail polish, pedicure, pink

Hello!

Hi and welcome to Curiously Carmen! I am Carmen, the girl behind the blog. You can read more about me here!

Recent Posts

  • H&P Noodle House Burnaby
  • Travel: Harry Potter Studio Tour (Watford, UK)
  • Travel: The Resident Soho Hotel, London UK
  • North Noodle House
  • Grand Crystal Seafood Restaurant

Subscribe to Blog via Email

Enter your email address to subscribe to this blog and receive notifications of new posts by email.

Partnerships

View my food journey on Zomato!

Archives

Theme Design By Studio Mommy · Copyright © 2025

Copyright © 2025 · Young Blush Theme on Genesis Framework · WordPress · Log in