• About / Contact
  • Work With Me
  • Food & Drink
    • asian —>
      • chinese
      • indian
      • japanese
      • korean
      • malaysian
      • taiwanese
      • thai
      • vietnamese
    • brunch
    • coffee and tea
    • dessert
    • fusion
    • happy hour
    • italian
    • greek
    • mexican
    • pub
    • seafood
    • steakhouse
    • vegetarian/vegan
    • western
  • Travel
    • Canada ->
      • Kelowna
      • Sunshine Coast
      • Victoria
    • Japan ->
      • Himeji
      • Kamakura
      • Kobe
      • Kyoto
      • Osaka
      • Tokyo
    • Mexico ->
      • Cancun
      • Isla Mujeres
      • Playa Del Carmen
    • USA ->
      • Las Vegas
      • Los Angeles
      • New York City
      • Seattle
    • Europe ->
      • London
  • Beauty
    • beauty events
    • body
    • eyes
    • face
    • costumes
    • hair
    • lips
    • nails
    • skincare

Curiously Carmen

Bliss Achilles Heel Smoother

July 14, 2016

I first heard of the Bliss Achilles Heel Smoother at the ACI Summer 2016 preview, and was very excited to bring it home with me to try! With summer here, we all want pretty and soft feet to slip our flip flops into. Here is what I thought of the Bliss Achilles Heel Smoother!
Bliss Heel Smoother Kit
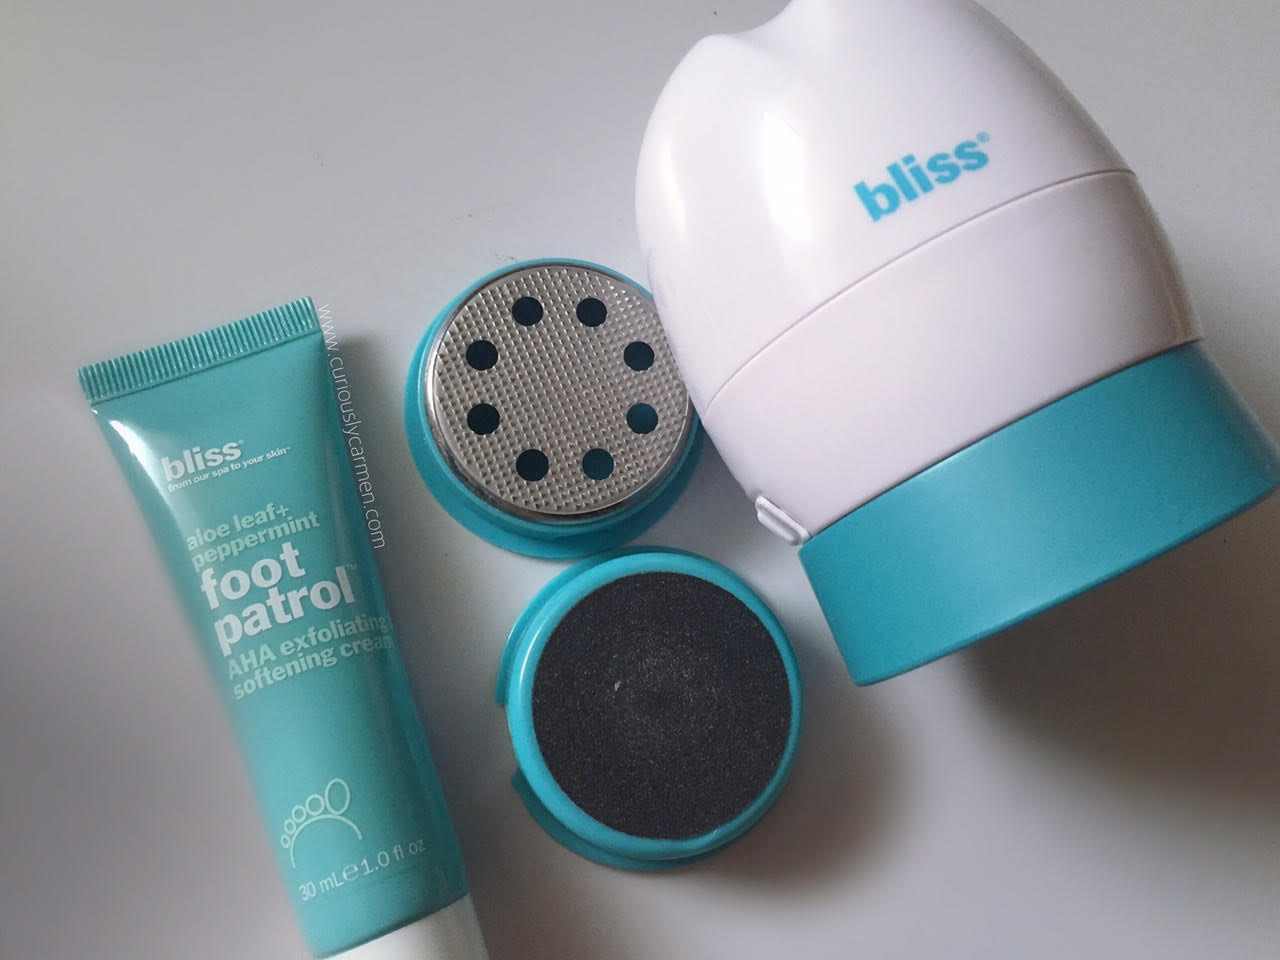
The Bliss Achilles Heel Smoother is a battery powered, exfoliating device that will leave your feet smooth, soft, and callus free.

Apart from the device, it comes with one exfoliating disc, two buffing pads, a small brush to clean the exfoliating disc, and an aloe peppermint foot softening cream.

The exfoliating disc and buffing pads are interchangeable. You simply lift off the plastic blue lid, and gently pull off the disc.
Bliss Heel Smoother DesignThe device is about the size of a small apple and fits comfortably in my palm (although I can’t wrap my fingers completely around the device).

The machine uses four batteries, which comes included with the device. It is pretty sturdy, but bulky. The majority of the device is reserved for the battery area.
Bliss Heel Exfoliator
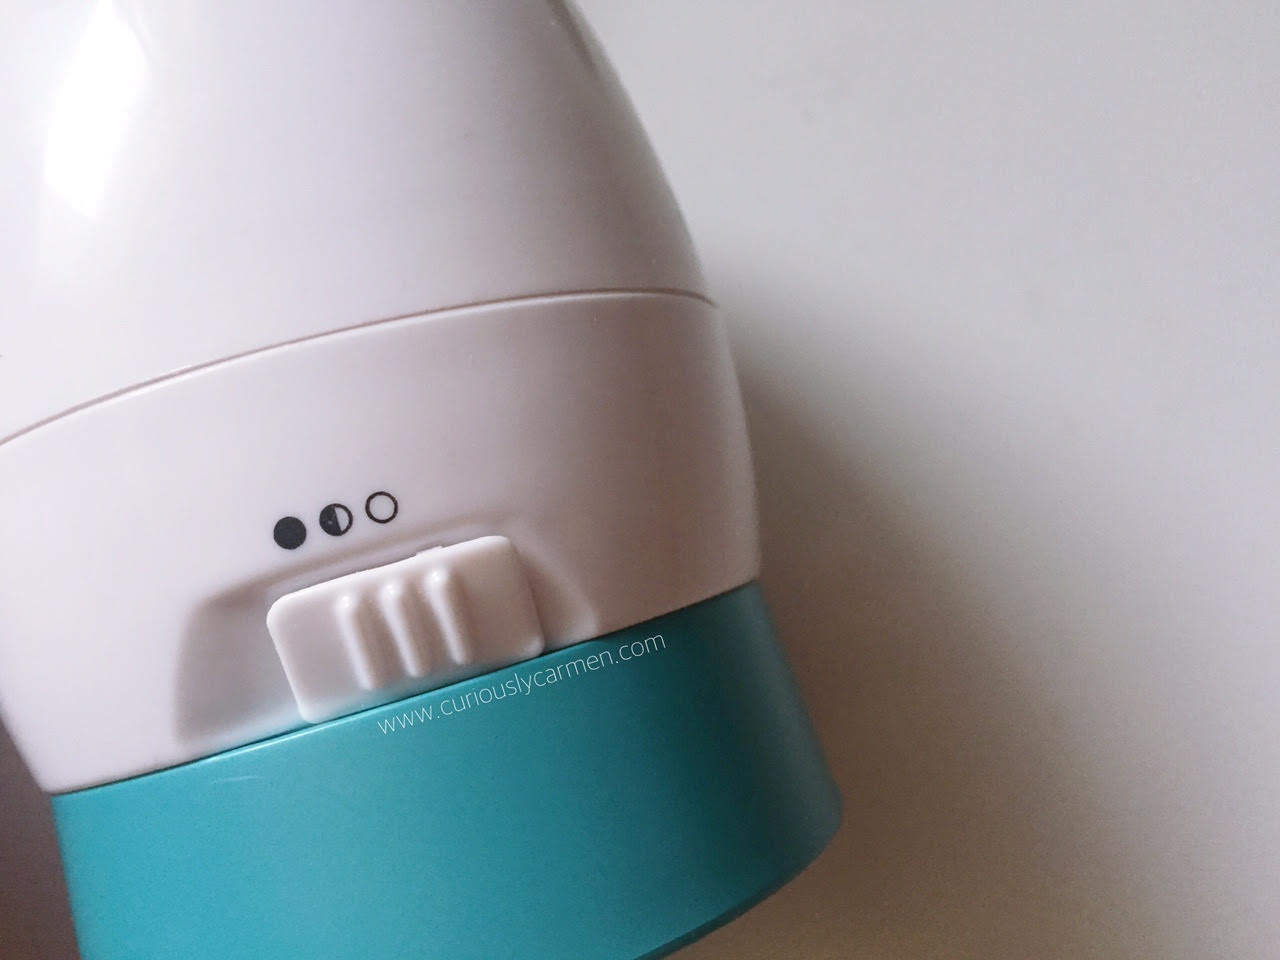
There are two speeds in which the device operates on. In the picture above, the device is turned off. Unfortunately, I accidentally broke the first speed during my first initial trial of the device. I pressed the device against my foot too hard and somehow broke it.

Totally my fault, as the instruction box warns you not to press the device too hard! So, I can only use the higher setting but I think I would have used the higher setting anyways, because I found the lower setting not as effective (hence why I pushed it a bit harder on my foot). *insert embarrassed emoji here*
Bliss Exfoliating Heel Disc
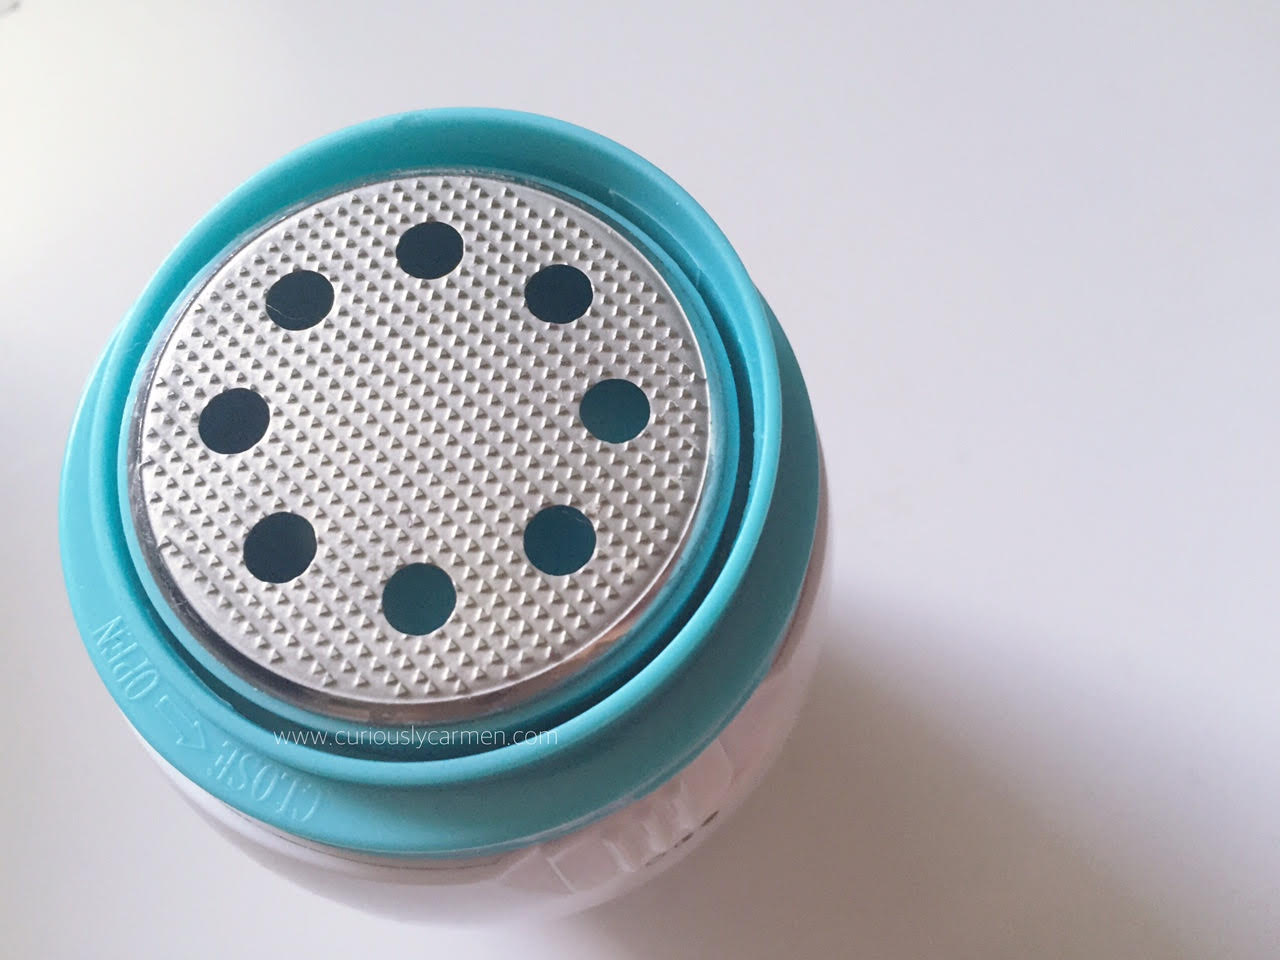
My first impression of the exfoliating disc was that it looked very rough and harsh! It felt and looked as if it could cut my finger if the device was turned on, so I was a bit nervous that it would hurt. >_<

Surprisingly, the disc was actually really gentle on my skin, to the point where I didn’t feel like it was exfoliating at all. I found it really easy to use on my feet, and was able to use just one hand.

My feet aren’t extremely callused and horrible, but they do get dry and a bit callused when I wear flip flops. After going over my heel area, which was the driest and callused area, for about 5 minutes each, I noticed a significant improvement in how soft my feet were!

Since the disc felt so gentle, I didn’t think it was doing much but my feet were a lot smoother and gentle afterwards. I couldn’t stop touching them =P
Bliss Foot Patrol Cream
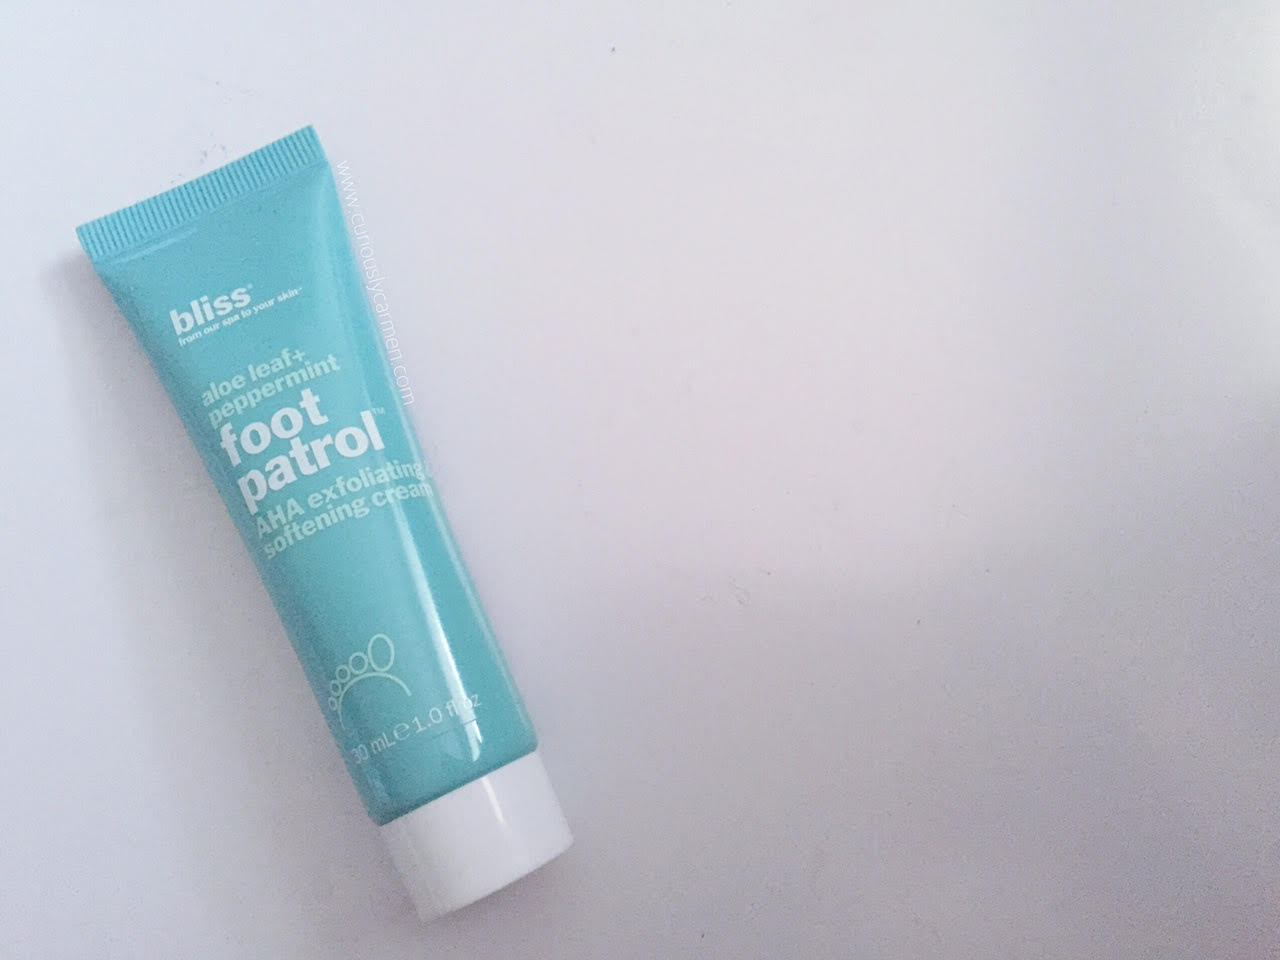
I finished up with the aloe peppermint lotion, which was AMAZING. It was very hydrating, rich, and had a nice strong peppermint scent to it. Applying this lotion to my feet is probably my favourite part. Just be sure to not walk around 5-10 minutes after using it, to let it fully soak and also it’s a bit slippery.

For the ultimate test of efficiency, I put these bad boys to the test on the boyfriend’s feet. They are a lot more callused and dry than mine, and wears steel toe boots at work if that makes any difference. The end product was amazing, and his feet were very smooth as well, although the calluses were still there (those are probably never going away because they are pretty hard calluses).

Overall, I am pretty impressed with the Bliss Achilles Heel Smoother and would recommend purchasing it. I will be using it regularly, especially after wearing flip flops. I used the device three days ago, and my feet are still nice and soft despite wearing flip flops and sandals. I can see myself using the device 1-2 a week to keep my feet nice and soft!
yay-nay-or-meh

Yay!


Filed Under: body Tagged: beauty blogger, bliss, body care, exfoliate, feet, foot, foot scrub, pedicure, skin care, skincare

OMGNailStrips.com {Nail Strips Review!}

January 5, 2015

Hi everyone!

Hope everyone is having a good day so far. I am excited to share this post with you as I’ve always been curious about nail strips, and I know some of you might be as well =) OMGNailStrips.com is a website specializing in nail art stickers, with a wide range of nail sticker designs. Cutesy, festive, to grunge- OMG Nail Strips have it all.
Nail stripsFor this post, I was able to choose two nail strip designs that I wanted. Originally, I had wanted a polka dot nail strip (no surprise there, hehe) but I was told it was sold out =(. I just tried to link that design, but I think they took it off their site. As a backup, I went with the strawberry design instead, which I was still really happy with and is sold for $8 USD. They arrived in the mail pretty fast, around 2-3 days from when I first placed the order.

The application process consisted of trial and error for me.  I have a tendency to skim over instructions instead of carefully reading them, it’s just a bad habit that I have. Because of that, I don’t blame OMG Nail Strips for being unclear. Although I gave my friend a set to try, and she had trouble following the instructions as well.

One thing I found really odd about the nail strips were how HUGE the strips were. I think it’s because you can also use it on your toenails, and our toenails tend to be bigger than fingernails… I used the smallest stickers this time.
Nail strips 1

Here is the application process:
1) Ensure that your nails are clean and free of polish.
2) Find the size of nail stickers you’d like (I recommend the smallest one on the right, everything else is really big).
3) Before peeling, match it with the size of your nail and cut the sticker with manicure scissors if needed.
4) Unpeel the clear top coat and apply to nail, starting from the bottom. Ensure that there are no air bubbles! This was the part my friend and I had trouble with, we didn’t even notice there was a hard, clear coat until afterwards.
5) After it is on your nail, unpeel the white backing slowly.
6) Apply a top coat of clear nail polish.

Nail strips 2

This picture was taken two days after I applied the nail sticker, still looking pretty good! But the tip was beginning to chip a bit. If you’re wondering why the strawberry sticker is pink this time, it is because this is my left hand =)
unnamedAfter five days in total, I decided that it was time to part ways with the sticker, as you can see it was peeling off. The packaging said it would last up to ten days, but my nail polish tends to chip after 2-3 days so I knew that it wouldn’t last that long for me.
RachelMy friend tried the crow nail design, she wanted to get a Christmas themed sticker but we weren’t sure how long shipping would take. If we knew how fast it would be, she definitely would have ordered them! For my friend, hers lasted seven days before peeling.

Would I use nail strips again? Yes, definitely! I love how they are an easy and fun way to dress up your nails. Plus, there is no drying time and it also does not smudge. I know some people who don’t like nail strips because it’s hard to apply or it doesn’t fit their nail shape or something, but I find them fun to use and would not mind using them again =)

Check out OMGNailStrips.com here!

What is your opinion on nail strips? Thanks for reading and take care!

-Carmen

Press product featured, all opinions are my own.


Filed Under: body, makeup, nails Tagged: beautiful, beauty, beauty blogger, beauty guru, makeup, makeup blogger, makeup guru, manicure, nail art, nail design, nail designs, nail polish, nail stamps, nail stickers, nails, notd, pedicure, polish, pretty

Suzy Nail Colour Review

April 12, 2014

For the past two years, I’ve been stripped away from the liberty of wearing nail polish due to my job. So, whenever I have a few days off, I jump at the opportunity to wear it!

Since I only wear nail polish a handful of times per year, I don’t splurge on expensive ones since they’ll probably dry out by the time I wear it.
photo (23)I got this nail polish probably last year, at Suzy Shier which is a women’s clothing store. I really liked the soft, girly pink colour and it was also really cheap, so I decided to get it.

One of these cost $3, or 2 for $5. It’s a pretty good deal! I applied 2 coats to get the current colour.
photo (22)I haven’t worn this since last Summer, so I forgot how fast it dried! I would have to say that it dried in less than 45 seconds, I was so impressed. I’ve never had a nail polish dry that fast and have such healthy and strong shine to it! And for $3?! What a miracle.

Also, can you notice how the top brush part is uneven from the bottom? Somehow, I can’t twist it back to its normal position no matter how hard I try. I’m glad that it doesn’t leak, or else we’d have a problem!
photo (24)One of the annoying things about nail polish is their removal, especially if it’s glittery. I was in a rush to remove the colour since I was about to be late for work, but thankfully, this polish comes off so easy with nail polish remover. YES!!! Overall, I love this polish!

Pros:
-Fast drying
-Lovely colour
-Matte finish but with a light shine to it
-Easy to remove
Cons:
-Smells strongly like chemicals

-Carmen


Filed Under: body, makeup, nails Tagged: baby pink, beauty products, beauty review, makeup, makeup review, manicure, nail art, nail colour, nail polish, pedicure, pink

Hello!

Hi and welcome to Curiously Carmen! I am Carmen, the girl behind the blog. You can read more about me here!

Recent Posts

  • H&P Noodle House Burnaby
  • Travel: Harry Potter Studio Tour (Watford, UK)
  • Travel: The Resident Soho Hotel, London UK
  • North Noodle House
  • Grand Crystal Seafood Restaurant

Subscribe to Blog via Email

Enter your email address to subscribe to this blog and receive notifications of new posts by email.

Partnerships

View my food journey on Zomato!

Archives

Theme Design By Studio Mommy · Copyright © 2025

Copyright © 2025 · Young Blush Theme on Genesis Framework · WordPress · Log in