I’ve mentioned in my Empire State Building and Circle Line Sightseeing Cruise reviews that I went to both of these attractions using the New York CityPASS.
I’ve seen the CityPASS program while in Seattle a few times, but this was the first time that I used it for myself!
Today, I will be thoroughly reviewing the CityPASS and giving my opinion on it.
 First off, what is the CityPASS? The CityPASS offers customers access to the city’s top attractions, at a significantly discounted rate. Once you purchase the pass, you simply tear off the ticket at the attraction and you are good to go! In New York, here are the six attractions one can choose from:
- Empire State Building- Includes two same day admission for day and night viewing
- American Museum of Natural History
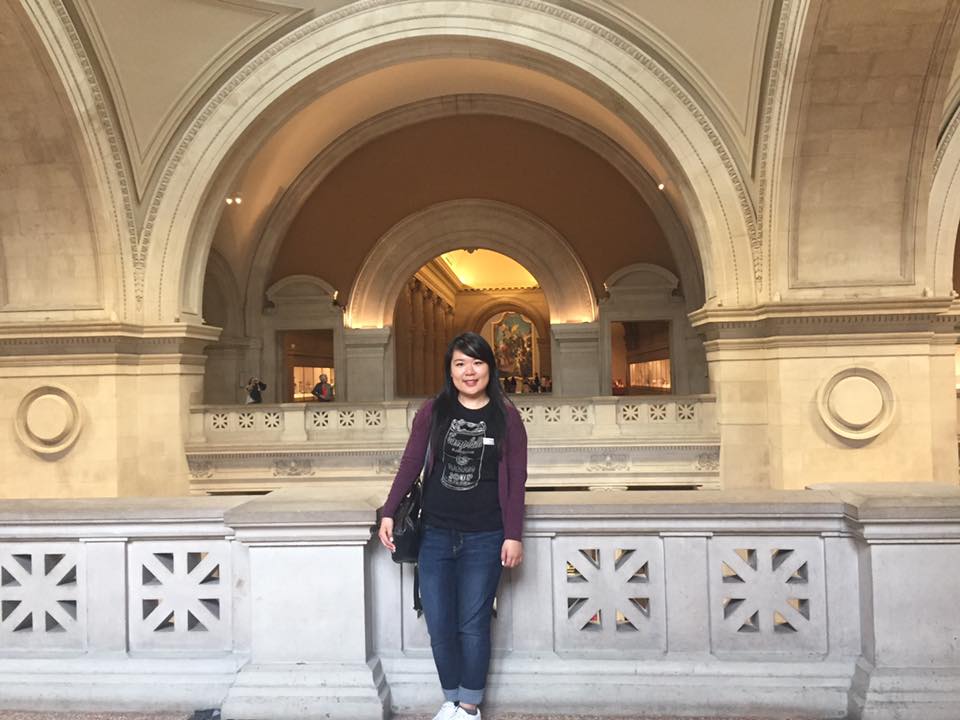
- The Metropolitan Musem of Art
- Top of the Rock OR Guggenheim Musem
- Statue of Liberty & Ellis Island OR Circle Line Sightseeing Cruise
- 9/11 Memorial Museum OR Intrepid Sea, Air & Space Museum
At the time of writing, one New York CityPASS is $159.69 CAD.
To put this into perspective, buying the Empire State Building tickets for both day and night already costs $83.85 CAD (Accurate at time of writing due to the dollar exchange rate). Top of the Rock passes are $57.65 CAD. 9/11 Memorial Museum tickets are another $31.45 CAD.
If purchasing all of the attractions separately, you would be paying at least 40% more! If it is your first time in New York, purchasing the CityPASS makes it easier to explore the city. There is so much to do in NYC, which may be overwhelming for first time visitors.
But with the CityPASS, you don’t have to worry about which places to go and if they are worth it or not. I went to all six attractions with the CityPASS, and enjoyed each attraction a lot. It is no wonder why they have been selected to be featured in the pass.

For 4 out of the 6 attractions in total, CityPASS ticket holders are offered express lines. Look for the CityPASS logo at the Empire State Building, American Museum of Natural History, The Metropolitan Museum of Art, Circle Line, and 9/11 Memorial Museum.

All of the staff working at the attractions are familiar with the CityPASS and will direct you on where to go, should you need assistance.
The pros outweigh the cons of not purchasing a CityPASS. If you are only spending 1-2 days in New York, then it probably wouldn’t be worth it because you won’t have time to visit all six attractions. The CityPASS also only comes in a small booklet. Don’t lose this because all your tickets are inside!
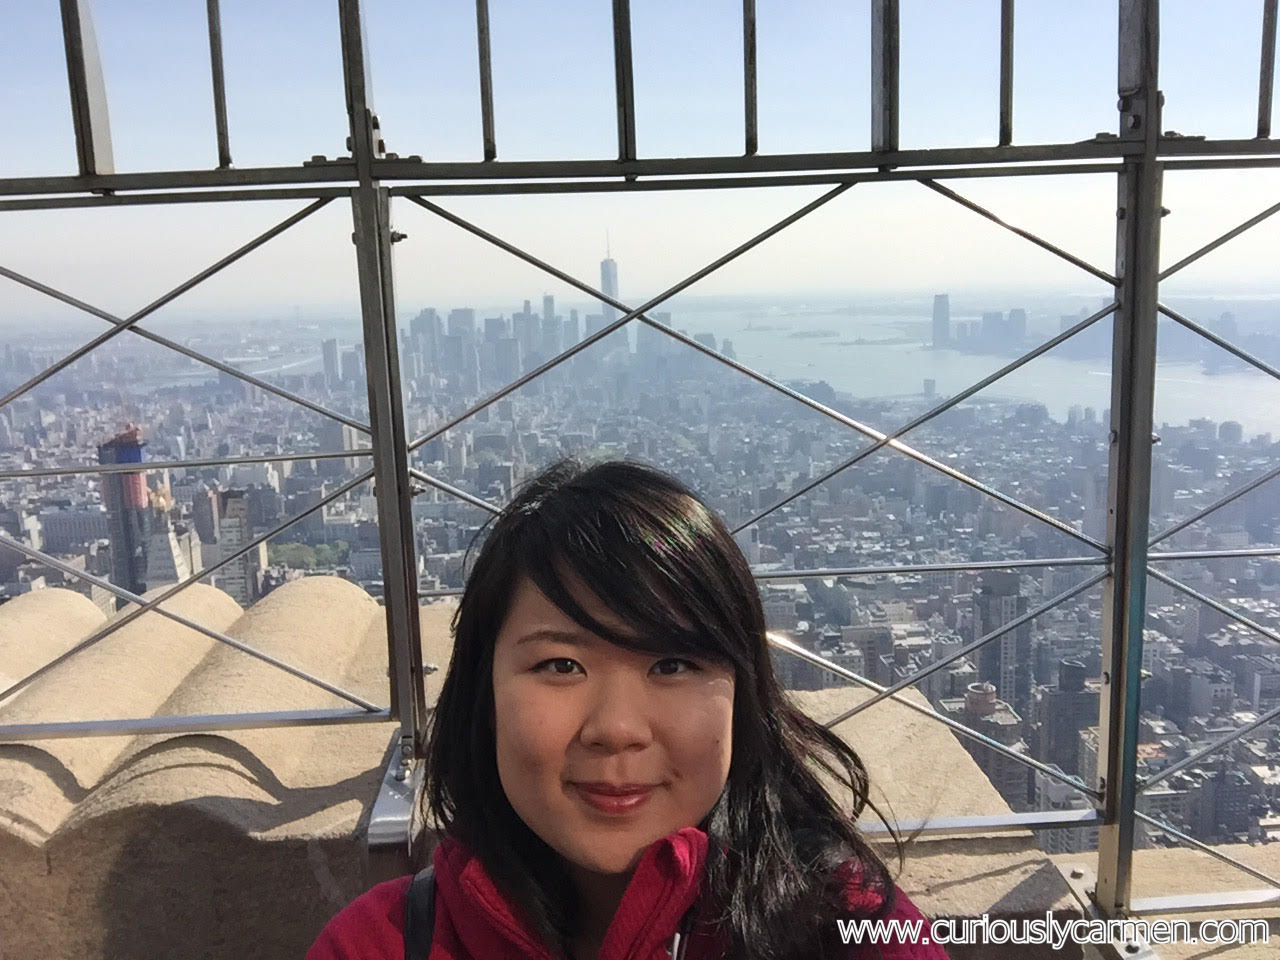 All in all, having the CityPASS made our 6 day trip to New York a lot easier and better. Wait times were cut down, didn’t have to worry about purchasing tickets, and I already knew where I was going so didn’t have to waste time! My favourite was obviously the Empire State Building, and my second would have to be the Circle Line Sightseeing Cruise.
You can purchase the CityPASS online, or at any of the attractions once you get into the city.
There are also CityPASS booklets available in Atlanta, Boston, Chicago, Dallas, Houston, Philadelphia, San Fran, Seattle, Southern California (DISNEYLAND!!!), Tampa Bay, and Toronto!

Yay!
Thanks for reading,
Carmen
Media samples provided. Opinions are own.
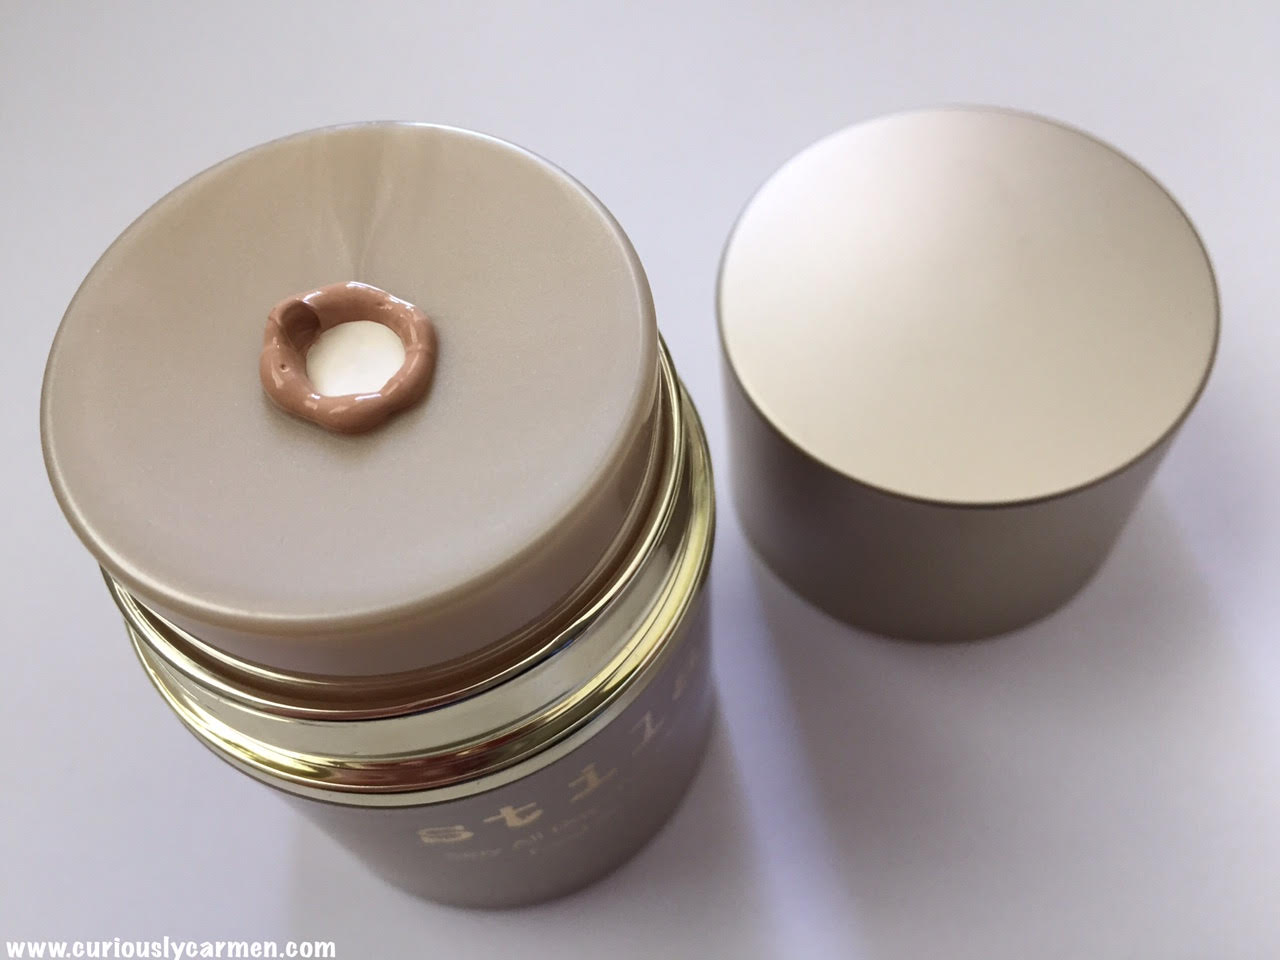 To use the foundation, you simply press lightly on the center plate. Product will come out afterwards in a neat circle, which makes it sanitary as well.
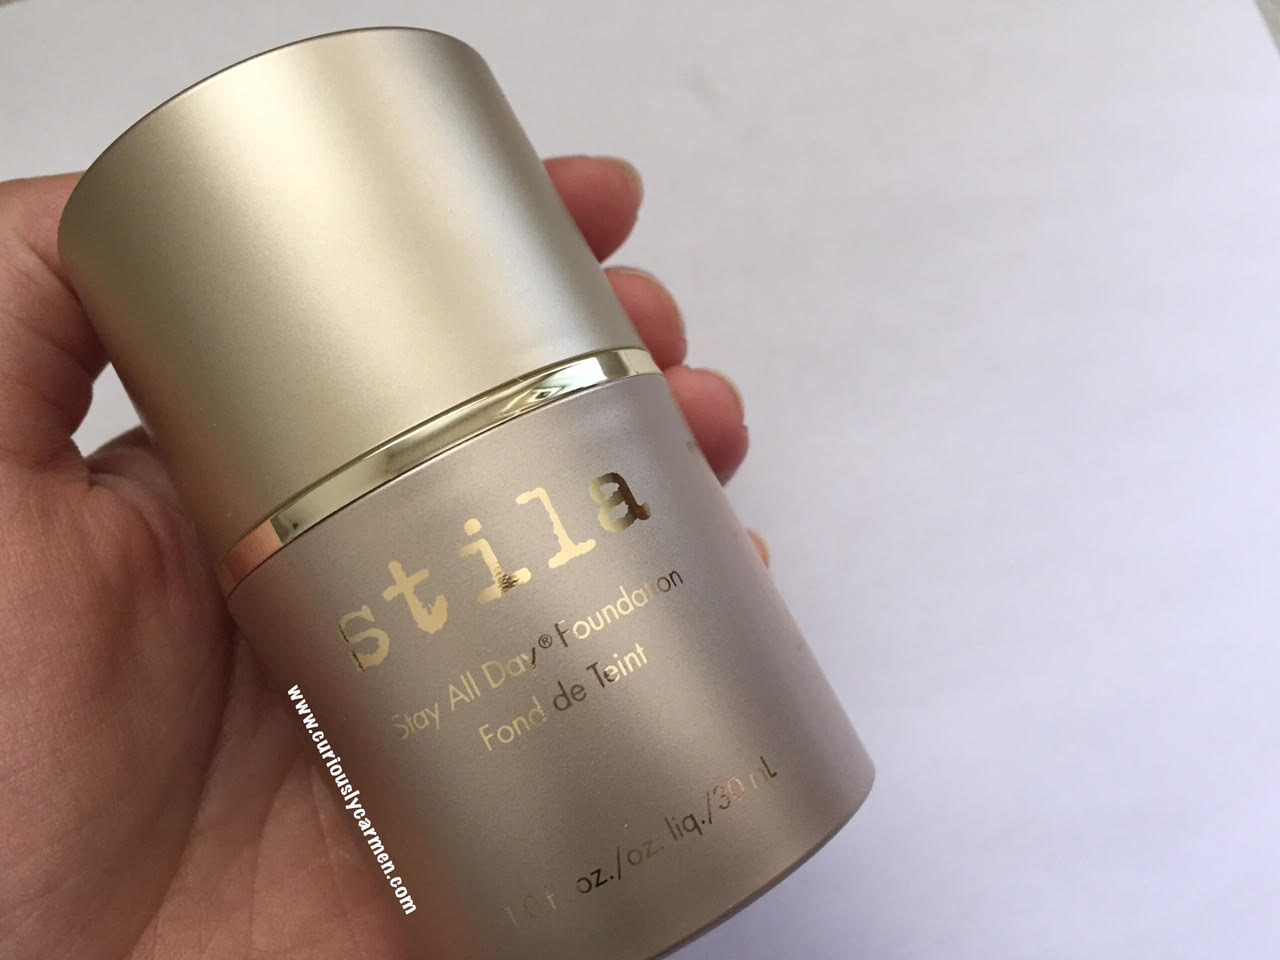
 Since the bottle is opaque and you’re unable to see the shade, there is a ‘window’ on the side of the bottle in which you can see the shade.
 My first impression of the foundation was that I really liked it. I loved the medium coverage and the slightly dewy and sheen finish as you can see in the photo above. Although, the description says it is a matte finish, it was on the dewy side for me. The foundation really smoothed out my skin tone and it still looks pretty natural.
 We walked by Five Senses, and it looked pretty busy so we gave the menu a quick look. After seeing the high ratings on Yelp, we decided to try it! I’m glad we came here before the dinner rush because there was a pretty long line up afterwards.
 Banchan, free: The banchan was pretty much the same as what you would get in Vancouver. However, I’ve never seen the clear, cold noodles mixed with veggies on the far right before. That was probably my favourite dish out of all of these. The noodles were served a bit chilled, and had a really strong sesame oil taste to it! The kimchi packed a lot of heat as well.
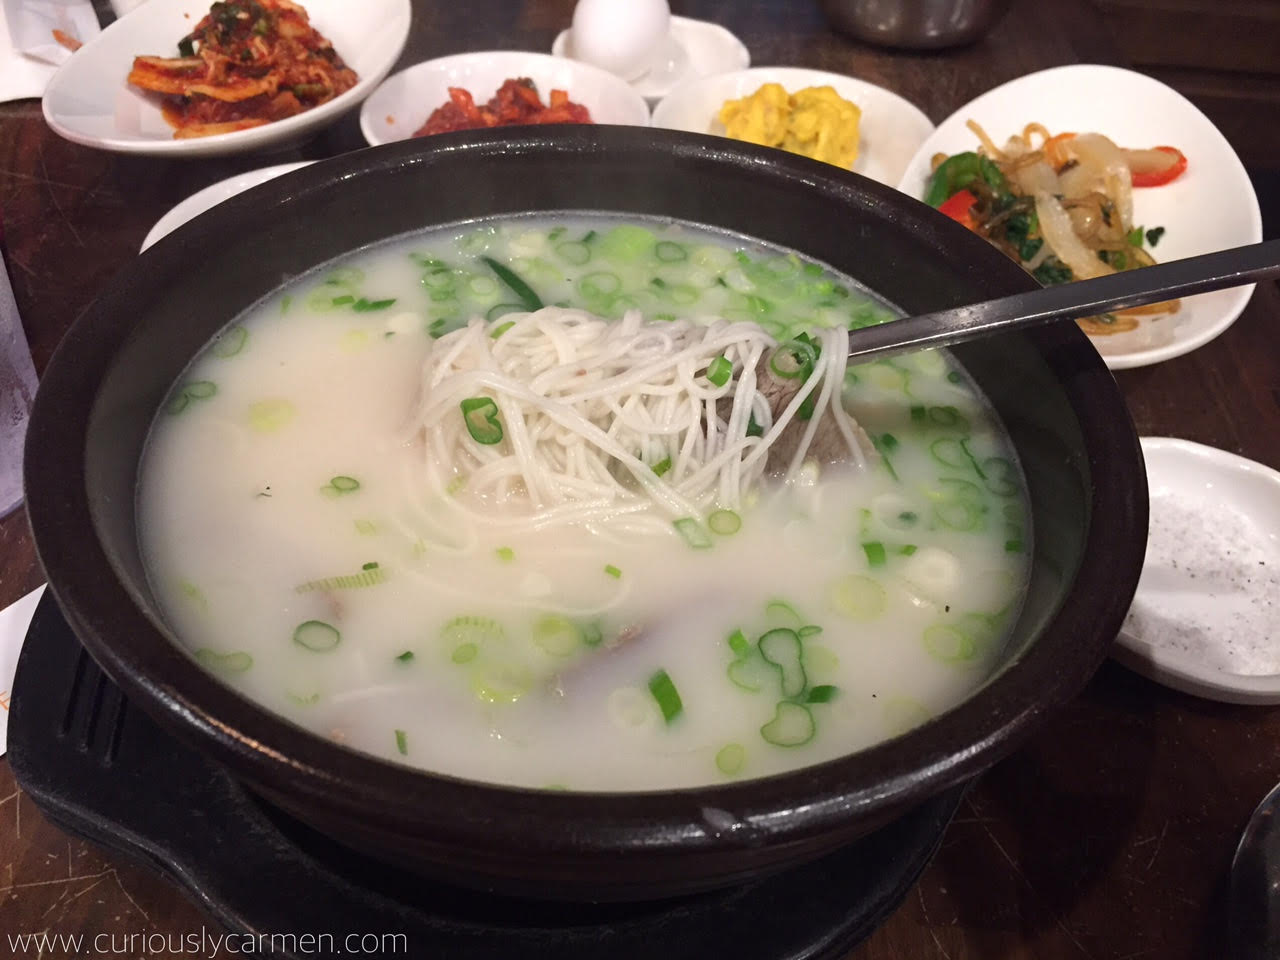 Sul lang tang, $12.99: I honestly don’t know why I keep ordering beef bone stock soup when it usually isn’t that tasty. I’ve come to accept the fact that Korean beef bone soup is usually pretty flavourless, and this was pretty much the same. On the right hand side of the photo, you can see the salt that it comes with, but I had to ask for another plate of it because it still wasn’t enough.
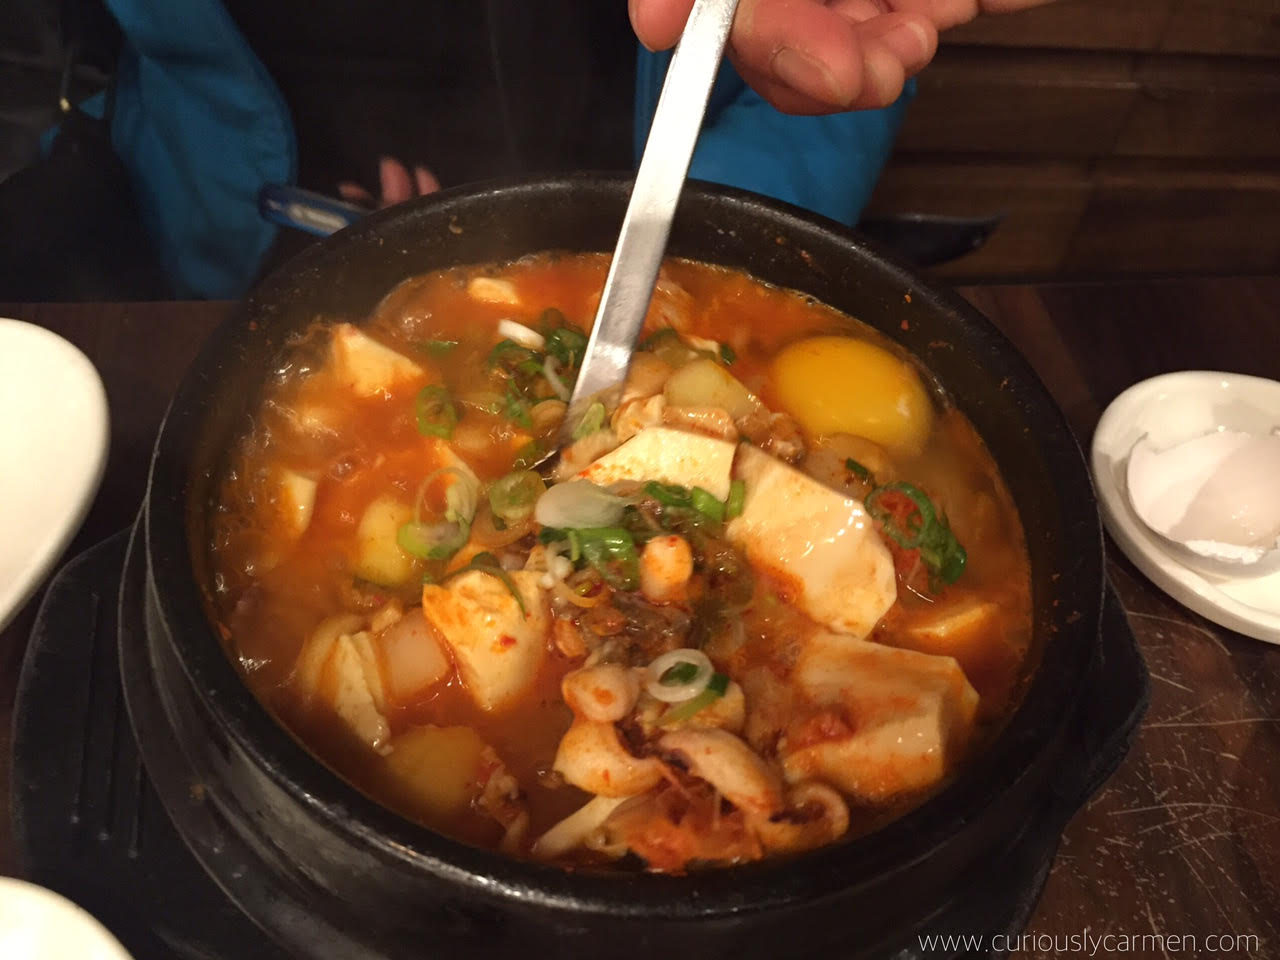 Soondubu, $13.99: I had wanted to order this as well, but wasn’t really feeling like anything spicy. This is the seafood tofu soup. It came with a generous amount of tofu and seafood, and was super filling. We found it to have a good amount of spice to it as well. Overall, a really comforting and delicious dish!
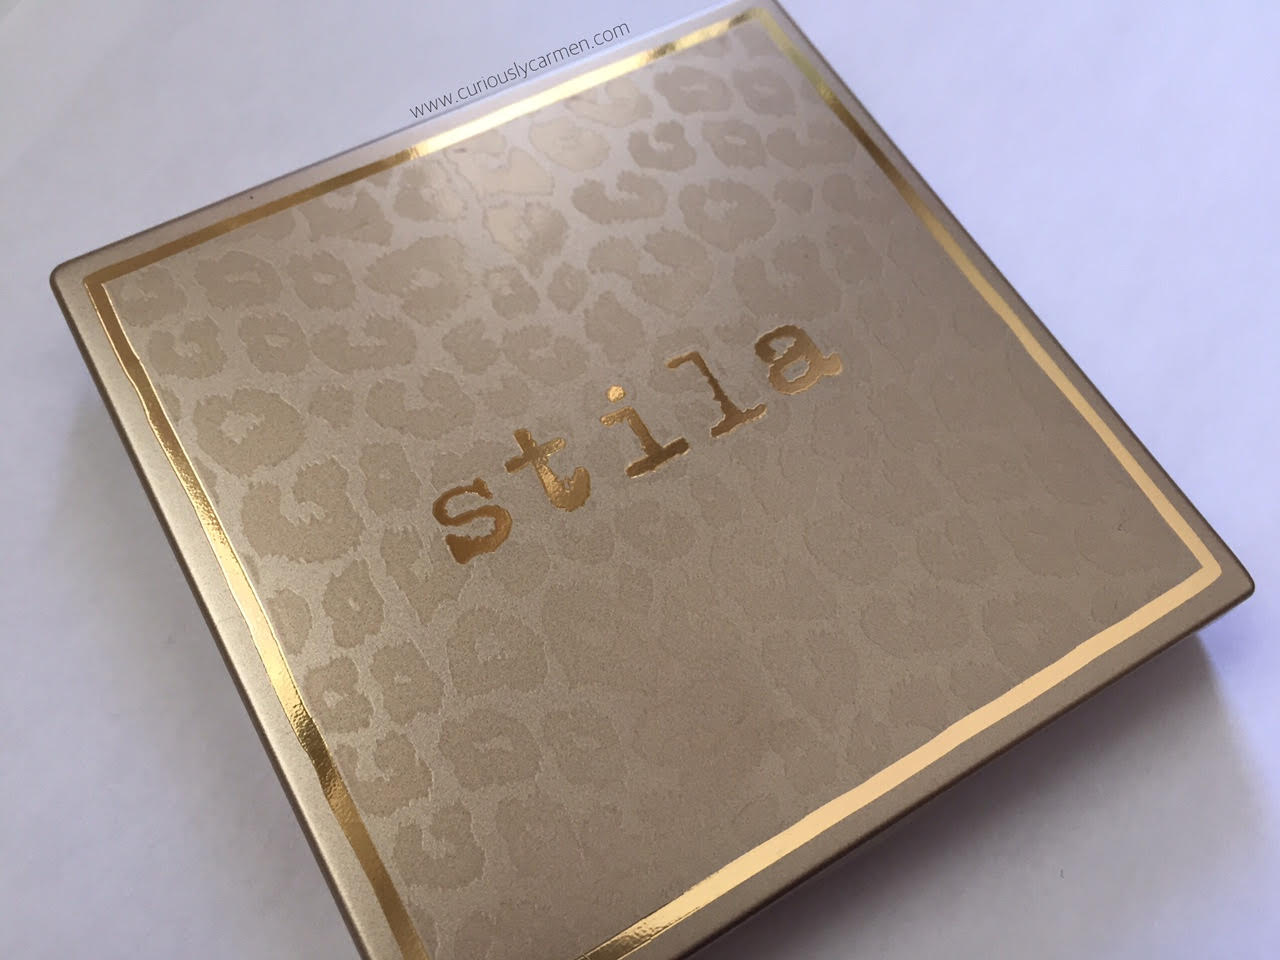 The packaging is consistent with all of Stila’s other products. However, there is the addition of cheetah print! I found the packaging to be good quality, and sturdy enough to put in your purse or luggage without having to worry about it breaking or opening.
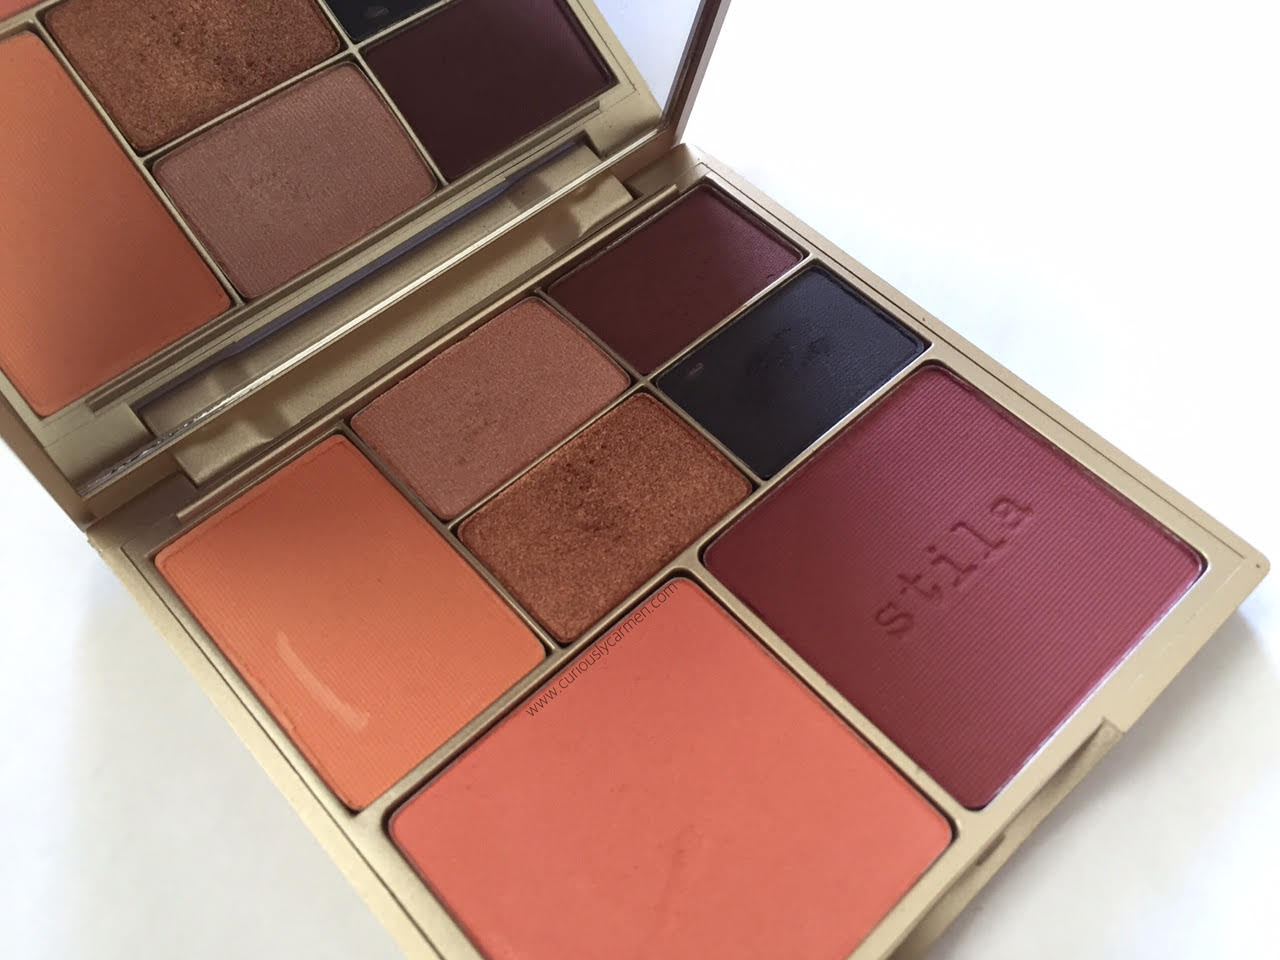 Ta-daaaa! Here are the shades. The bottom two are blushes, while the top shades are for your eyes. There are four versions of this palette, depending on your skin tone: fair/light, light/medium, medium/tan, and tan/dark.
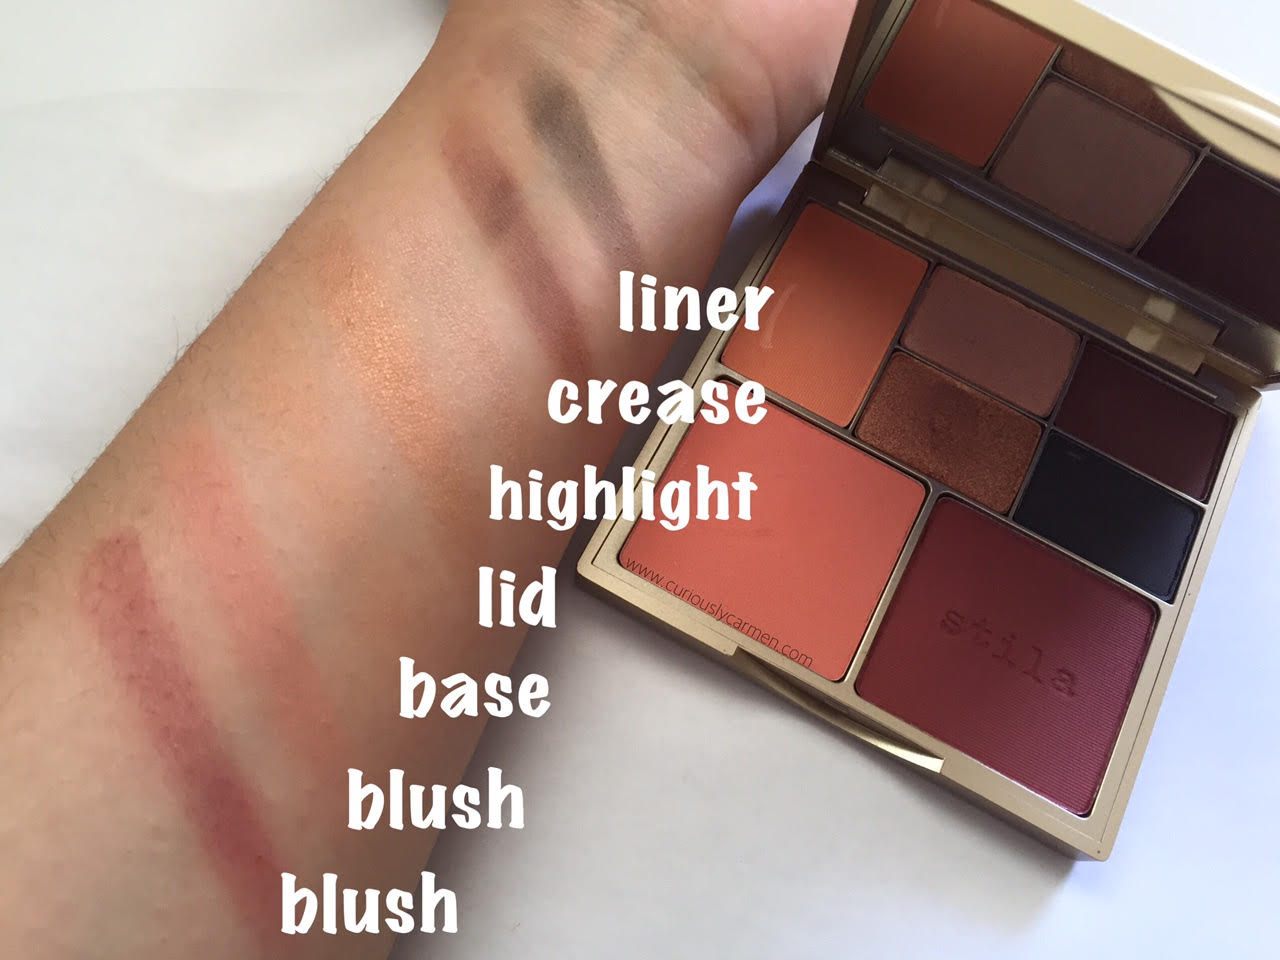 Swatches of the palette. Instead of putting down the shade names, I listed the swatches based on where they are supposed to go on your face. Of course, you don’t have to follow these suggestions if you don’t want to!
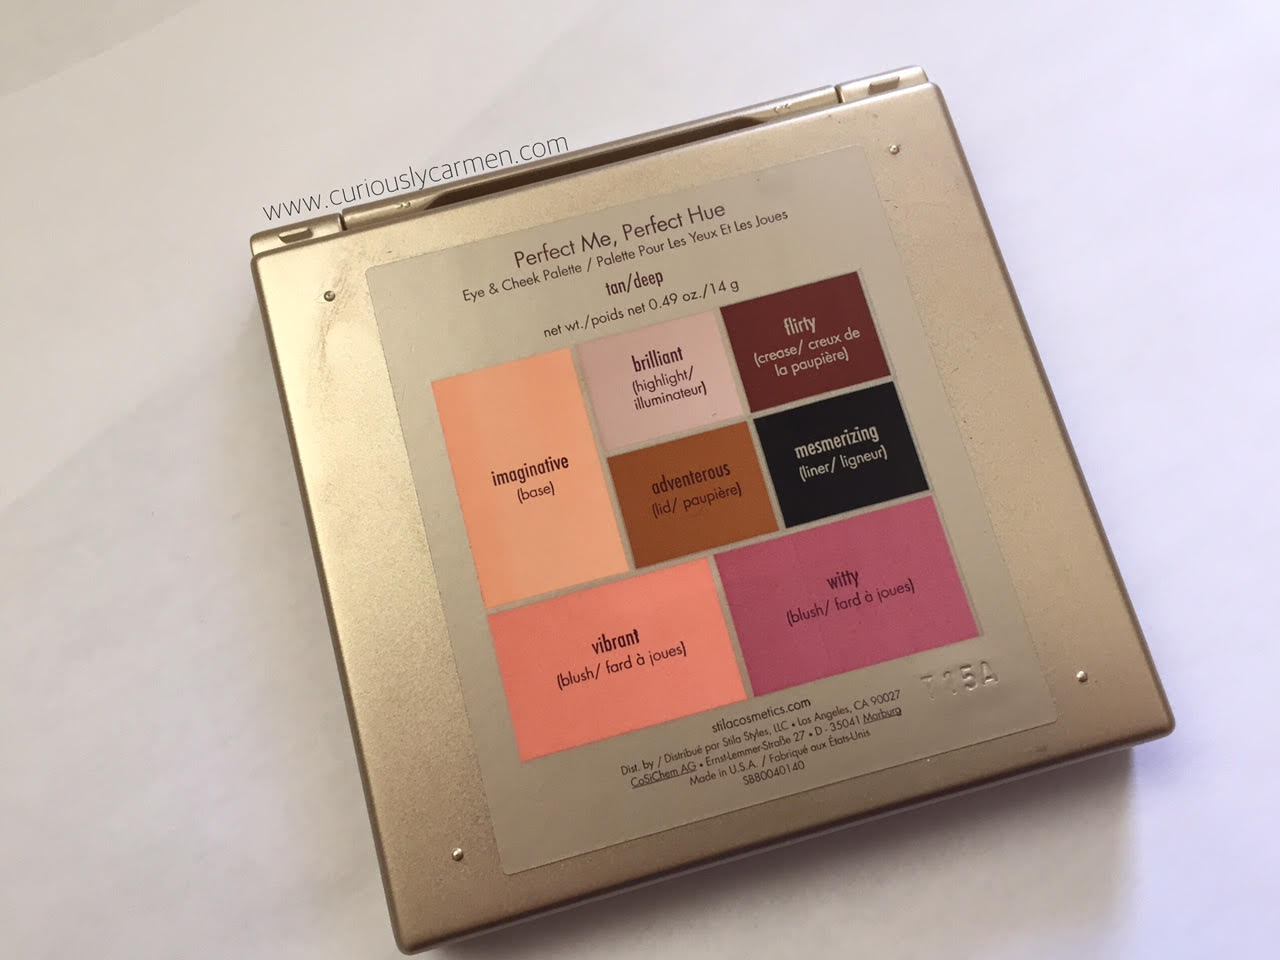 The back of the palette also shows you which shades go where. For someone just starting out with makeup, this would be really helpful!
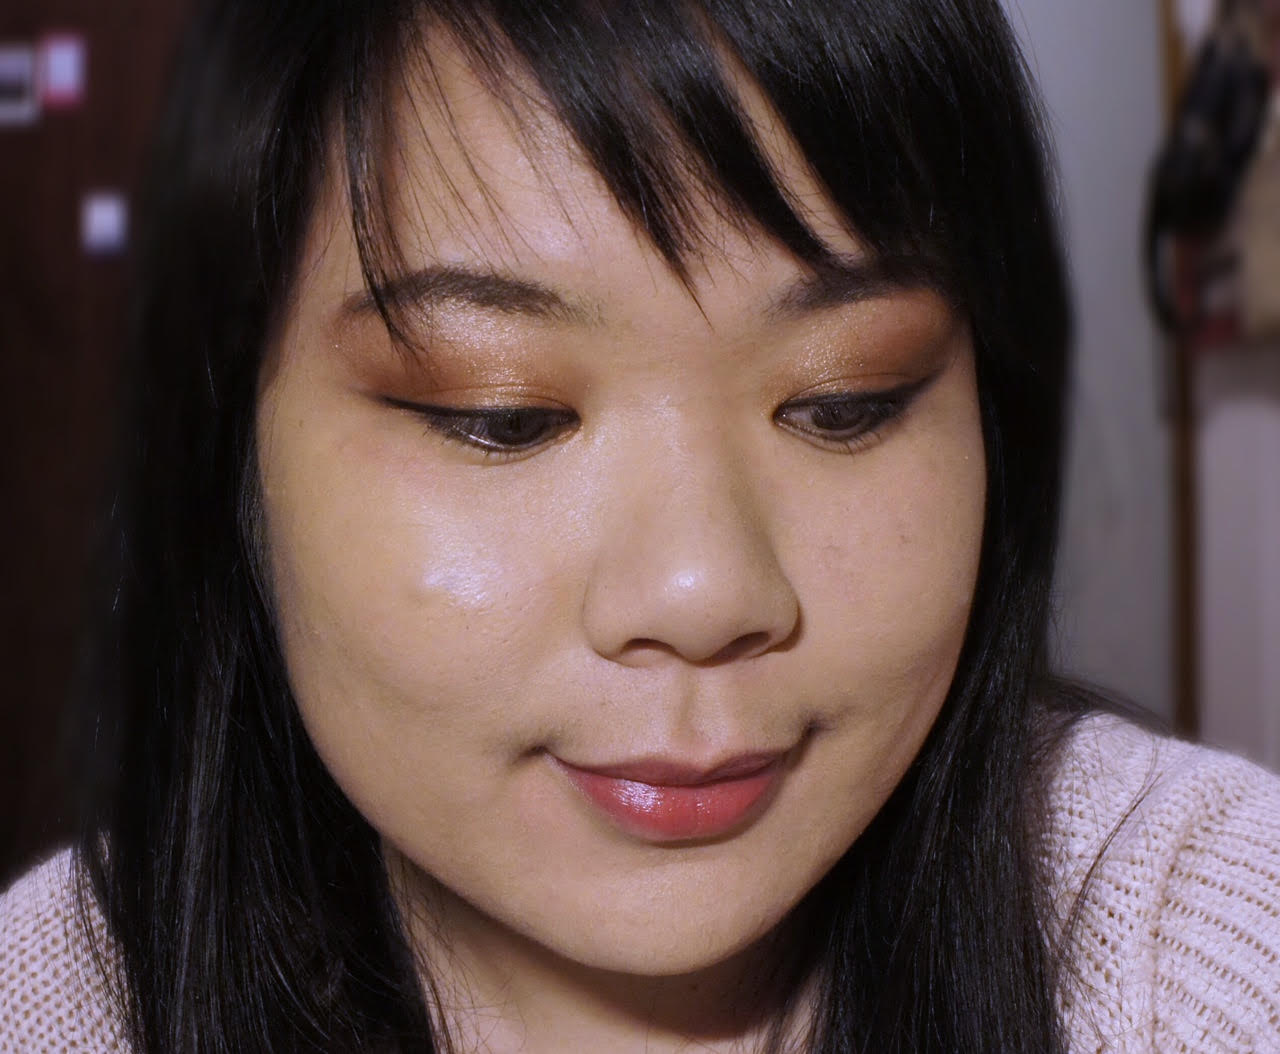 Here is the finished eye makeup look with the palette following the photo provided on the back of the palette! I was really impressed at how pigmented and blendable the product was. I couldn’t believe that it took me under five minutes to finish this look and I love how warm the shade is.
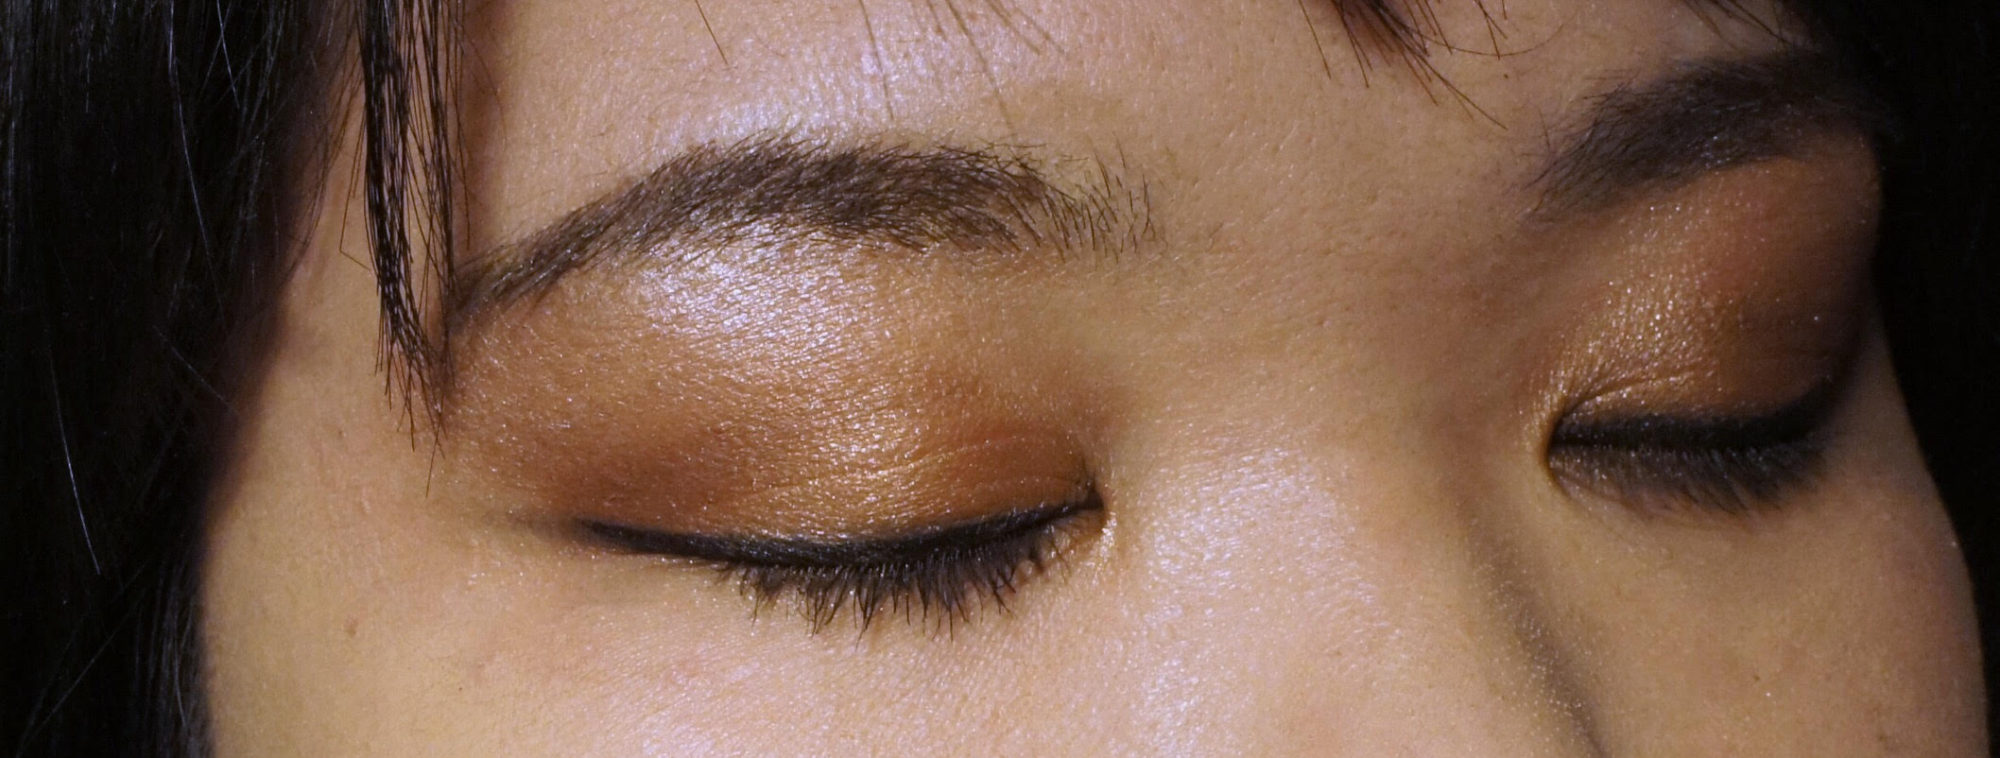 Here is a close up of the colours! Again, the shadows were really pigmented and super easy to blend.
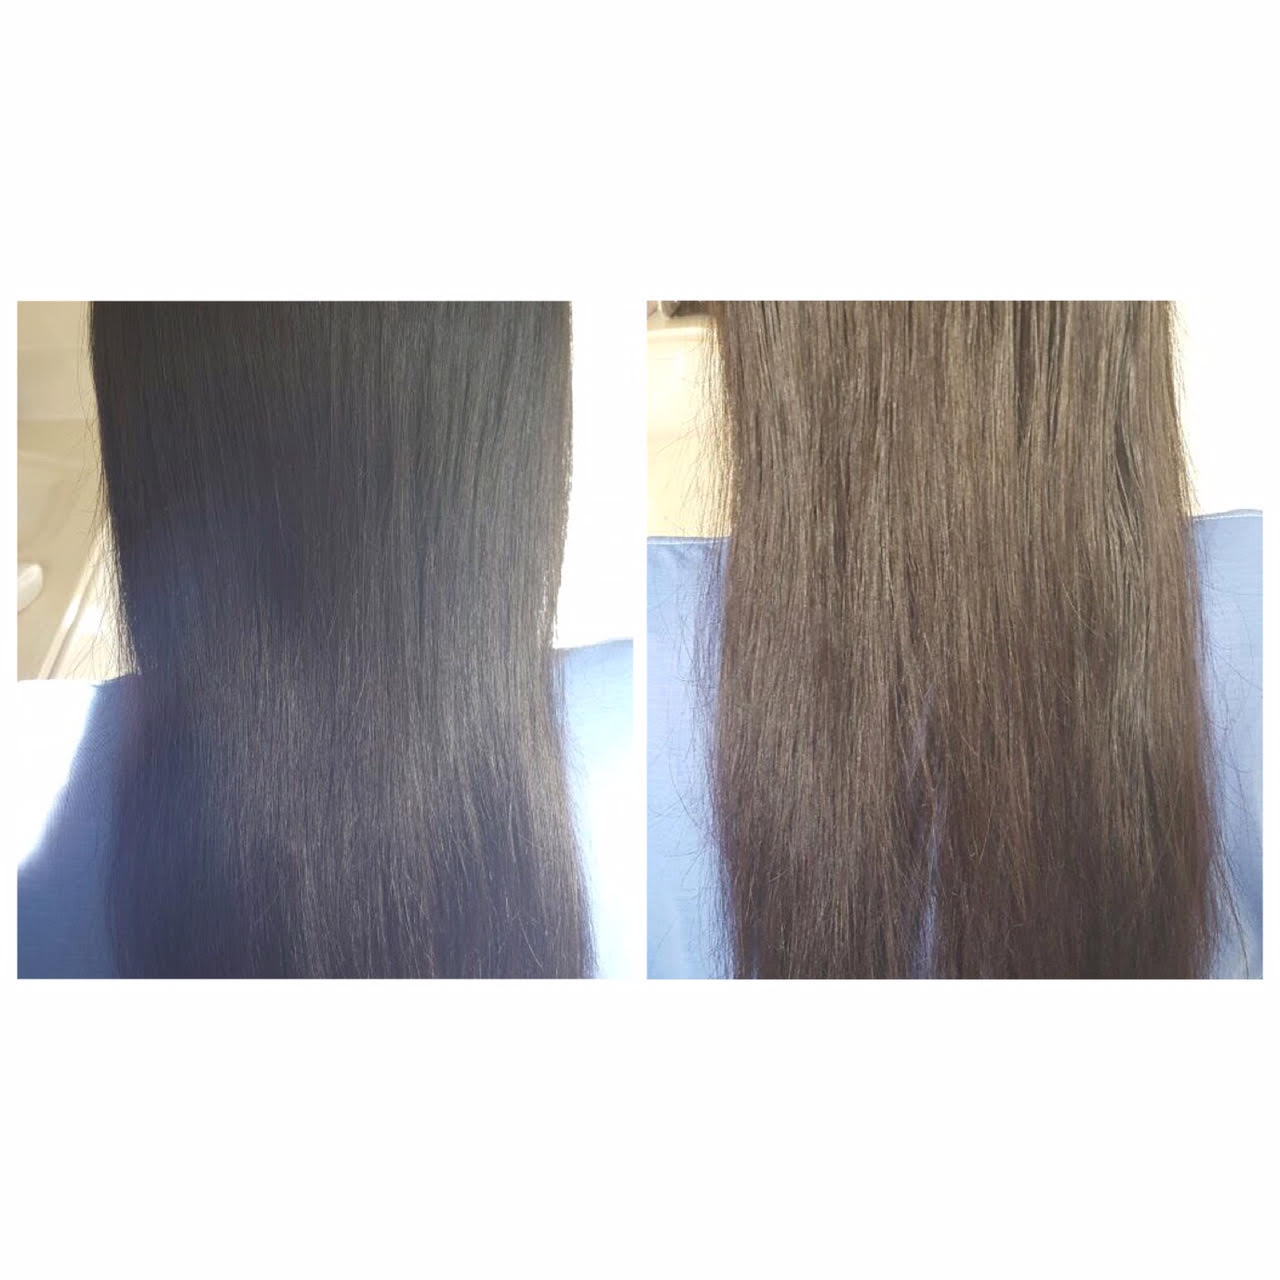
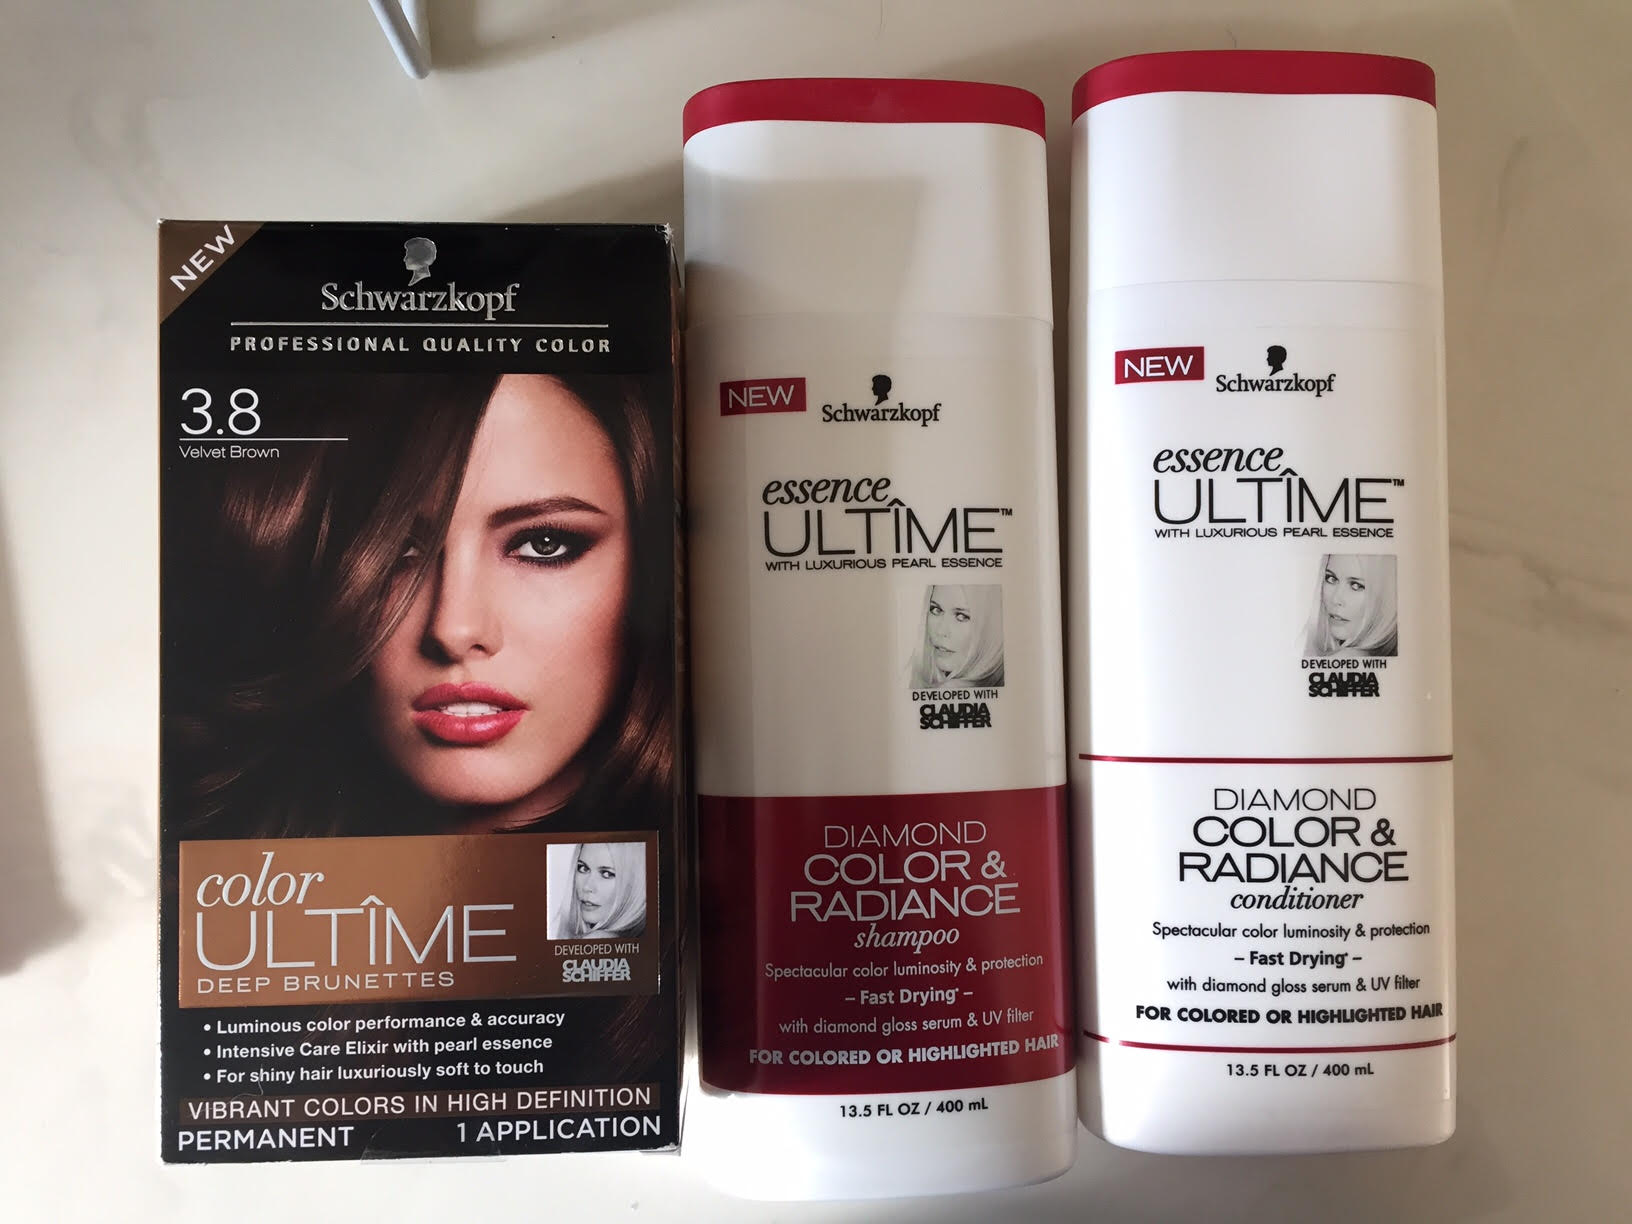 The box and package of the hair dye was pretty standard, just like any other boxed hair dye. It also shows you how the hair colour would look on you depending on how dark/light your hair is.
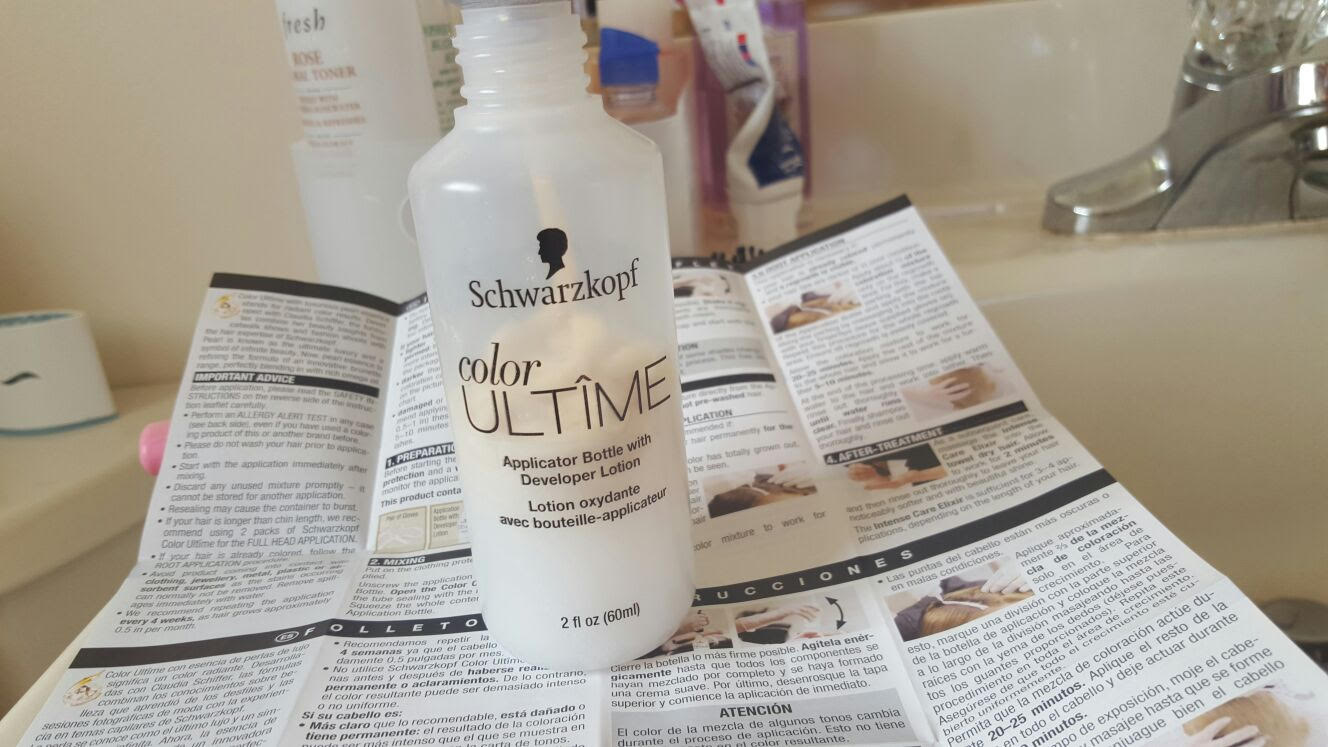 The Schwarzkopf Colour Ultime hair dye came with a clear and detailed instruction sheet, applicator bottle with developer lotion already inside, the squeeze bottle of the hair dye, gloves, and after care hair elixir.
 I also recommend dying your hair in an old tshirt, just in case you accidentally get hair dye on it. Or, you could wear a garbage bag/plastic poncho thingy to protect your clothes as well. Since I had my friend helping me, it was a very clean and fast process!
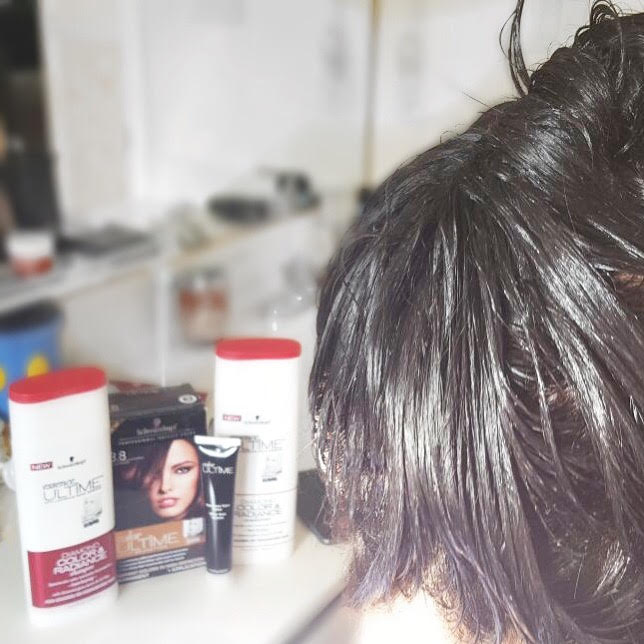 After evenly distributing the hair dye, your hair should look something like this! I then left it in my hair for 30 minutes, which was the recommended time.