• About / Contact
  • Work With Me
  • Food & Drink
    • asian —>
      • chinese
      • indian
      • japanese
      • korean
      • malaysian
      • taiwanese
      • thai
      • vietnamese
    • brunch
    • coffee and tea
    • dessert
    • fusion
    • happy hour
    • italian
    • greek
    • mexican
    • pub
    • seafood
    • steakhouse
    • vegetarian/vegan
    • western
  • Travel
    • Canada ->
      • Kelowna
      • Sunshine Coast
      • Victoria
    • Japan ->
      • Himeji
      • Kamakura
      • Kobe
      • Kyoto
      • Osaka
      • Tokyo
    • Mexico ->
      • Cancun
      • Isla Mujeres
      • Playa Del Carmen
    • USA ->
      • Las Vegas
      • Los Angeles
      • New York City
      • Seattle
    • Europe ->
      • London
  • Beauty
    • beauty events
    • body
    • eyes
    • face
    • costumes
    • hair
    • lips
    • nails
    • skincare

Curiously Carmen

Estée Lauder Nutritious Vitality8 Overnight Cream

June 2, 2015

Hi everyone!

Can’t believe it’s June now! Summer is finally here =)

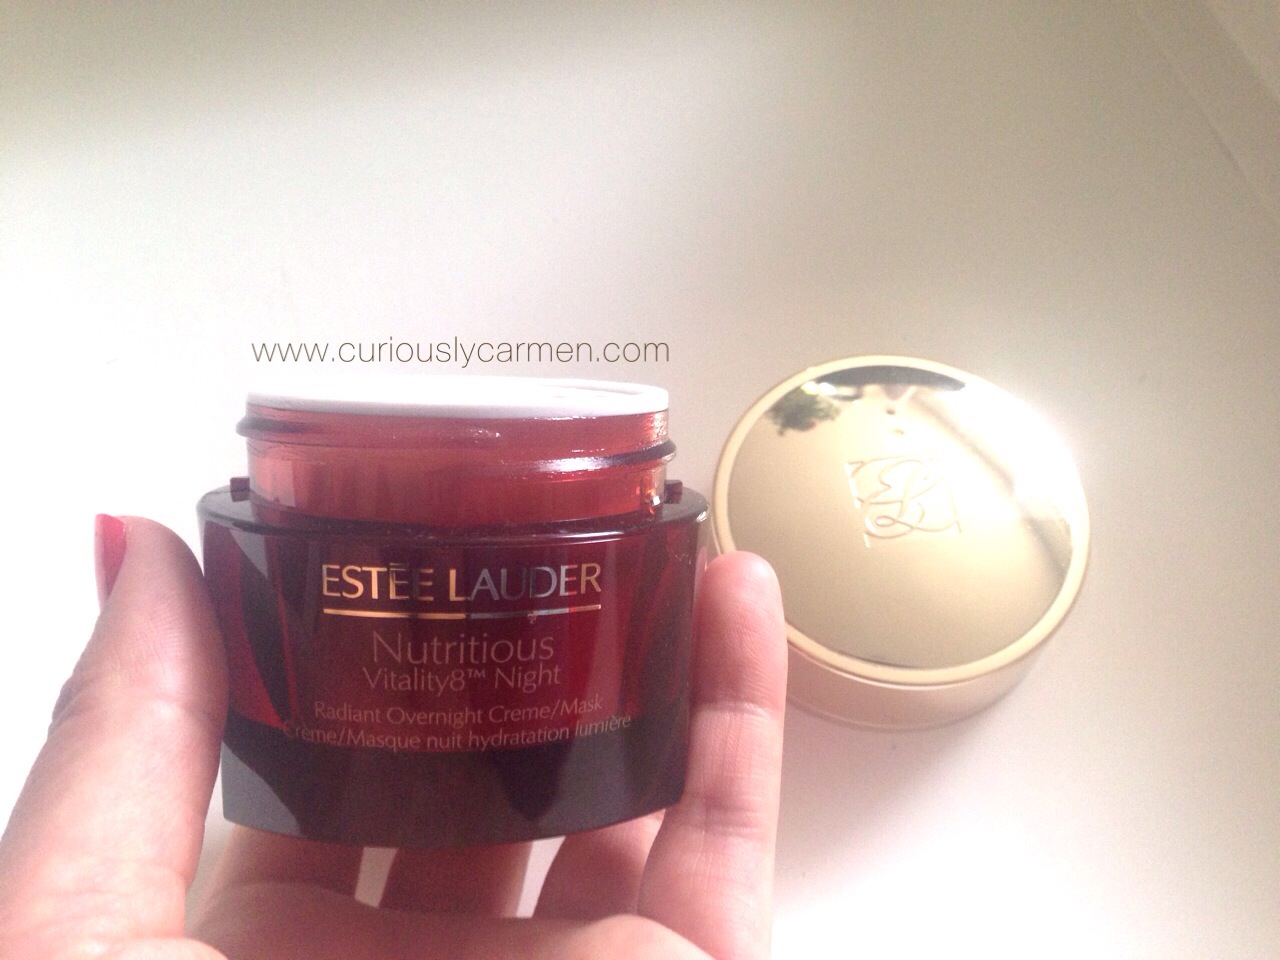
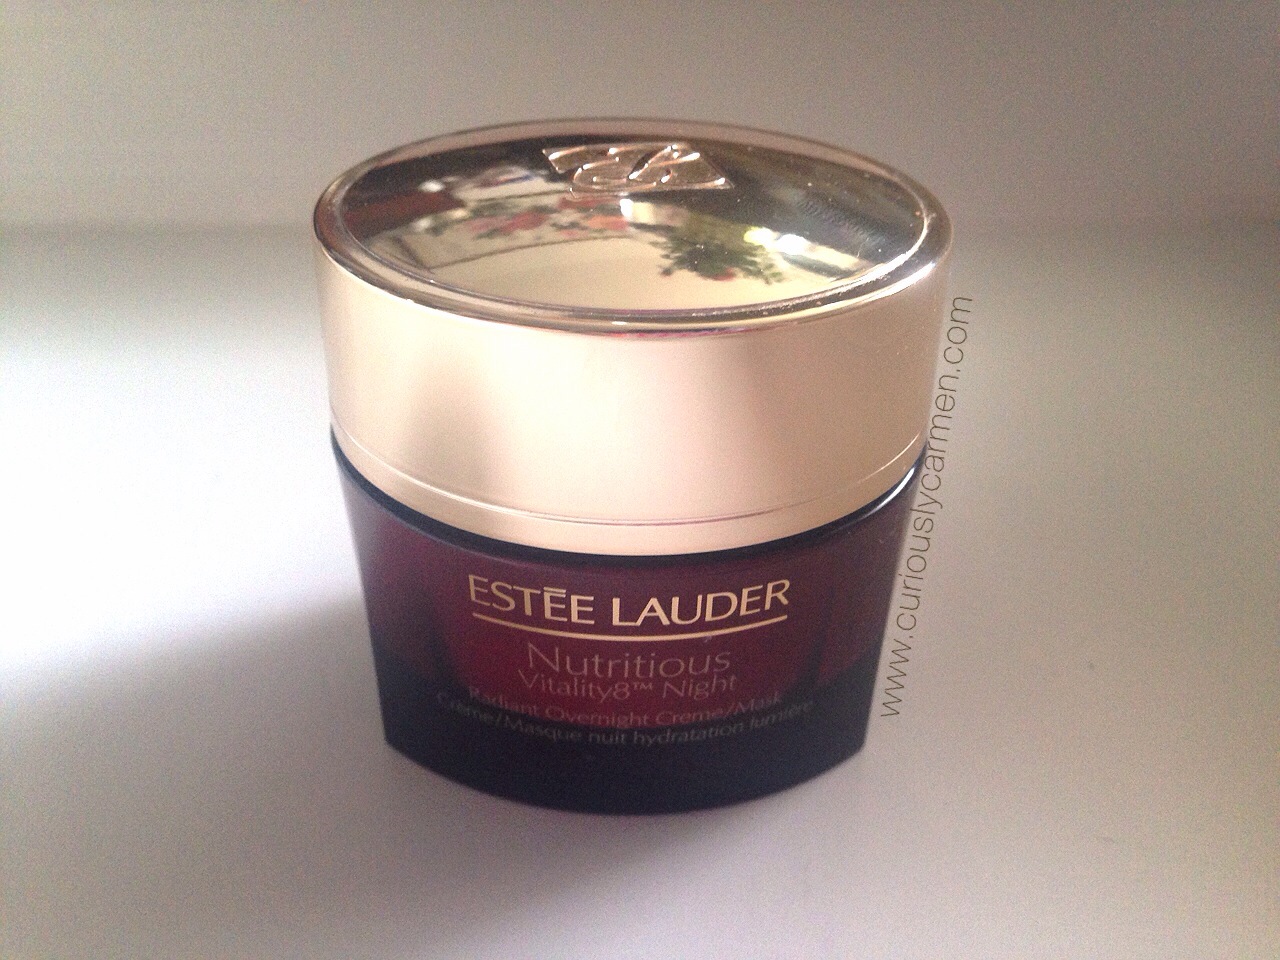
Anyways, I have been using this Estee Lauder Nutritious overnight cream for the past two weeks now, and decided it was time to finally write a post on my thoughts about it.

Prior to this night cream, I used the same The Body Shop seaweed mattifying moisturizer in the day and evening. But my recent trip  to Kelowna really dried out my skin, as I don’t think it was used to the drier, interior BC climate. When I came back, I spent the first couple of days trying to repair by skin. It was flaking badly around my lip and nose area, something which has never happened!

I received this as a gift from the Estee Lauder media preview event in March, and had used it a couple of times here and there. Looking back, I should have brought this on my trip if I knew how dry my skin was going to get!
Estée Lauder Nutritious Vitality8 Overnight CreamHere is the description from The Bay’s website:

This rich overnight moisture creme restores skin’s balance and infuses deep hydration and nourishment. Helps re-activate skin’s natural moisture defenses.Can also be used as a nightly mask for intense nutrient infusion. Awaken to skin that looks rested, renewed, radiant. In just 8 days, 96% of women felt their skin look more nourished and supple.

Estée Lauder Nutritious Vitality8 Overnight Cream
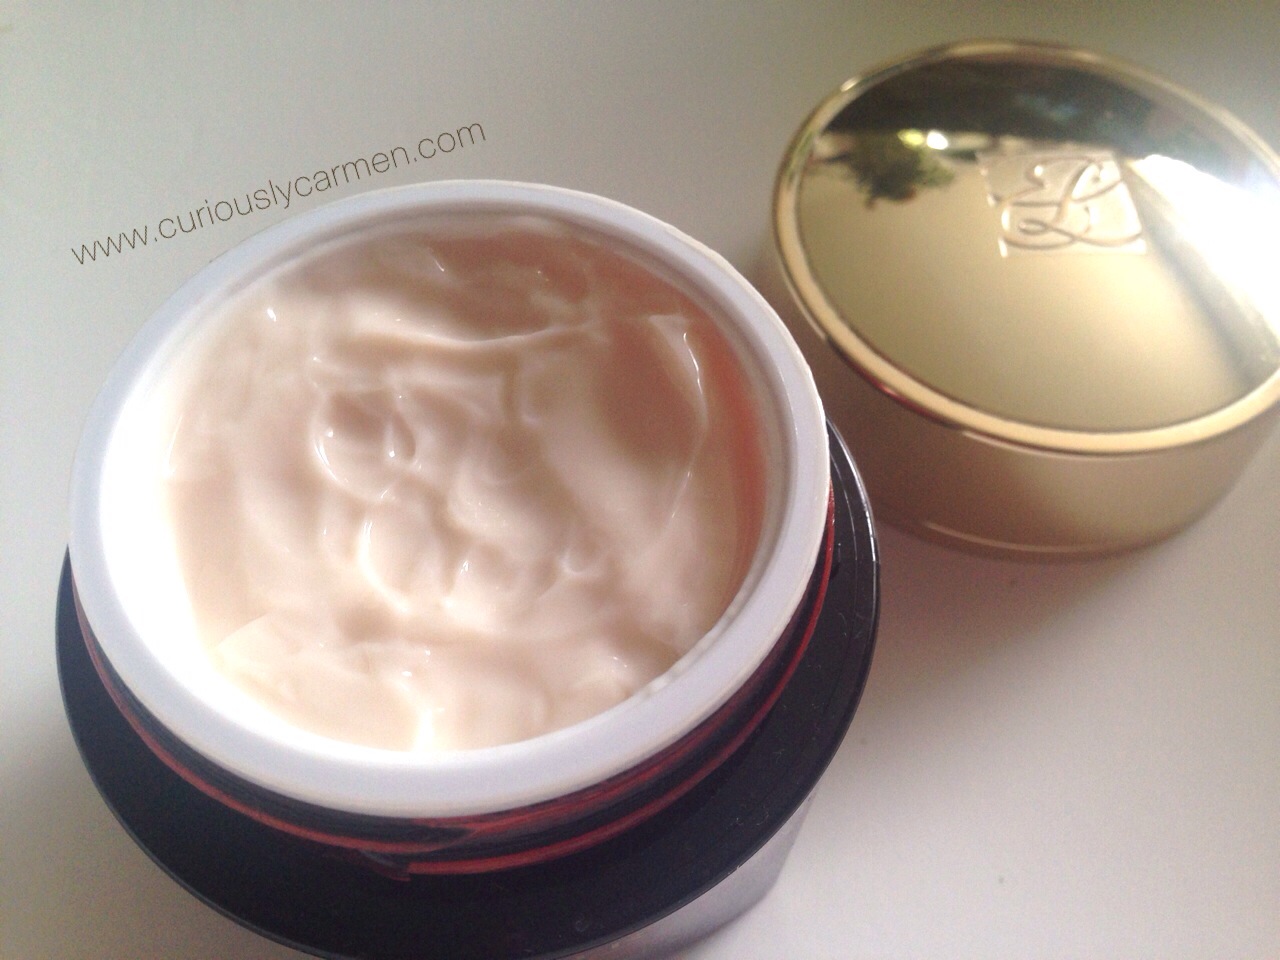
My cousins tried the cream, and the first thing they noticed was how amazing this smells! Seriously, this cream smells absolutely wonderful – clean and fresh.

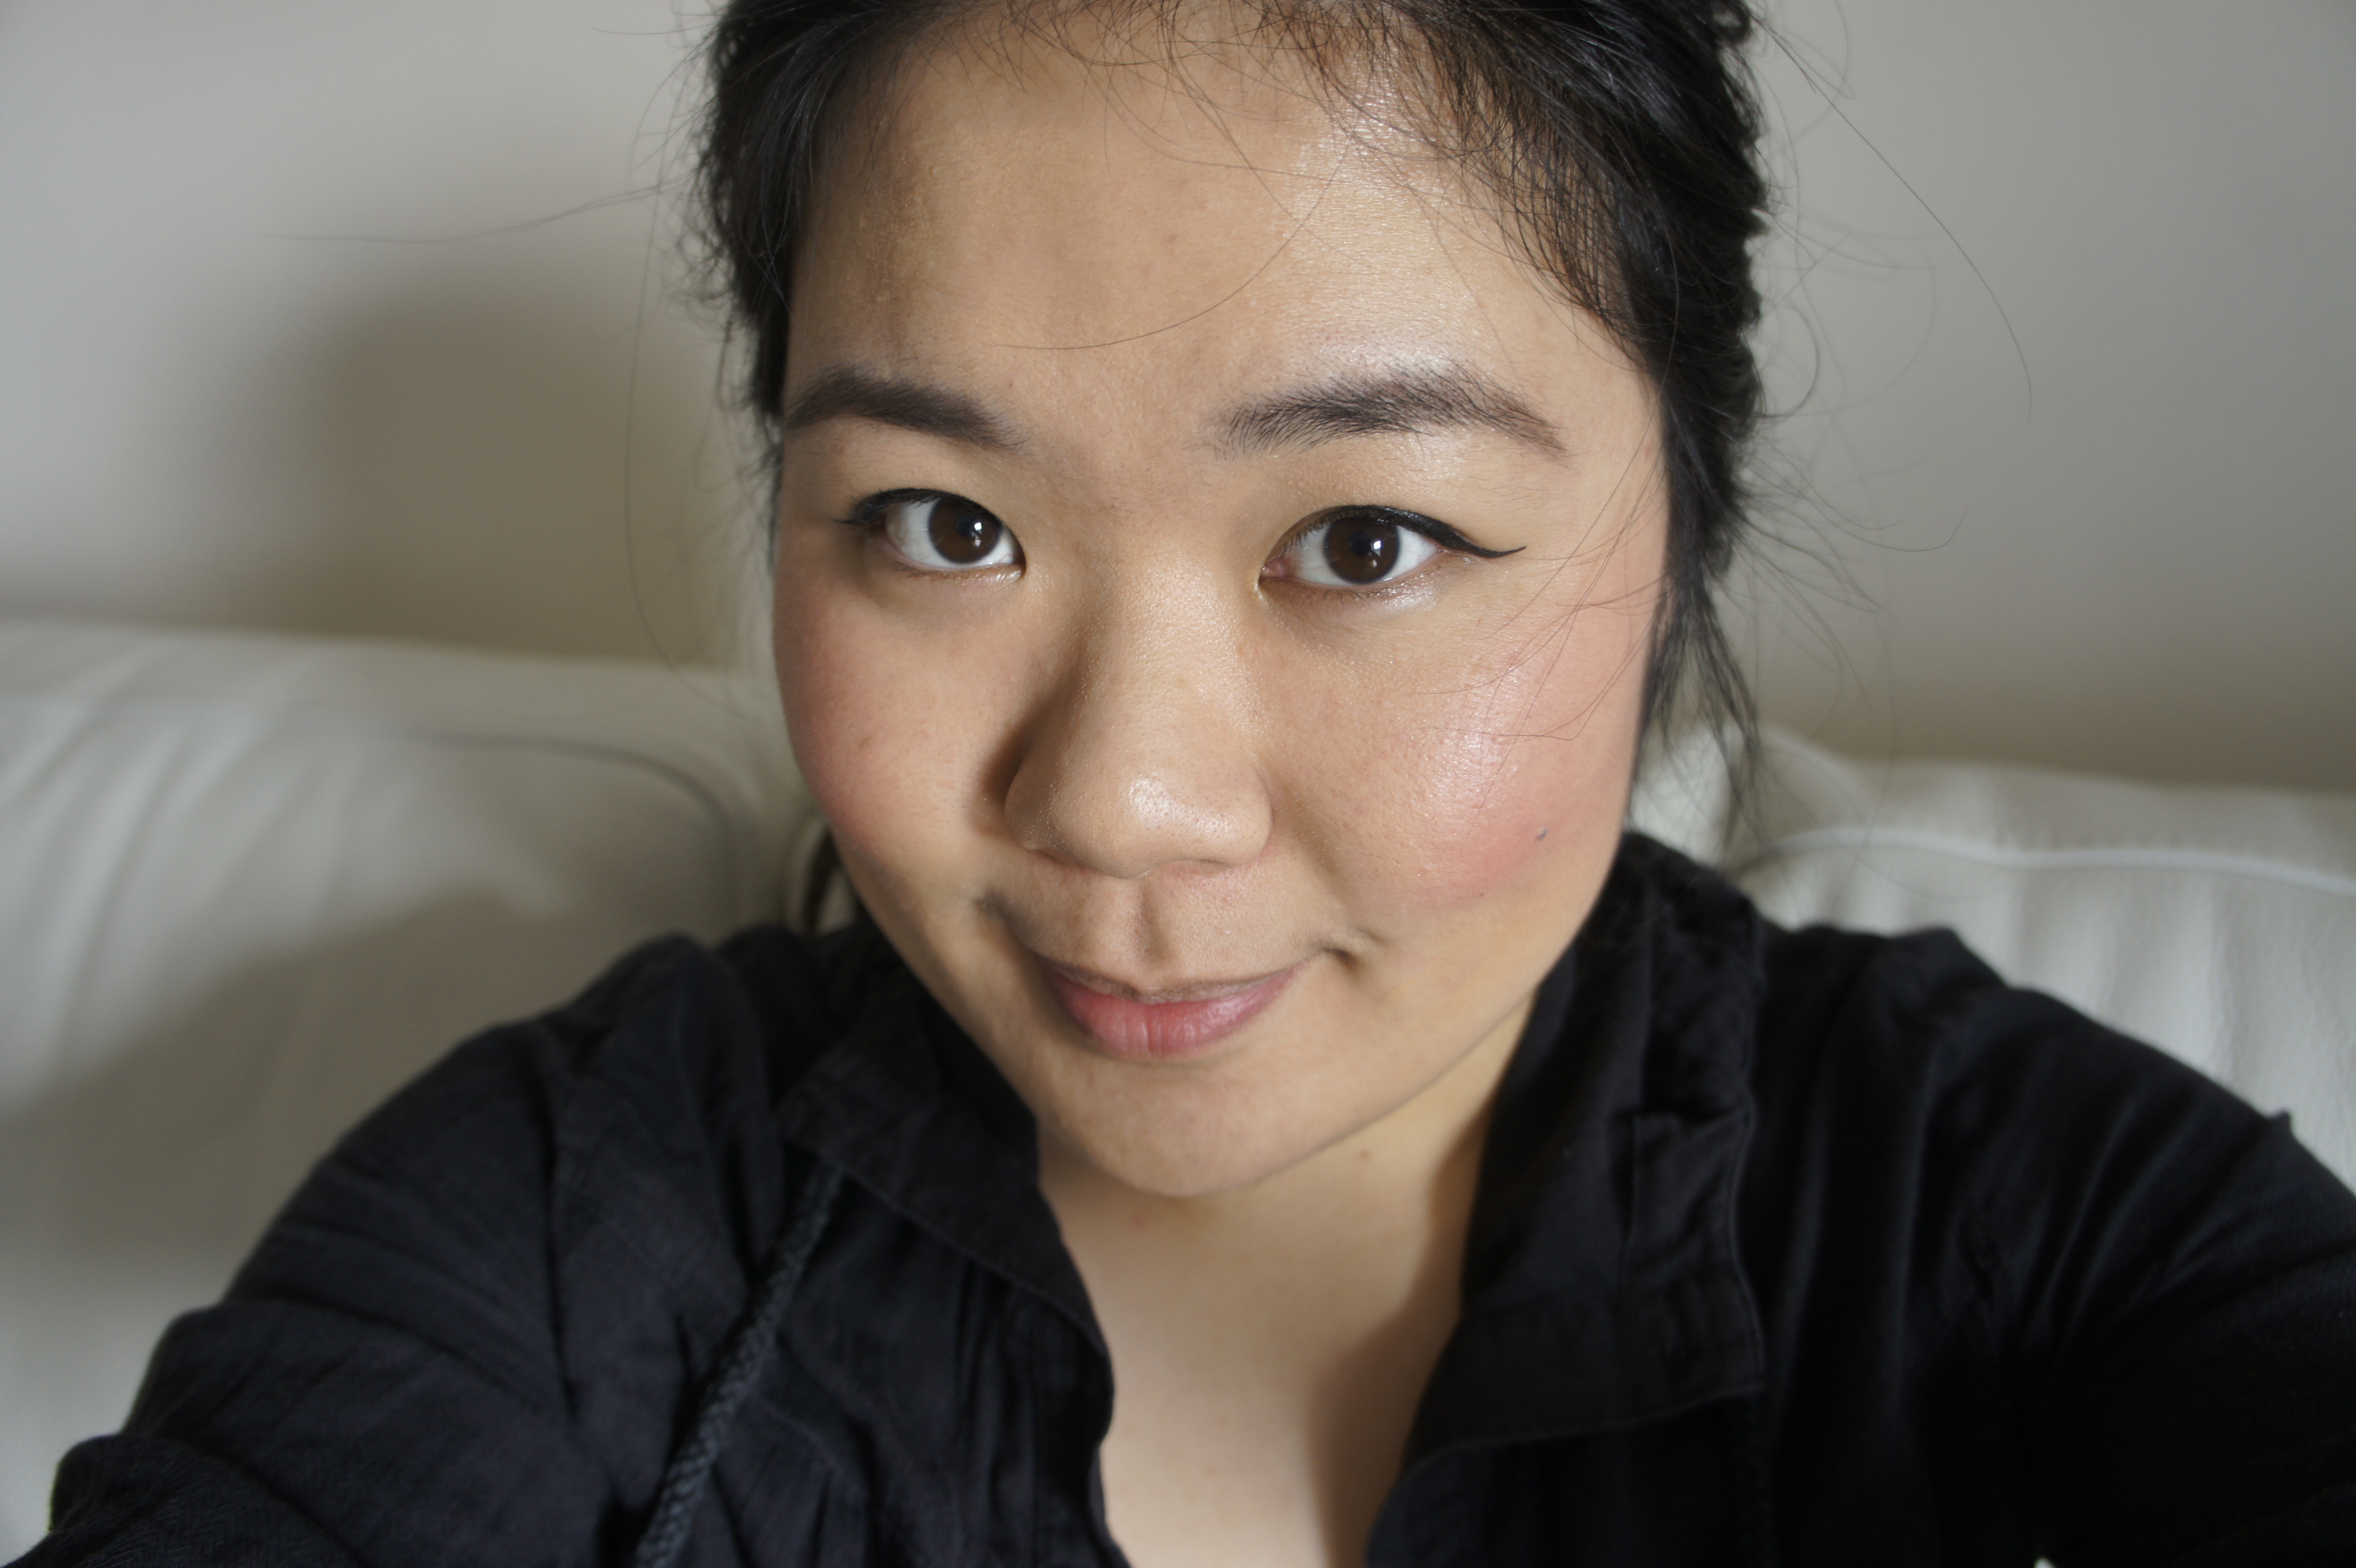
Normally, I dab this cream around different areas of my face – cheeks, around my lip (this was the flaky area after I came back from Kelowna), and forehead.
Estée Lauder Nutritious Vitality8 Overnight CreamI love this cream because my skin feels great after I put it on. My skin feels deeply hydrated, supple, and healthy. I feel that my complexion has improved and my skin feels a lot more radiant and bright when waking up in the morning.

This cream has quickly became one of my favourites and I have incorporated it into my daily routine. I honestly look forward to putting this on each night because it smells so great and my skin absolutely loves this stuff!

This cream is so nutrient rich and moisturizing for me that I don’t really need to apply moisturizer in the day. I used to wake up with dry skin, but I haven’t had a problem with that after using this everyday. I’m so glad that I discovered this product!

What’s your favourite night cream?

Thanks for reading!

-Carmen

Press product featured, all opinions are my own.


Filed Under: face, makeup Tagged: anti aging, beauty, clear skin, cosmetics, estee lauder, healthy skin, makeup, moisturizer, night cream, skincare

6 Eye Makeup Looks With One Liquid Eyeliner (Part 2/2)!

April 21, 2015

Hi everyone =)

I am continuing my 6 different eyeliner looks with one liquid liner today! You can read part 1 here. I decided to separate the looks into two posts, because I thought that it would be too long of a single post.

IMG_2433.JPGJust in case you didn’t read part 1, I decided to use my Dolly Wink liquid liner that my friends bought for me in Hong Kong. You can buy them in North America as well, but the prices are a bit higher due to importing, etc. Things are usually cheaper in Asia =)

Dolly Wink is a very popular brand among the Asian beauty industry, it is probably the equivalent to the Kat Von D tattoo liner craze, but Dolly Wink is cheaper. I like my Dolly Wink liner because the pigment is great, lasts long, and the fine tip of the brush makes it very easy to create different looks.

IMG_2272.JPGHere is my eye without any eyeliner! I took this picture to show the differences that eyeliner can do to your eye.

IMG_2273.JPG

The staight line/under eye:  Oops, I forgot to include the “under eye” in the picture as well! This is a combination of two looks.

For this look, I tight lined my eye (more information on how to do that here), and then instead of winging my liner upwards, I followed the downward slope of my eye to create a straight, parellel line that extends further.

One of my favourite beauty gurus talked about it in her videos once so I decided to try it out for myself. The straight line look is very popular in Asian beauty culture, as it gives the appearance of a rounded eye. The straight line also your eyes look rounder and bigger, while the classic winged liner makes your eyes look more sultry.

I also used the Dolly Wink liner as a bottom liner as well! I normally never line my lower lash line, but I decided to try it this time. Lining your bottom lash line is pretty self explanatory. I used lighter strokes so that the colour was not as dark as the top.

My friend, Pauline did a guest post for me and she is a big fan of doing the “straight line” liner look too! Read how she did hers here!

IMG_2274.JPGThe Egyptian cat eye/under eye: 

This is another take on the classic wing, but with more drama and intensity 😉 Start by tight lining your eye, and then extend the wing out. The further you extend, the better! Egyptian makeup was all about a long, beautiful, and thick winged liner. After you have extended, go back and apply your liner over, so that the wing gets thicker.

Tips:
-Go back and ensure that the line you created is even
-Since this look is requires such thick eyeliner, it would look a bit odd if the thick liner suddenly started in the middle of your eye. Line your whole upper eyelid, including the corner =)
-If you’re a beginner, this may take a while to perfect but I believe in you! Practice makes perfect =)

As I was creating this look, I extended my wing so much and it felt so weird! I wasn’t sure if I would like the end result or not, but I really do! I probably would save this look for special occasions, because it’s too intense for me to wear on a daily basis.

I ended this look by lining my lower lash line as well! This time, I lined my lower lash starting from the inner corner, and used a bit more at the outer corner so that it would connect with the top line.

rach5

Speaking of Egyptian cat eye, my other friend Rachel, also wrote a guest post on a Cleopatra inspired makeup look! I love how intense her wing is!

Which one of these would you rather try? Or maybe both?!

Thanks for reading!

-Carmen


Filed Under: eyes, makeup Tagged: asian cosmetics, beauty, beauty guru, cosmetics, dolly wink, eye, eye liner, eye tricks, eyeliner, eyes, makeup, makeup guru, motd, potd

6 Eye Makeup Looks With One Liquid Eyeliner (Part 1/2)!

April 6, 2015

Hi everyone =)

What else is there to do on a rainy, wet, Vancouver day? I had already baked a batch of fresh, delicious hot chocolate cocoa cookies and made a big bowl of spicy chicken stew. The next logical step was to obviously experiment with different eye liner looks.

As you may all know, my makeup always consists of liquid eyeliner. I’ve been using it for many years now, and over the years, the style of my eyeliner has changed depending on the occasion or my mood.

I decided to come up with a few fun liquid eyeliner looks for you all today, and to show you all that eyeliner should not be a daunting task! Depending on your look and application style, it can drastically change your eye shape or dress you up/down.

IMG_2433.JPG

Instead of using my Kat Von D eyeliner for this post, I decided to bring out my Dolly Wink eyeliner! Dolly Wink products are tremendously popular in Asia, it is probably their equivalent to a Covergirl/Maybelline. I’ve heard such great things about this product from the Asian community, and when my friends went to Hong Kong last summer, I asked them to buy it for me.

The fine, thin tip (as you can see above) of this product makes it very versatile. It is probably the thinnest liquid eyeliner pen I own. I also love the super cute and girly packaging!

IMG_2272.JPGNo eyeliner: Here is what my eye looked like before starting. I’m showing this to give you an idea of how the following different looks will change my eye shape. I’m also not wearing any mascara in this post, but adding mascara will intensify the look of your eyeliner.
IMG_2275.JPGThe tightline: Tight-lining your eyes is a great way to naturally make your eyes seem larger and rounder. Tight lining refers to putting the eyeliner as close to your lash line as possible, so that it sort of blends in with your lashes. Doing this makes your eye lashes look thicker, which will make your eyes stand out.

To do: This look is best achieved with a thin liquid eyeliner. Simply put the tip of the eyeliner as close to your lash line as possible, and draw a line. To keep it natural, don’t wing it out and stop where your outer eyelashes end =)
IMG_2270.JPG

The slight flick: Sorry for lack of better titles to name these eyeliner looks! This past week, I have been really loving this look as I find that it makes my eyes look rounder due to the thickness of the liner. It’s also a bit more natural looking than my usual dramatic wing and casual. I would use this look on a daily basis, but not for special occasions.

To do: If tightlining looks too natural for you, add a few thicker strokes of the eyeliner and extend it slightly past the outer corner of your eye. I start by tightlining, then adding about 5 stokes until it reaches a visible thickness. The slight flick at the end opens up your eyes, but not enough to make it a dramatic look.
IMG_2276.JPG

The classic wing: I called this the classic wing because it has been my go-to eyeliner look for a couple of years now. I can easily do this with my eyes closed, that’s how familiar this look is to me! Compared to the look above, this one is more feminine and girly. This look is great for both casual days and special occasions.

To do: Start by tight lining your eye. When you reach the outer corner, extend the line upwards and imagine that it slightly curves to reach the tip of your eyebrow. After that initial wing, it is up to you on how thick or thin you want to retrace the line on your eyelid. After winging it out, I go back to the outer area of my eye, making the line there thicker and keeping the inner corner the same.

IMG_2432.JPGI decided to split this into two posts as I thought that one post would be waaay too long for one post! I hope that you all enjoyed these three looks, and/or that it inspires you to create your own! Maybe I’ll write a review on my Dolly Wink eyeliner soon as well =)

What is your go-to eyeliner look? These days, I have been alternating between the slight flick and the classic wing.

Happy Easter & hope you all enjoyed the long weekend! Thanks for reading!

-Carmen


Filed Under: eyes, makeup Tagged: asian cosmetics, beauty, beauty blogger, cosmetics, dollywink, eyeliner, liquid eyeliner, makeup, makeup blogger, tightlining, winged eyeliner

L’Oreal True Match Foundation

March 2, 2015

Hi everyone,

I’ve had the L’Oreal True Match foundation for awhile now, but didn’t really like it at first so it was kept at the back of my makeup storage. I decided to bring it out and give it another chance, here is how that went!
L'Oreal True Match FoundationThis foundation claims to be super blendable, and is the first of its kind as it matches your skin’s texture and tone.

L'Oreal True Match Foundation
I am wearing the shade W4- natural beige.

Since I am more knowledgeable about makeup now, I decided to give it a try again but wearing a base and setting powder which might support and enhance this foundation.
L'Oreal True Match FoundationI started off with The Face Shop’s beauty balm, which you can read about here. Then, I put on the foundation using my fingertips. As I mentioned earlier, the foundation was more watery than I expected but it blended very nicely. It became almost like a powdery, soft texture after you blend it out.

I then finished off with my Maybelline Mineral Powder foundation which I talked about last week, and my ELF blush. Yep, I was trying to use all drug store that day (on my skin at least, I don’t have any drugstore eyeliners).

L'Oreal True Match Foundation

With the addition of the primer and setting foundation, I liked the L’Oreal True Match a lot more. I’m glad that I gave it a second try! My foundation lasted the whole day, but that might have been with the help of the primer and setting foundation.

L'Oreal True Match FoundationI was browsing around Shoppers Drug Mart on my lunch break, and my jaw almost dropped when I saw that they were selling this foundation for $20. That is pretty pricey for a drugstore foundation! Or maybe it’s because I haven’t looked at drugstore foundation for awhile and that’s the standard price now? Let me know how much you pay for your drugstore foundation down below =)
L'Oreal True Match FoundationI probably won’t buy this again since there are a lot of other foundations I like much more, but I don’t mind using this up. I would recommend this product to those who are looking for a daily light coverage foundation.

Have you tried this product? What did you think of it?

Thanks for reading!

-Carmen


Filed Under: face, makeup Tagged: beauty, beauty blog, beauty blogger, beauty community, cosmetic, cosmetics, covergirl, drugstore, foundation, l'oreal, makeup, makeup blog, makeup blogger, makeup community, maybelline, review, rimmel, skincare

Stila Stay All Day Waterproof Liquid Eye Liner

November 13, 2014

It feels like a long time since I have written a beauty post… and it has been quite awhile. I’ve been so busy the last month that I haven’t really been able to go out and try new products, which means nothing really to write about. But I finally had time to open my new products and splurge on some new items as well so I’ll be back to more makeup posts. Yay!

To be honest, I haven’t used any Stila products before but have seen them around for quite awhile. The Stila liquid eyeliner came in an eyeliner set, and it was the first one I decided to open because I wanted to try a Stila product. This is the sample size but the full size product retails for about $26 Canadian.

StilaIt’s quite a long name- Stila Stay All Day Waterproof Liquid Eyeliner. For simplicity’s sake, I’ll just call it the Stila liquid liner. This shade is the dark brown – chocolate brown. When it comes to liner shades, I much prefer jet black because it’s more noticeable on my eyes. Brown is good if you want a neutral “no makeup makeup” look, but it’s just my preference. Anyways, I decided to try it and see how it looked.


Stila 3The packaging of this liner is pretty sturdy and standard. The eyeliner comes as a felt tip, and application was very easy. The product and colour applied instantly at first contact, and it was very easy to glide along my eyelid in one easy sweep, no corrections were necessary. The application was also very even. I was also expecting a lighter shade of brown, but I actually preferred this colour more. When it dries, I found that the colour was actually a bit darker so it does look black.

Stila 1Now, the important question is… how long did it last? I put this on in the morning, and was out and about for the whole day. Throughout lunch, shopping, and going to a very exciting Canucks game, I am happy to say that the eyeliner did not smudge at all and was in the same condition at the end of the night as it was in the morning. The removal process was also very easy too, it came off with one quick wipe of makeup remover. I am quite happy with this product and am glad that I gave it a try.

Pros:

  • Very easy to apply in one sweep, no mess at all
  • Brush is very easy to use and guide
  • Great lasting power
  • Rich colour
  • Does not smudge

Cons:

  • For this shade specifically, I found it darker after application than it was originally shown (which was a good thing for me since I prefer dark liners)

-Carmen


Filed Under: eyes, makeup Tagged: beauty, beauty blogger, beauty community, beauty guru, beauty review, cosmetics, eyeliner, eyeliner tips, fotd, how to apply eyeliner, liquid eyeliner, makeup, makeup lover, makeup review, makeup tips, motd, pretty, stila

  • 1
  • 2
  • Next Page »

Hello!

Hi and welcome to Curiously Carmen! I am Carmen, the girl behind the blog. You can read more about me here!

Recent Posts

  • H&P Noodle House Burnaby
  • Travel: Harry Potter Studio Tour (Watford, UK)
  • Travel: The Resident Soho Hotel, London UK
  • North Noodle House
  • Grand Crystal Seafood Restaurant

Subscribe to Blog via Email

Enter your email address to subscribe to this blog and receive notifications of new posts by email.

Partnerships

View my food journey on Zomato!

Archives

Theme Design By Studio Mommy · Copyright © 2025

Copyright © 2025 · Young Blush Theme on Genesis Framework · WordPress · Log in