Hi everyone =)
I am continuing my 6 different eyeliner looks with one liquid liner today! You can read part 1 here. I decided to separate the looks into two posts, because I thought that it would be too long of a single post.
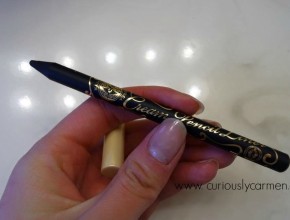
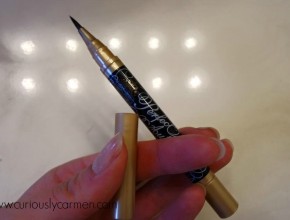
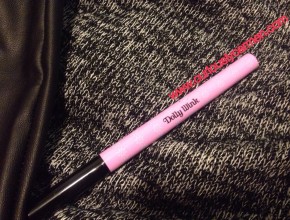
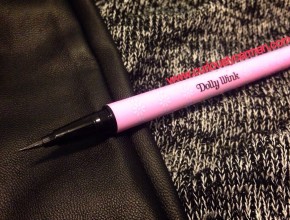 Just in case you didn’t read part 1, I decided to use my Dolly Wink liquid liner that my friends bought for me in Hong Kong. You can buy them in North America as well, but the prices are a bit higher due to importing, etc. Things are usually cheaper in Asia =)
Dolly Wink is a very popular brand among the Asian beauty industry, it is probably the equivalent to the Kat Von D tattoo liner craze, but Dolly Wink is cheaper. I like my Dolly Wink liner because the pigment is great, lasts long, and the fine tip of the brush makes it very easy to create different looks.
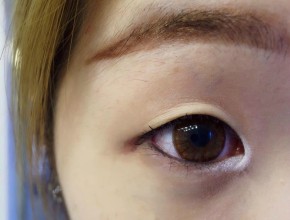
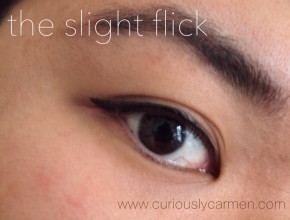
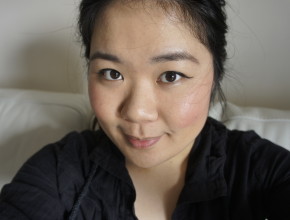
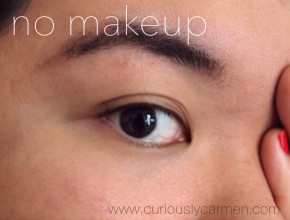 Here is my eye without any eyeliner! I took this picture to show the differences that eyeliner can do to your eye.
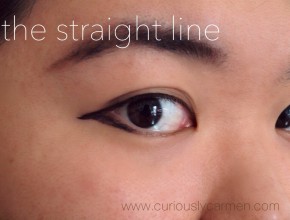
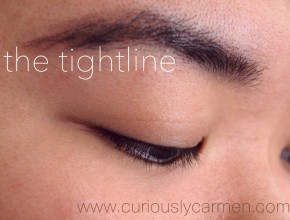
The staight line/under eye: Oops, I forgot to include the “under eye” in the picture as well! This is a combination of two looks.
For this look, I tight lined my eye (more information on how to do that here), and then instead of winging my liner upwards, I followed the downward slope of my eye to create a straight, parellel line that extends further.
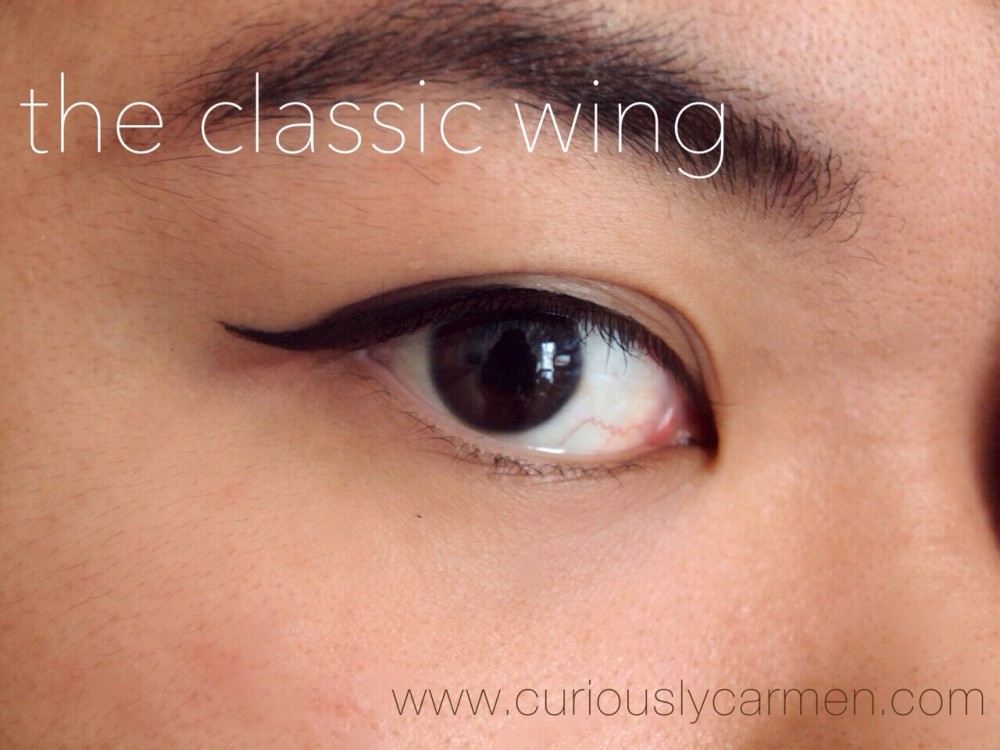
One of my favourite beauty gurus talked about it in her videos once so I decided to try it out for myself. The straight line look is very popular in Asian beauty culture, as it gives the appearance of a rounded eye. The straight line also your eyes look rounder and bigger, while the classic winged liner makes your eyes look more sultry.
I also used the Dolly Wink liner as a bottom liner as well! I normally never line my lower lash line, but I decided to try it this time. Lining your bottom lash line is pretty self explanatory. I used lighter strokes so that the colour was not as dark as the top.
My friend, Pauline did a guest post for me and she is a big fan of doing the “straight line” liner look too! Read how she did hers here!
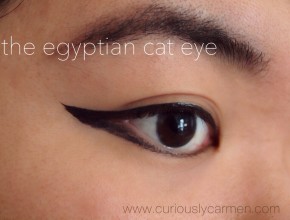 The Egyptian cat eye/under eye:
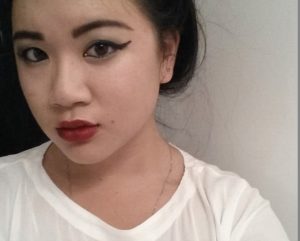
This is another take on the classic wing, but with more drama and intensity 😉 Start by tight lining your eye, and then extend the wing out. The further you extend, the better! Egyptian makeup was all about a long, beautiful, and thick winged liner. After you have extended, go back and apply your liner over, so that the wing gets thicker.
Tips:
-Go back and ensure that the line you created is even
-Since this look is requires such thick eyeliner, it would look a bit odd if the thick liner suddenly started in the middle of your eye. Line your whole upper eyelid, including the corner =)
-If you’re a beginner, this may take a while to perfect but I believe in you! Practice makes perfect =)
As I was creating this look, I extended my wing so much and it felt so weird! I wasn’t sure if I would like the end result or not, but I really do! I probably would save this look for special occasions, because it’s too intense for me to wear on a daily basis.
I ended this look by lining my lower lash line as well! This time, I lined my lower lash starting from the inner corner, and used a bit more at the outer corner so that it would connect with the top line.
Speaking of Egyptian cat eye, my other friend Rachel, also wrote a guest post on a Cleopatra inspired makeup look! I love how intense her wing is!
Which one of these would you rather try? Or maybe both?!
Thanks for reading!
-Carmen
